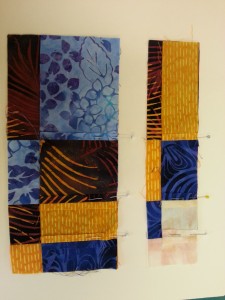
When I’m piecing my quilts I like to pin at intersections to help keep everything precise. I always place my pins perpendicular to the seam line. If I use narrow pins and sew slowly, my machine will run over them without any problems. I’m always cautious about telling my students that they can sew over pins. Some machines are very finicky especially if the pins are fat, or positioned at an odd angle rather than at right angles to the seam line. If in doubt, take them out just before your machine reaches them. There are a variety of choices out there. Here are some of the options.
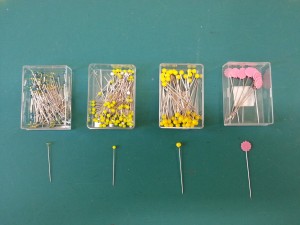
The pins on the far left are my favorite. These are Clover Extra Fine. They have yellow or turquoise glass heads and a nice slender shank. The ones next to them are Fine and work well too. The Fine ones seem to be more readily available in the quilt stores than the Extra Fine. If you want one of the longer varieties, the flat headed flower pins, (far right), are good. The shank is reasonably narrow and the head is easy to grab onto. The second from the right and other similar pins, which are often called “quilting pins”, are too fat in my opinion and not appropriate for use when machine piecing. They do have their uses. When I’m auditioning fabrics on my work wall, I use them to pin the fabrics, (which are often folded several times), onto the board. Some people swear by forked pins, but these are pricey. One of my students told me that the forks bend easily. They are problematic if the forks aren’t exactly parallel and can cause puckers.
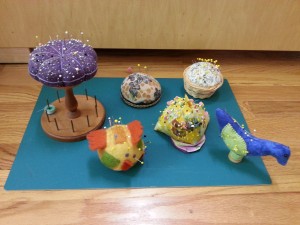
Of course, when you have pins, you need pin cushions. I have several including a Shaker one with bobbin holder, tapestry, little basket, blue-bird with green wings, a rather angular chicken, and a round felted chicken.


