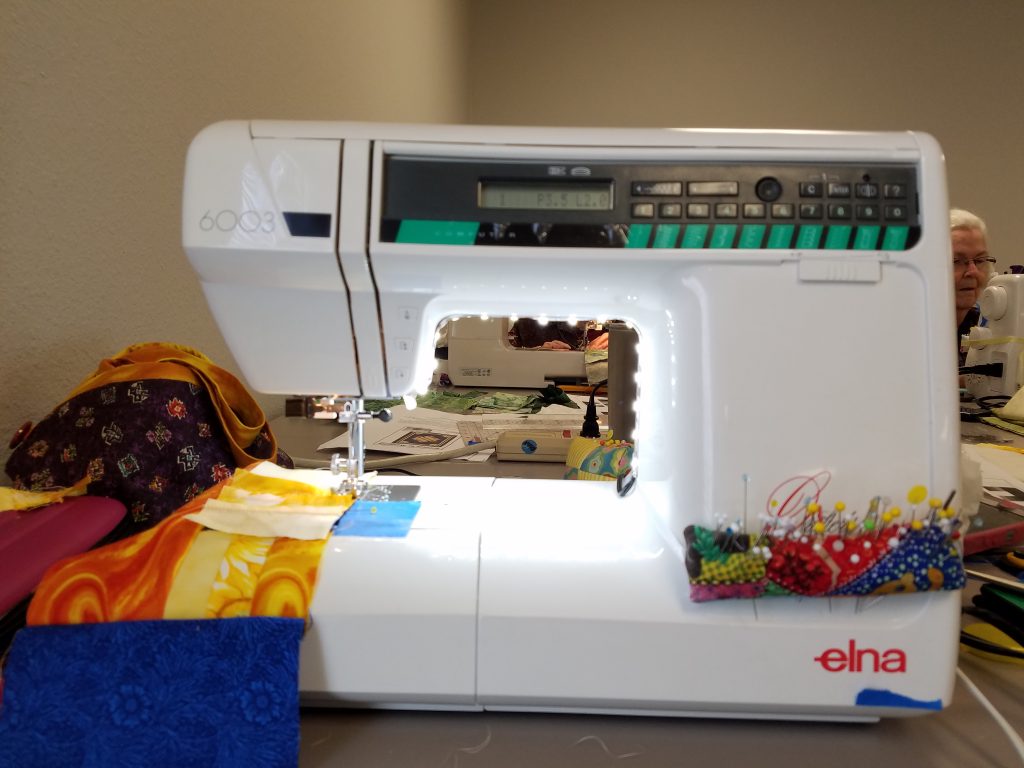
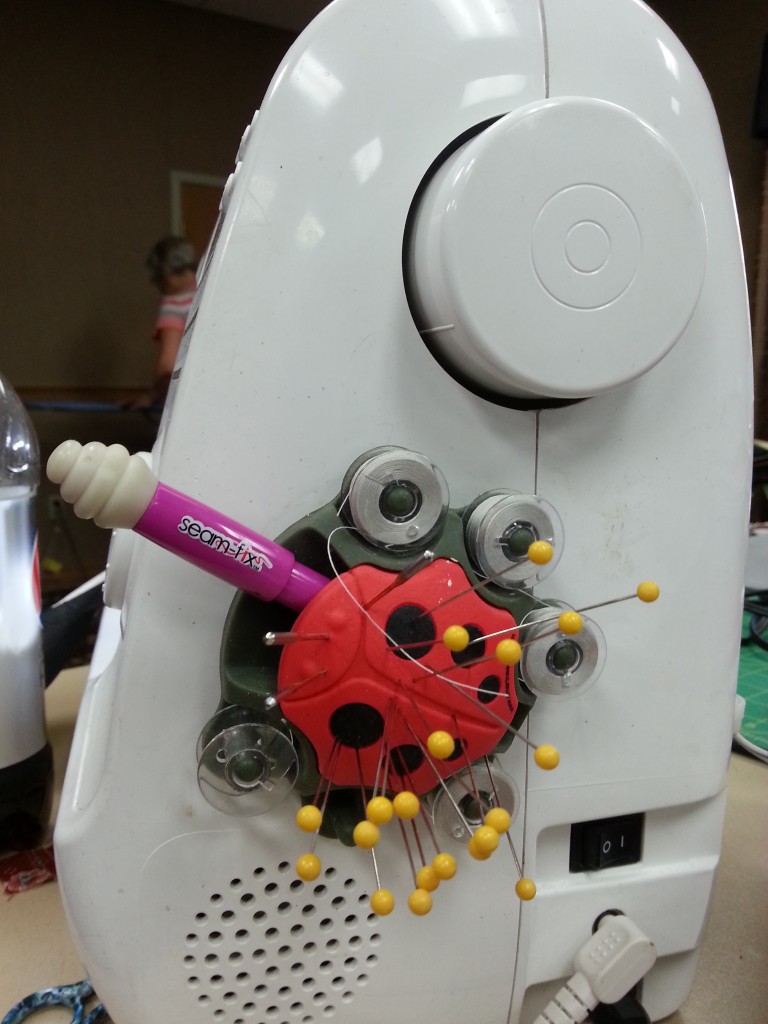
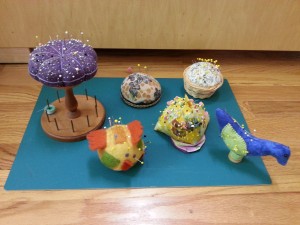
An aspect I enjoy about teaching, is learning from my students and being introduced to new gadgets. A lady at my recent class at the Quilt Guild of Greater Houston had these awesome LED lights on her sewing machine. They come in a strip with an adhesive back and can be cut to the appropriate size for your machine. Nice patchwork pincushion tied onto the machine too!
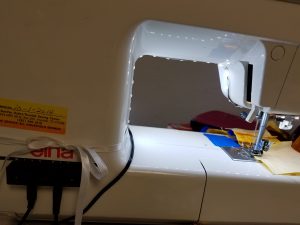
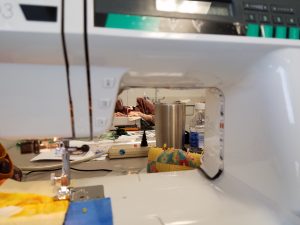
The amount of light generated from the strip of little bulbs is significant. More light is always good for ease of vision and accurate sewing. Here’s a shot of the machine with lights switched off and you can see the difference. The view of the backside of the machine shows how the lights are connected to the power source with cables. On my machine, I used the clip provided to pass the cable around the back and I stuck the switch part around the corner on the end of the machine.
You can order these lights as a kit from Amazon and if you get the expansion kit with an extra transformer and connectors, you can do two sewing machines for $45 (instead of one for $30). Mine have just arrived and I’m very pleased with them. I will share the second set with a friend. A reviewer on Amazon recommends temporarily taping the lights up to try them out and move them with ease to adjust to the most advantageous position. Once you are satisfied that they are in the best place, then you can peel the paper away from the back to expose the adhesive strip and stick them exactly where you want them.
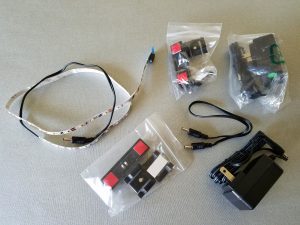
Here’s the kit including the extension with enough LED strip lights for two machines, connectors, and two transformers etc. Here’s a link to a YouTube video to help you with the installation if you decide to purchase them.
