Teaching at Running Stitch Fabrics in Kent

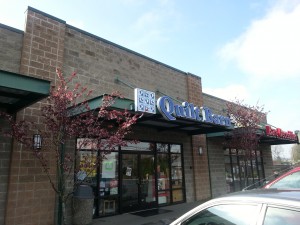
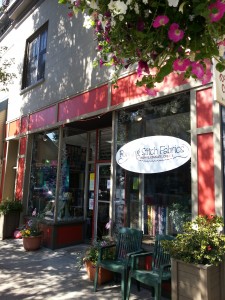
A personal recommendation is always nice. One of my students from a class I taught at Quilted Strait talked me up to Alice Marshall the owner of Running Stitch Fabrics and I was delighted when Alice called to invite me to teach there in early June. The store is on 1st Avenue in the heart of downtown Kent.

20130604_153305 20130604_100434

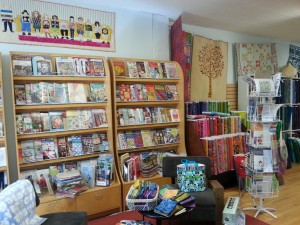
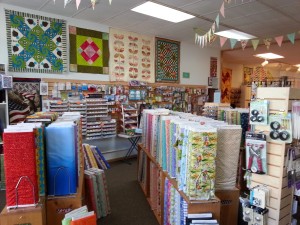
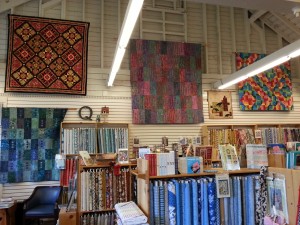
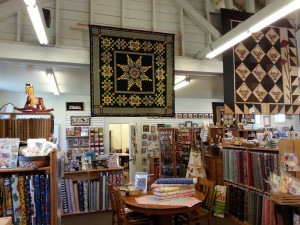
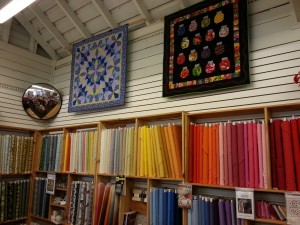
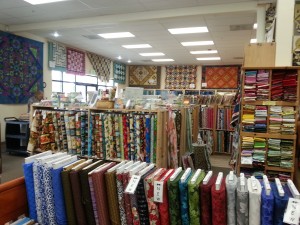
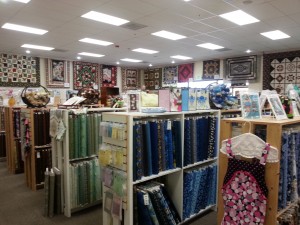
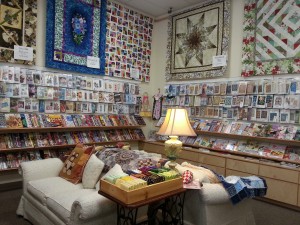
It was inviting and Alice gave me a warm welcome. There was a cozy area for looking at the books, plenty of fabric, and a long-arm machine available for rental and in use for much of the day.

20130604_161909 20130604_153350

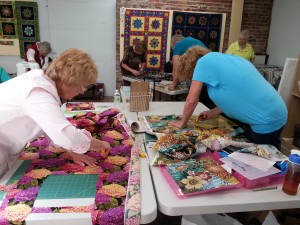
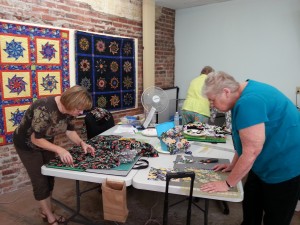
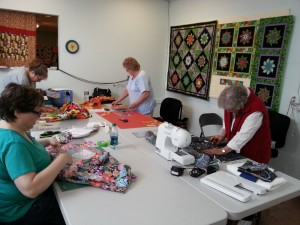
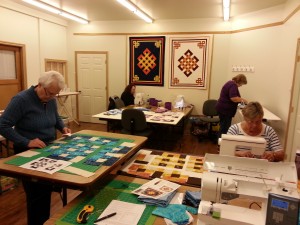
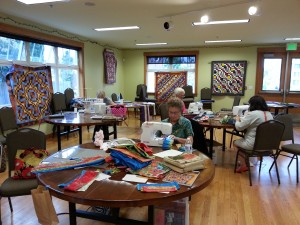
I taught Kaleidoscopic Pinwheels and the class was full with nine students. Here are some of my students cutting out their colorful fabrics. You’ll notice the fan. It was an unseasonably warm day for our area, over 80 degrees F! You can also see some of my class samples hanging on the walls.

20130604_112833 20130604_112822

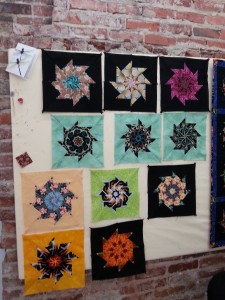
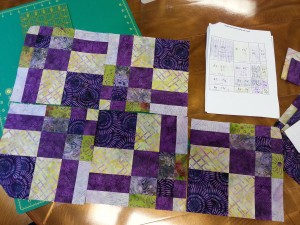
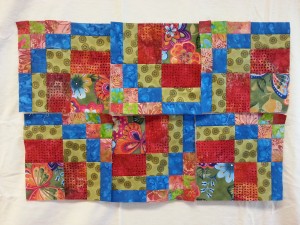
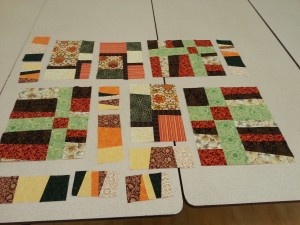
We began by cutting eight identical squares which are stacked into two piles of four and then cut into eight triangles. You get eight sets of eight identical triangles, enough to make eight pinwheel blocks. It’s fun to see the Kaleidoscope patterns emerge and you never know exactly how they will look until you lay them out. My technique differs from that of Bethany Reynold’s in that my Pinwheels float on the background. There is a margin of about 1″ between the pinwheel points and the edge of the block. The blocks may all be trimmed to exactly the same size and there is no loss of Pinwheel points. Here are some of the blocks my students produced. Everyone was successful and we had an enjoyable day.

20130604_155325 20130604_112815

Gateway to Mongolia Class

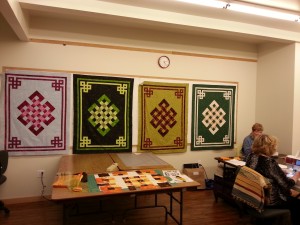
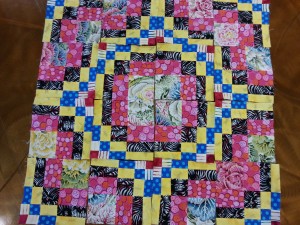
In May, I taught my Gateway to Mongolia class at Quilted Strait in Port Gamble. I teach regularly at this store and I love it. The classroom has an abundance of work walls which is great for displaying my samples.

20130522_142252 20130522_142314

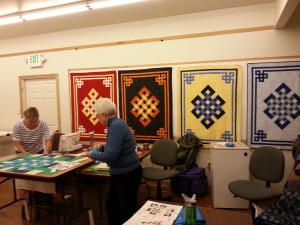
I had a small group of students and there was plenty of space for everyone to spread out and lay out the block components.

20130522_142235

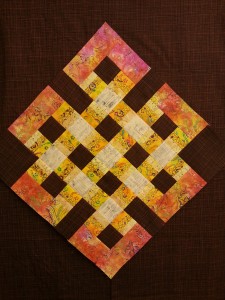
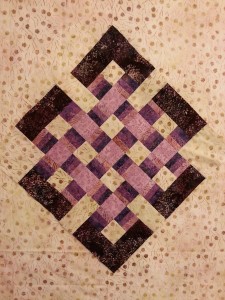
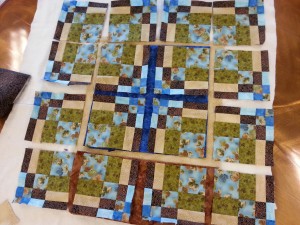
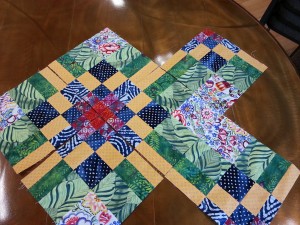
The block looks rather funky until it is pieced and the background setting triangles are added. It’s always fun to see it come alive at this stage. We put the background fabric on the wall and pin the block to it, then the woven effect pops and is very pleasing. Here are two examples from the class. Every student chooses different fabrics and I love to see what they bring to class.

20130522_153949 20130522_145016

When this is posted, I will be in South Africa teaching at the 17th National Quilt Festival in Bloemfontein. I’m really excited to have this opportunity and they are keeping busy. I’ll be teaching workshops for six days, two lasting one day (Gateway to Mongolia and The Bears come out at Night), and two lasting two days (Bargello Quilts with a Twist and Op-Art Kaleidoscope Quilts). On two of these six days, I’ll also be giving lunch time lectures. This conference only takes place every other year and is a big deal. There are at least 20 teachers, one from New Zealand and the others from all over South Africa. The location of the conference, which includes a quilt show and several vendors, rotates around the country and is hosted by the local quilt guilds, this time by the Oranje Quilters’ Guild. The theme is Kaleidoscope, so my new template-free technique is very appropriate. You’ll be hearing more about my experiences after I get back. Perhaps I’ll even learn some Afrikaans!

Western Washington Shop Hop

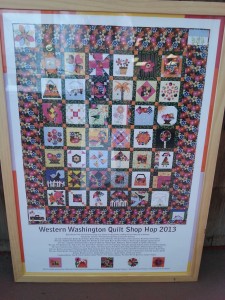
June 19th to June 23rd is a crazy time for quilters in Western Washington. Many go on the annual Shop Hop and drive hundreds of miles to visit all or some of the participating 52 quilt shops. They travel from Vancouver, just across the river from Portland, OR, all the way up the I-5 corridor to Lynden which is practically in Canada, then out west as far as Port Angeles on the Olympic Peninsula. Each shop designs a special quilt block to give away with one piece of Shop Hop theme fabric, one coordinating fabric, and a fabric of the shop’s choosing.

20130616_162618 20130616_162837

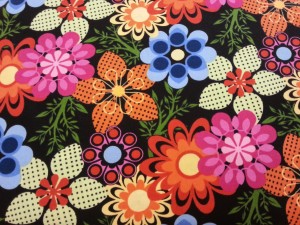
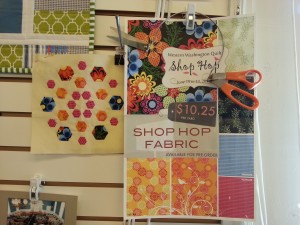
The poster shows a quilt containing all the quilt blocks created by the stores, with the theme fabric in the border. This colorful floral fabric was designed especially for the Shop Hop by In The Beginning Fabrics and the coordinating fabrics come from Clothworks Textiles.

20130617_145047 20130616_162947

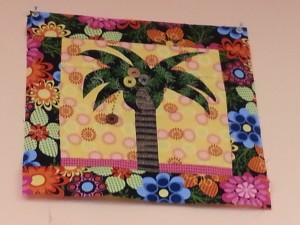
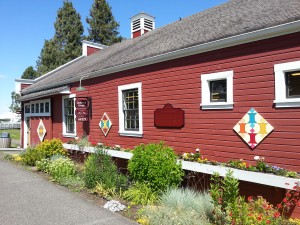
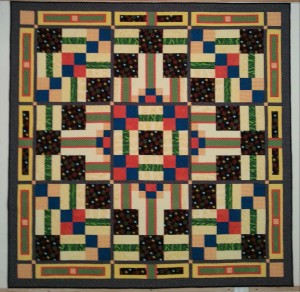
The left picture shows the coordinating prints, and the block with appliqued hexagons designed by Quilted Strait, Port Gamble. The palm tree block on the right was designed by Esther’s Fabrics, Bainbridge Island. I’ll be spending today, (Friday, 21st June), at Quilted Strait demonstrating my template-free Kaleidoscope and Bargello block techniques.  Quilted Strait, this wonderful store in a spacious red barn, is my home base for teaching and they hang several of my quilts in the store on a rotational basis, to promote classes and pattern sales. In these pictures you can see the Ohio Star Lattice – Harvest Stars, my Feathered Star quilt – Brideshead Radiance, and one of my Kaleidoscope Puzzle Quilt – Arctic Spring

.20130617_144547 20130508_145956

20130508_150012 20130508_150021


Teaching at Moonlight Quilters, Bellingham, WA

Just before going to Quilt Market I had a trip up to Bellingham, almost at the Canadian border, crossing the bridge on I-5 that recently collapsed. I had a great group of students for my Bargello Quilts with a Twist workshop and wanted to share some of their work with you.

20130513_140307

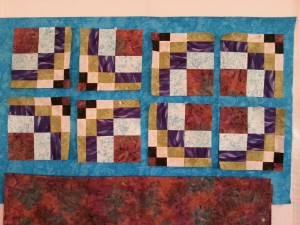
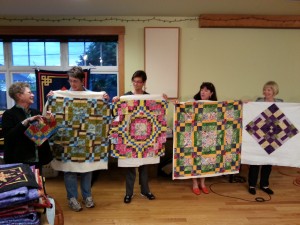
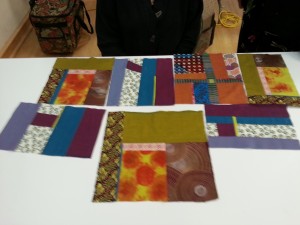
We had a nice light, large room with plenty of space to spread out. I always enjoy seeing the variety of fabrics that my students bring to class. Everyone makes different choices and they all make unique quilts. They are often inspired by one another when they see fabric combinations that they wouldn’t necessarily select for themselves. Everyone pieced several blocks during class. Here are some of the results as they auditioned different block orientations and sashing fabrics.

20130513_160120 20130513_160552

20130513_162350 20130513_160734

20130513_164314 20130513_155601

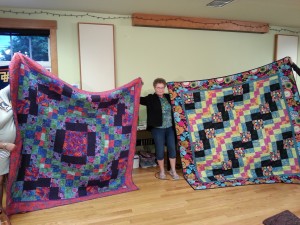
After the workshop, a group of us went out for dinner before returning to the hall for my evening trunk show. Some of my students shared their work at Show and Tell and two people brought beautiful large Bargello Quilts with Twist quilts made from the bigger 9-1/2″ blocks. This is such a versatile technique with so many possibilities for creating different patterns.

20130513_200629 20130513_200512

Visit to The Quilt Barn, Puyallup

A few weeks ago when I was in the Tacoma area, I went to Puyallup and visited the wonderful quilt store, The Quilt Barn.

20130328_105746

The Quilt Barn used to be housed in a red barn, but moved to this larger 6,000 square foot facility a few years ago. Pam Hewitt, owner for 10 years, has a huge inventory of 10,000 bolts of fabric with rows arranged by color, a large section of batiks, and areas with novelty and seasonal prints. The fabric bolts are a colorful feast for the eyes, but in addition, there are many inspiring quilt samples hanging high on the walls where they are nice and visible.

20130328_102846 20130328_102825

In the back there is a big classroom with more beautiful quilt samples hanging and Pam offers a wide variety of classes. She also has a long-arm Handi Quilter sewing machine which is available to rent after you’ve taken a training class. In another area, there is a comfortable book nook with couches and lamps so you can settle down for a few minutes to peruse the great selection books and patterns. I love this.

20130328_105041

If you are in the Puyallup area, or you go there for Sew Expo in early March, it’s worth taking some extra time to visit this awesome store.

Quilt Market Spring 2013 – Tour of the Booths

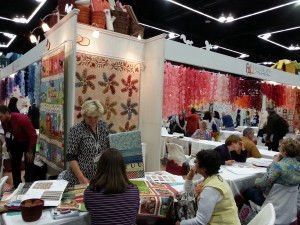
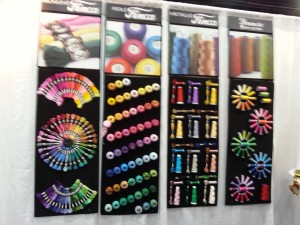
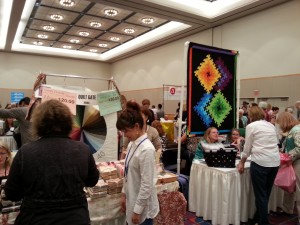
Continuing on the theme of Spring Quilt Market in Portland, OR, I thought you might like a tour of some booths that caught my eye. This is a trade show where the manufacturers and distributors sell to quilt stores. It was huge, with 480 booths spread over 24 aisles. If I owned a quilt shop and was buying, I would be totally overwhelmed. Below, the colorful displays at Moda Fabrics and Finca threads.

20130517_110714 20130517_134416

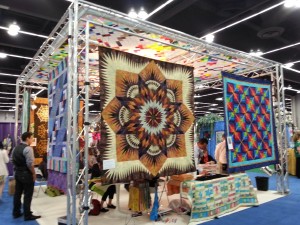
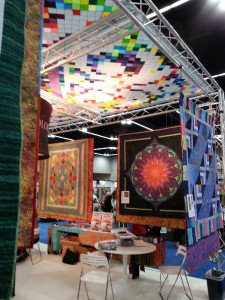
It took me a whole day to walk through all the booths in the exhibit hall. There were fabric manufacturers (over 100), publishers, and suppliers of every imaginable quilting notion and tool. I stopped by three booths that had interesting new rulers (more on these another time). Some of the vendors went to extraordinary lengths to make their space special and to stand out from all the others. Anthology Fabrics Incorporated had an elaborate pieced canopy, spectacular quilts and extra lights to enhance their booth.

Anthologybooth 20130519_103355

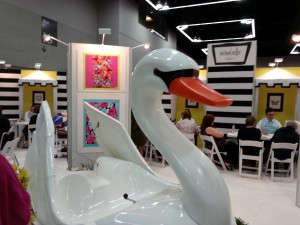
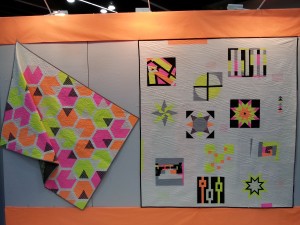
Michael Miller Fabrics had neon orange, pink and yellow modern quilts and a giant swan.

MMbooth 20130517_121111

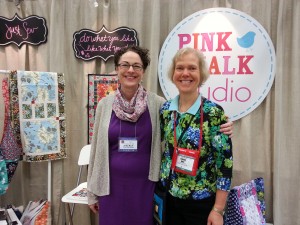
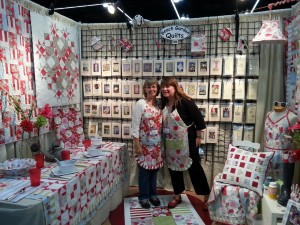
It was fun to see two vendors from home, Bainbridge Island. Here I am with Kathy Mack of Pink Chalk Studios. A few aisles away, Laura Jones and Lynnette Sandbloom were there with their Beach Garden Quilts patterns.

PinkChalkbooth BeachGardenbooth

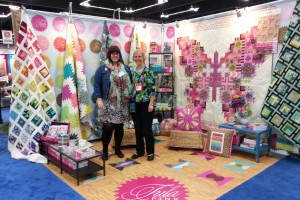
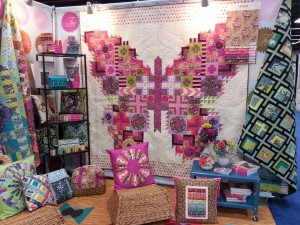
I loved pattern and fabric designer Tula Pink’s booth. Here I am with Tula and I couldn’t resist a closer shot of that gorgeous butterfly quilt made from a variety of “modern” quilt blocks. It was inspiring to attend and a great opportunity for me to reconnect with old acquaintances in the quilting industry.  20130518_102200-1 20130518_102254


Quilt Market Spring 2013 – Sample Spree

20130516_170119 20130516_205638

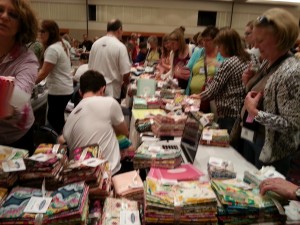
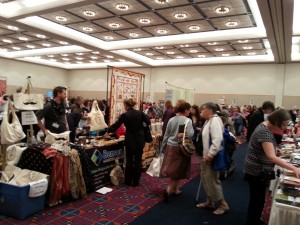
I’ve just returned from three days in Portland where I attended International Quilt Market. It’s four years since I’ve been to this trade show which is held every spring and fall, so I was excited to re-establish contacts in the quilting business and check out all the wonderful new products. As a preview to the exhibition halls opening there was an evening Sample Spree. 120 of the trade show vendors had tables and were selling their wares at wholesale prices. This is an extremely popular event and always oversubscribed. The queue to get in was insane and people began lining up two hours before the doors opened! It is an opportunity for Market attendees, (quilt shop owners and employees, long-arm quilters, teachers etc), to buy fabric (mostly bundles of fat-quarters), tools, books etc., very cheaply for their personal use.

20130516_211431 20130516_202140

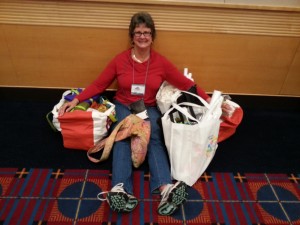
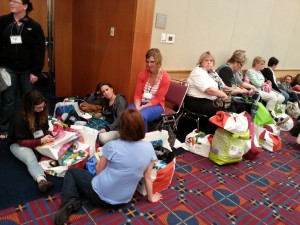
It’s very crowded and you are only allowed to take in bags (no wheely suitcases). People race around loading up their bags and the vendors are usually swamped for the first half hour. I waited until the doors had been open for about 20 minutes before joining the stampede. After a while, some exhausted attendees parked themselves on the floor and rested while guarding their loot!

20130516_204621 20130516_205321

I chatted with this lady, Pam Johnson, from California, who assured “It’s not all mine, some of it is my friend’s!” Okay, I’ll admit it, I succumbed too and bought two large bundles of fat-quarters from Henry Glass & Co. $25 for 17 fat-quarters was too good a bargain to resist!

Creating a new quilt

Urban Garden

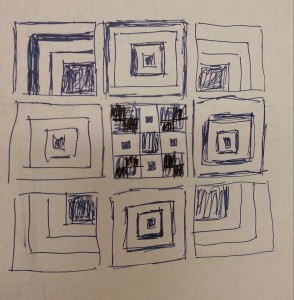
Who knows the origin of a design idea? Maybe this quilt, Urban Garden (aka R3tro), was brewing in my brain for some time, inspired by a combination of different thoughts – a pattern in some paving stones or a window or on a church vestment, the idea of making large scale blocks, the desire to make something that looks contemporary but that utilizes printed fabrics I already own and like rather than the “modern” tendency to solid colors. I was kicked into action by wanting to enter a quilt show with a deadline for submissions of 20th April. After a winter of revising my website, I was definitely in quilting deficit and have thoroughly enjoyed immersing myself in this project.Urban Garden diagram Here’s the very rough sketch I scrawled out as I ate my breakfast before heading out to sing joyfully on Easter morning – as you can see there was quite an evolution to the final version. In this case, I made it up as I went along. Often I design using computer software (more on this another time).
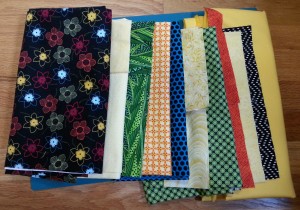
Urban Garden fabricsHere are the fabrics that I used in the quilt. I liked the black floral and pulled the colors from it. I had purchased a solid light buttery yellow, but decided it looked too washed out, so I went to my stash and found some yellow prints. There wasn’t enough of any of them, so I used four different ones which actually make the quilt more interesting. When it came to the borders, I wanted a stronger yellow so I bought the solid on the far left.
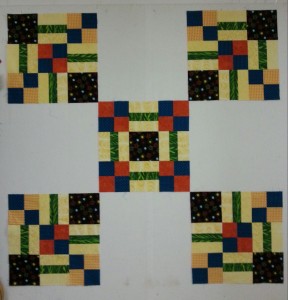
Urban Garden 5 blocksI made the center and the corner blocks first. The blocks are 21”. They went together pretty quickly. I’m quite particular about details and after I started piecing the four-patches, I noticed that the blue fabric with black dots has a direction aspect – the dots appear in vertical lines in one orientation and in horizontal lines when rotated. To maintain the overall symmetry I made sure the lines went the way I wanted. I also manipulated the direction of the leafy green fabric by cutting some pieces across the width of the fabric and others down the length.
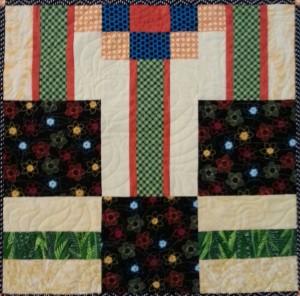
Urban Garden side blockIt took me a couple of days to work out the pattern for the four side blocks. I wanted to complete the Trip Around the World-style pattern created by the large floral squares and to continue the lines of leafy fabric on the outer edges to establish links with the corner blocks. Then the leafy fabric was all gone so I introduced the green dots sandwiched by the orange. I put these sections perpendicular to the leafy green parts and the middle one is longer, helping to lead the eye out from the middle and to break up the nine-patch format of the other blocks. The smaller pieced section of orange and blue adjacent to the center block extends the central pattern in the quilt and helps to make the overall design more cohesive.
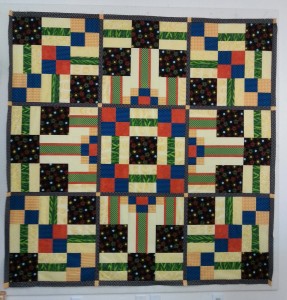
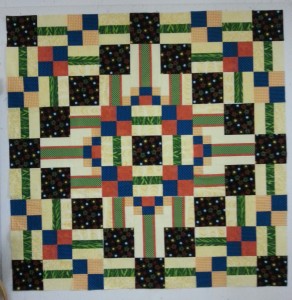
Urban Garden with sashing Urban Garden 9 blocks

Now that the nine blocks were completed I decided they needed a narrow sashing to separate them slightly. The pictures show the blocks before and after. I thought a black and white stripe would work well, but I only had a small piece in my stash. I found the black fabric with white dashes and I like the way it turned out. Once again, I manipulated the direction of the fabric, so that in some places the dashes look like parallel lines and in others they appear as zigzags.
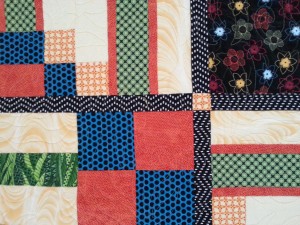
Urban garden sashing

The borders were tricky and I ruminated for a couple of days – I aimed to extend the pattern out from the center without repeating too many of the parallel lines. By the time I had worked out what to do, I had a deadline of a day to have the quilt ready for my good friend Wanda Rains to do the long-arm quilting. I always tell my students not to rush borders. The borders can make or break the quilt and it is worthwhile putting in the time to do them accurately. However, I didn’t anticipate the piecing taking me as long as nine and a half hours, and at 10.30 p.m. I was mitering the corners on the final black border. Whew, it was done!

The next day, I was teaching a class all day at Quilted Strait in Port Gamble. I dropped the quilt off with Wanda in Kingston in the morning and returned after class in the late afternoon to collect it. Wanda had quilted a lovely overall leafy design which softens all those pieced straight lines and was just what the quilt needed. I scrambled over the weekend to attach the binding and finish the quilt for photography on Monday. I don’t usually churn out a big quilt in two weeks, but this one just gushed forth!
 

To wash or not to wash your fabric

Do you pre-wash your fabrics before making a quilt? I always do. When I first began quilting in 1986, that was what I was instructed to do and I’ve done it ever since.

20130417_165301Cotton fabrics shrink a little and they don’t necessarily all shrink by the same amount since the quality and the thread count varies. Some people don’t pre-wash fabrics because they like the crinkled antique look their quilt gets when it is washed and the fabrics shrink. Sometimes people buy fabric at a store or a conference where they are taking a class, They want to use the fabric immediately and don’t have access to a washing machine. My advice would be to not to mix the washed and non-washed fabrics. Apart from the shrinkage factor, the sizing/chemicals in unwashed fabrics makes them stiffer and less pliable which may cause minor problems when piecing them with washed fabrics.

Another issue is whether or not the fabric will bleed. All fabrics should be color-fast, but some shed excess dye the first time they are washed. If unwashed fabrics are stitched into a quilt and they lose some dye, the dye will be picked up by adjacent pieces in the quilt and damage will be done, e.g. red bleeding onto a white background. Putting a color-catcher sheet into the washing machine with the quilt to pick up any excess dye will help to overcome this problem.

These days, the general quality of quilting cottons sold at quilting shops is high, and shrinkage and dye loss are not the problems that they once were. However, it’s still advisable to be cautious and aware of these issues.

Counter-intuitive Quilting

20130413_154324-1 20130413_154334

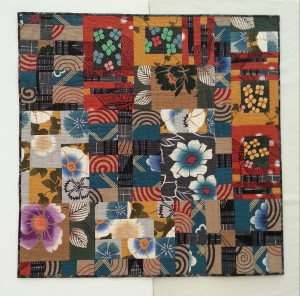
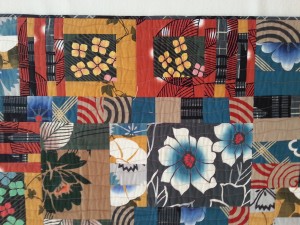
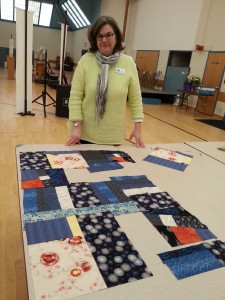
Yesterday I took a workshop entitled “Counter-intuitive Quilting” sponsored by Kitsap Quilters Guild and taught by Patricia Belyea who lectured at the guild last week and share her wonderful Japanese yukata cottons (see earlier blog posting). These photos show Patricia’s cheerful quilt (overall and a detailed shot), Wabi Sabi, which translated from Japanese means love of imperfection. If you look closely at the quilt, you can see some repeated elements. The basic technique involves choosing fabrics to work with and then designing three very simple blocks which are pieced together in a free-form way (we made three of each). When the blocks are put together, pieces are added to fill in any spaces, for example, some of the large flowers. The blocks may trimmed or divided into smaller sections if they don’t fit and the pieces that were cut off may be moved to another area of the quilt top.

20130413_14362620130413_160703

Here is Patricia examining my work. For me, the whole thing seemed too chaotic when I put all my blocks adjacent. I liked them better when I separated them and put some space around them. This reflects my tendency to want my quilts to look more organized and symmetrical. It was quite a stretch for me to cut the fabric with scissors to the approximate shape needed and to piece them together without much regard for straight seams – in fact creating wonky blocks was encouraged. The first set of blocks I made, I used my rotary cutter and had very straight seams, than I took the plunge and used my scissors to make some that were much more irregular. The class was inspiring and I enjoyed trying a different approach. Usually I design a pattern, and then choose fabrics for it, although my initial inspiration may come from a particular fabric that I like. In this case we chose the fabrics we wanted to work with and more or less designed the blocks as we went along.

20130413_16113420130413_144753


Elizabeth Mador made some interesting blocks using purple and chartreuse fabric and a burgundy that had embroidered spirals. Lisa Jowise had some beautiful oriental fabrics for her blocks. We had a very enjoyable day.