Kitsap Quilters’ Guild 30th annual quilt show

Our 30th annual Kitsap Quilters’ Guild show will be held on February 19th and 20th at the Kitsap County Fairgrounds in East Bremerton. Typically we display 200+ quilts and it’s well worth coming to view them. Our guild members are talented and the quilts range all the way from traditional through to modern. We always show case the work of one guild member in a special exhibit and this year it will be Jaxine Anderson. Here’s our beautiful raffle quilt, pieced by guild members and machine quilted by Marybeth O’Halloran. The pattern is by Judy Niemeyer.

Print 20151215_193351

The quilt will be displayed at the show where you will have the opportunity to purchase tickets for the raffle. Here’s a detailed shot showing the exquisite quilting. The drawing for the raffle will be at our quilt guild meeting on February 23rd.

20151215_193647

The magic of Color Catchers

I made this large Bargello block quilt for my nephew and there was almost a catastrophe.

20160114_172738

On my way to quilt it on my friend’s long-arm quilting machine, my water bottle tipped and spilled slightly onto the quilt. When I got to my destination, I discovered to my horror that the red dye from the small red squares had bled. This should not have happened – all the fabrics were pre-washed before I pieced the quilt and the dyes should have been stable.

20151128_151414 20151128_151307

We dried the quilt top by ironing it and decided to go ahead and quilt it. After quilting and adding the binding, I washed the quilt. Color Catcher to the rescue!

20160114_173238-1 20160114_172126

The Color Catcher is a white sheet that goes into the washing machine with the laundry load. It traps the loose dyes that are released during the washing cycle. As you can see, it worked its magic when I washed the quilt. The red that had bled onto the surrounding fabrics was released and gathered up by the sheet, which changed color from white to dark pink. Color catchers come in boxes of 24 and are available at grocery stores.

Portable design wall

When I was teaching in Spokane, WA, one of my students brought an ingenious portable design wall to class. She said that quilt teacher Pat Speth had given her the instructions. I contacted Pat and she kindly agreed to allow me to share these with you. See Pat’s blog for more pictures.

20150926_135138 20150926_153848

Pat developed this design wall back in 1995 and has been sharing it in her workshops ever since. It’s lightweight, inexpensive, and very portable. Here are the supplies you will need:

Dressmaker’s cardboard cutting board (the kind that folds up for storage), when folded measures 14″ x 40″
Two curtain rods that extend to at least 72″ (the white metal ones that curve on each end)
Piece of flannel 44″ x 80″ or a flannel-backed vinyl tablecloth
10–12 large binder clips 2″ size (from the office supply store)
Double sided carpet tape

Cover the backside of the design wall with the flannel – it will fold up with the grid side on the outside so the flannel will stay cleaner longer. With the backside facing up, apply the double-stick carpet tape along one long edge at a time. If your flannel is wider than the design wall, apply the tape to the grid-side and attach a couple of inches of flannel to the front (or whatever you need to make it fit). Press the flannel onto the tape, allowing it to extend past the cutting board at the top and bottom by a couple of inches.Tape both sides, then turn the board over. Apply tape to the top, press the flannel into place, and repeat on the bottom edge.

When all the edges are taped down you are ready to attach the curtain rods.  Extend curtain rods to 6′ and lay them under the long sides, one side at a time.Attach binder clips to hold the cutting board to the curtain rod.

20150926_135059 20150926_135159

Use five or six binder clips along each side. Finish attaching the clips to one side, then do the other. If you are short of wall space for a permanent design wall, you can create the wall space by leaning these up against almost anything, blocking windows or doors. For larger quilts, simply set two or three of these design walls next to each other.

Rushin’ Tailor’s Quilt Alaska, Skagway, AK

During my quilting cruise to Alaska, we visited the Rushin’ Tailor’s Quilt Alaska store in Skagway. Oh my, what a treasure trove! If you are in Skagway, it’s well worth a visit. The store is located in downtown historic Skagway, an easy walk from the cruise ship dock, at 370 Third Avenue. Here’s a visual tour.

20150814_145457 20150814_145428

The ceiling of the store is high and every space on the wall is covered in quilts, most of which are Alaska themed. The space is tight because there’s so much crammed in. There are Alaskan wild flowers and animals, scenes, Native American art style animal appliques to name a few, and a whole section of patterns. It was a bit of a zoo when all of us quilters descended!

20150814_150626 20150814_145626

20150814_150251 20150814_150334

They are well-know for their Alaskan themed batiks. Here are some wonderful examples. How can you resist…..?!

20150814_150120 20150814_150009

20150814_145821 20150814_145848


Rain Tree Quilting, Juneau, AK

Our first port of call on the cruise to Alaska was Juneau. Several of us opted for a whale-watching boat trip with a stop at the quilt shop on the way back into town. Rain Tree Quilting is on the outskirts of Juneau at 2213 Dunn Street (off Old Glacier Highway across from Frontier Streets). The premises are spacious including a large classroom. They are Bernina dealers and have a wide selection of quilting fabrics. They stayed open late for us and gave us a warm welcome including some nice refreshments much appreciated after the excitement of the hump-backed whales. Our group was eager to shop, so it was win win all round!

20150813_194326 20150813_195203

20150813_195629 20150813_195543

20150813_200726 20150813_195549

The class room featured several colorful quilts made from Kaffe Fassett fabrics and there was nice little section with felt for those interested in wool applique. The store should be part of your bucket list if you make it to Juneau!

20150813_195814 20150813_195605


Experience Quilts, Odessa, WA

At the end of September, I traveled from west to east across Washington State to Spokane where I taught. In Odessa on Highway 28, about an hour west of Spokane, I visited Experience Quilts located at 4 West 1st Avenue. The store is on the main street through town and is easy to find. Don’t be confused by the sign on the green awning – it was formerly known as The Quilt Crossing!

20150923_161259 20150923_165400

I received a warm welcome and enjoyed looking around. They offer long-arm machine quilting services, and have a classroom area with tables. There was a good selection of fabrics, notions, patterns and books to provide for the quilters in this rural area of farmland and open countryside. If you are in the vicinity, its is worth taking the detour off Interstate 90.

20150923_165259 20150923_165337

As you can see, they have a good quantity of fabric. The shop is well lit and the merchandise is nicely organized so that it is easy to find what you want.

20150923_165337 20150923_165350

This quilt is a very simple pattern, but an attractive to way to use a variety of colorful prints or a charm pack. The store has a great selection of winter and Christmas themed fabrics too.

20150923_165443 20150923_165232

The Quilting Bee, Spokane Valley, WA

When I visited Spokane, I gave two lectures and taught two days of workshops for the Washington State Quilters, Spokane Chapter. My wonderful hostess took extremely good care of me providing for my every need. After one of the workshops, we walked around the downtown area of Spokane and had dinner, then headed out to The Quilting Bee, located at 12117 E Mission Blvd in Spokane Valley (just down the road from Spokane). The store was open until 8:00 p.m. and the day we went, they were having a “Sew-in” until 11:00 p.m.

20150925_194359 20150925_194423

This large store can be a little overwhelming. Every space is jam packed with merchandise and all the wall surfaces are covered with quilts and signs. It can be a little hard to navigate in places as the passageways between the shelves are often narrow, but oh, there’s so much quilting stuff and samples to inspire!

20150925_194707 20150925_194935

20150925_194802 20150925_194449

They are Bernina and Jenome sewing machine dealers and have on-site sewing machine mechanics. Downstairs, there is a machine repair shop, offices, a kit preparation and cutting room, and a large room for classes and meetings. And check this out – there’s a man-cave complete with a TV, games, and sports magazines! So, while the women are busy shopping, the guys can hang out and relax.

20150925_200101 20150925_200003

The store has a busy schedule of classes. Here’s one of the classrooms with the evening sewers beavering away. It’s not just about quilting. Classes include all kinds of sewing lessons, including projects for kids. It’s definitely a happening place that you will want to visit!

20150925_194743 20150925_194945


Teaching at WA State Quilters, Spokane Chapter

In September, I was given a warm welcome by the quilters of the Spokane Chapter of WA State Quilters. This is a large group and over 400 quilters attended my two lectures. They were incredibly generous in their support of the Mongolian Quilting Center and we raised over $2,500 in donations and sales. I taught two days of classes, Bargello Quilts with a Twist and the Gateway to Mongolia. We had a nice light and spacious classroom at the hotel where I was staying, so it was very convenient and the hotel catered our lunches.

20150926_125522

As usual, I enjoyed seeing each student’s choice of fabrics and how these turned out in their projects. Here’s a selection of the Bargello blocks. One of my students made a quilt top before coming to class! It’s always reassuring when people can successfully follow the directions in my book with great results.

20150926_151858 20150926_124816-1

Here are some examples for the Gateway to Mongolia. They are all so different and it’s interesting to see how the Olzii pops out against the background. Some pop more than others and this class is a good lesson in the importance of value to get smooth transitions for achieving the woven effect.

20150925_145453 20150925_152233

20150925_144957 20150925_143727

5th Grade quilt project, Chestnut Hill Academy

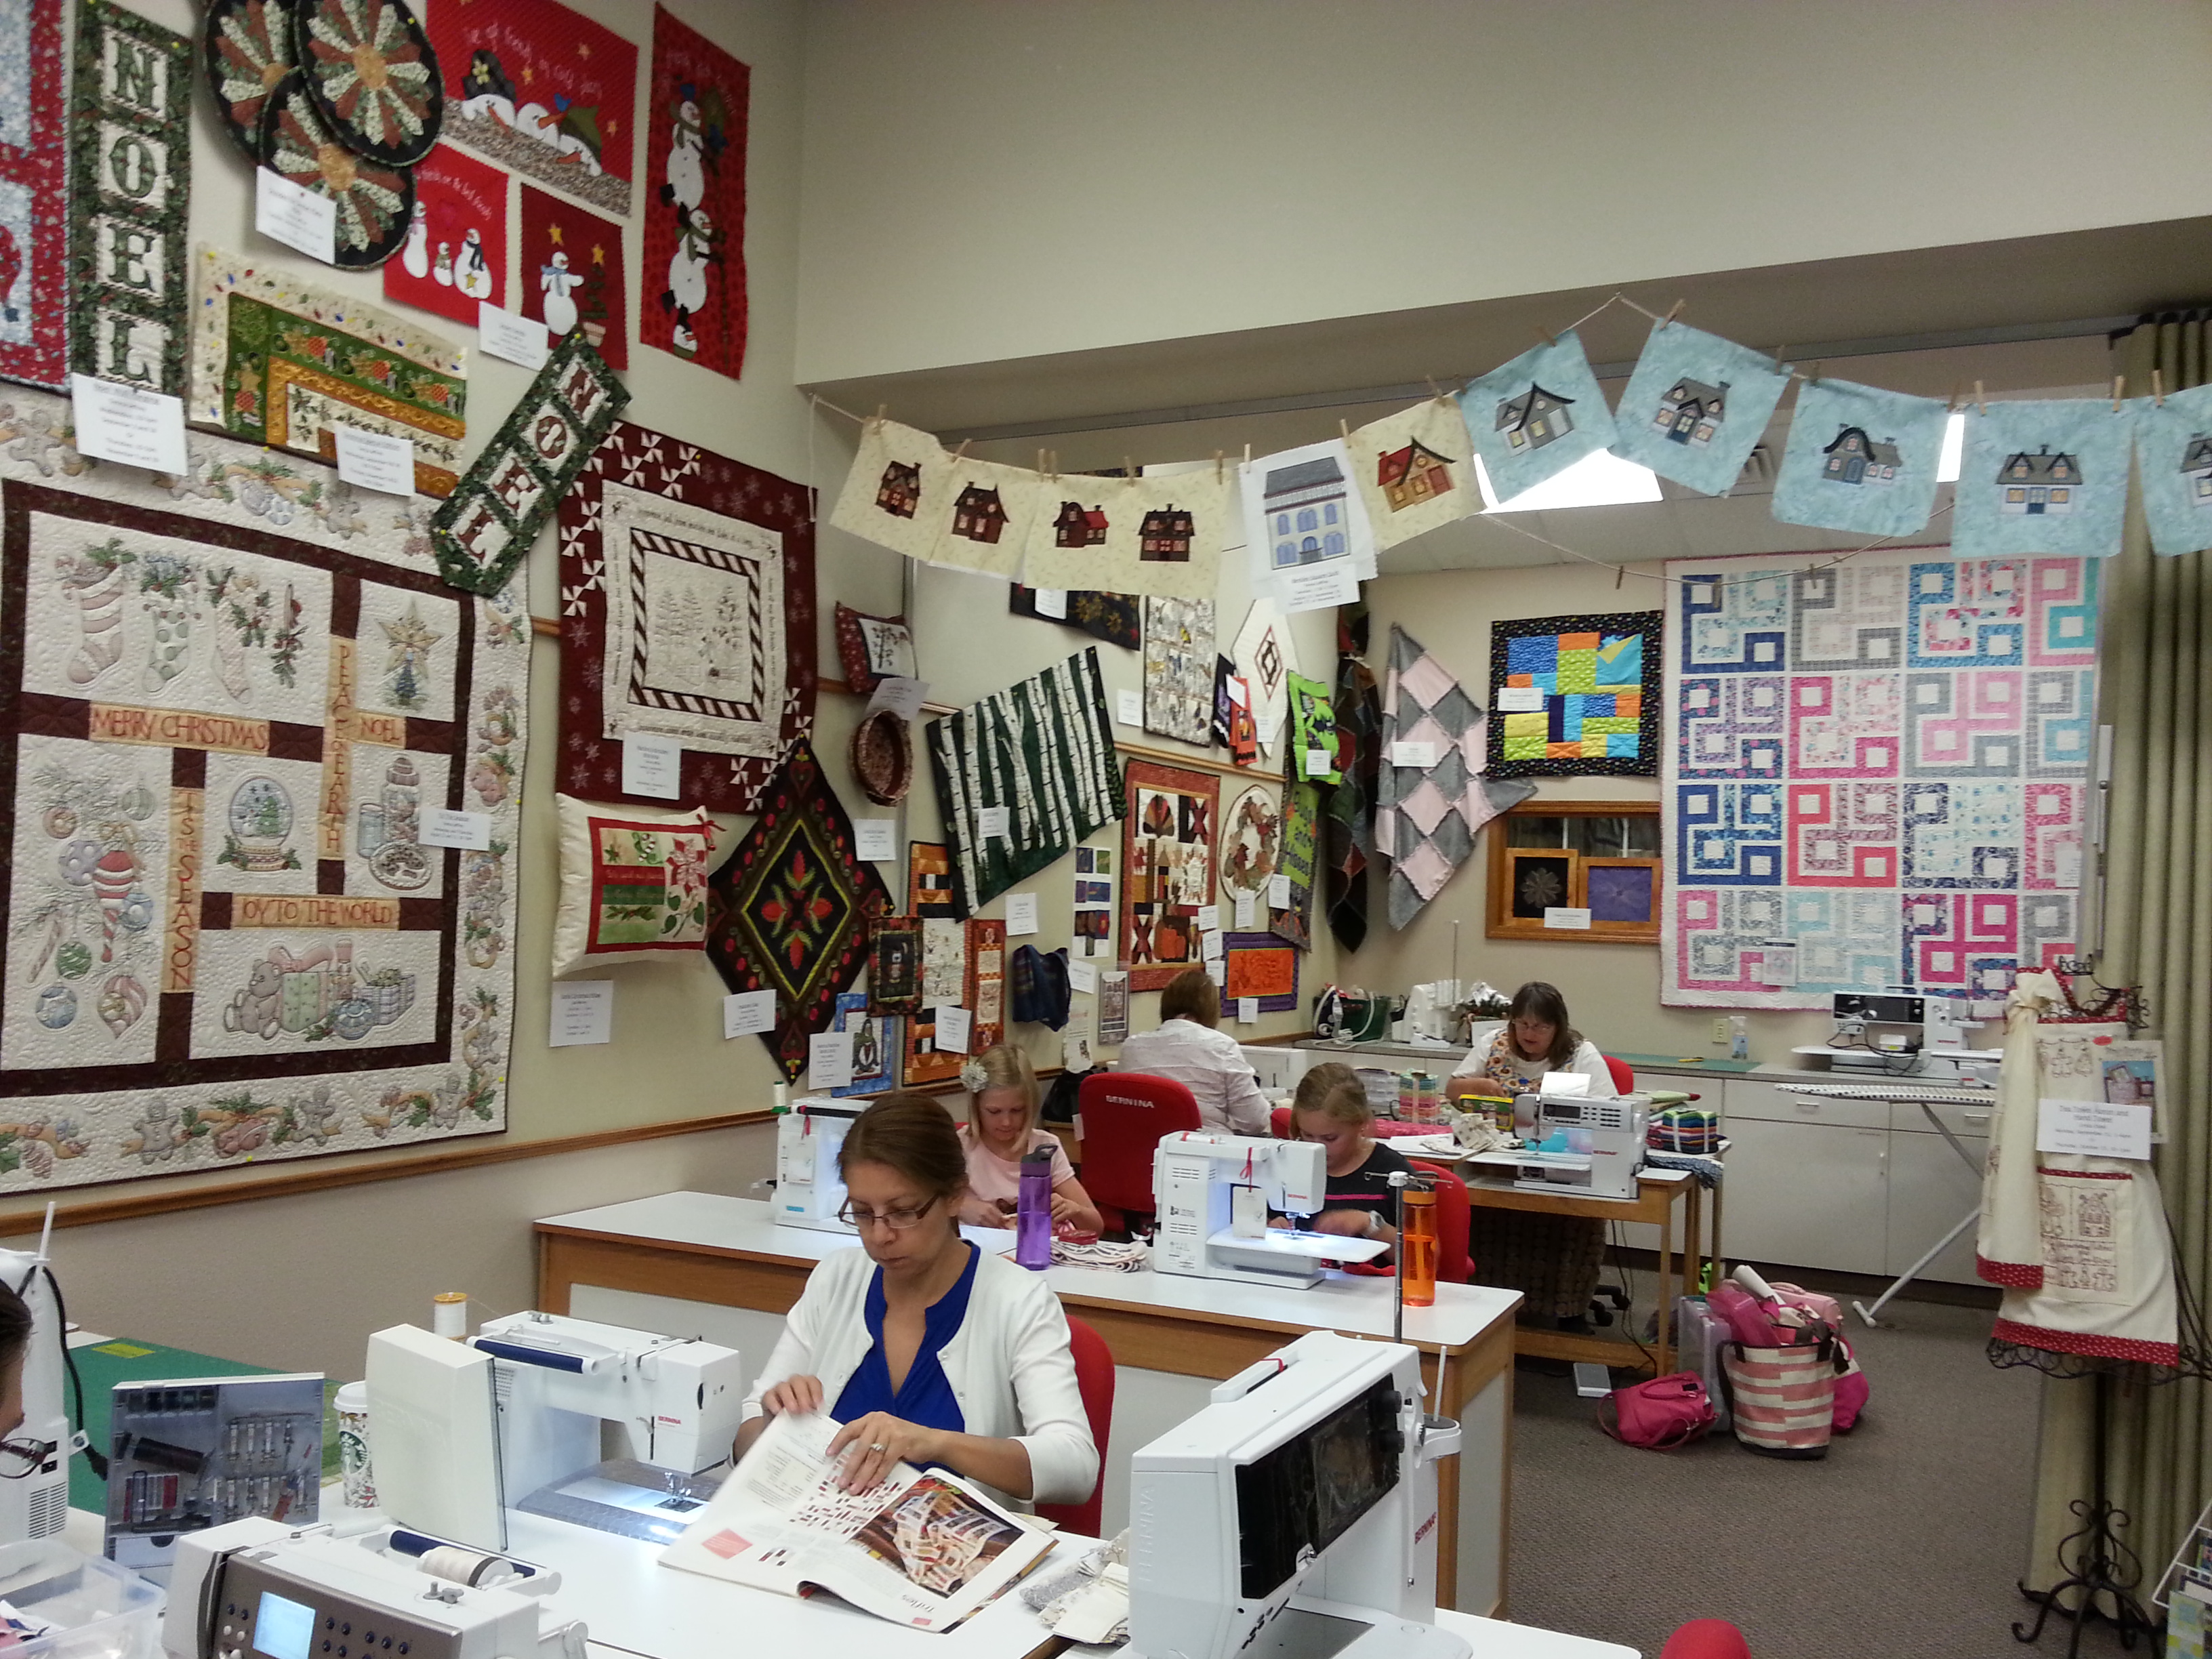
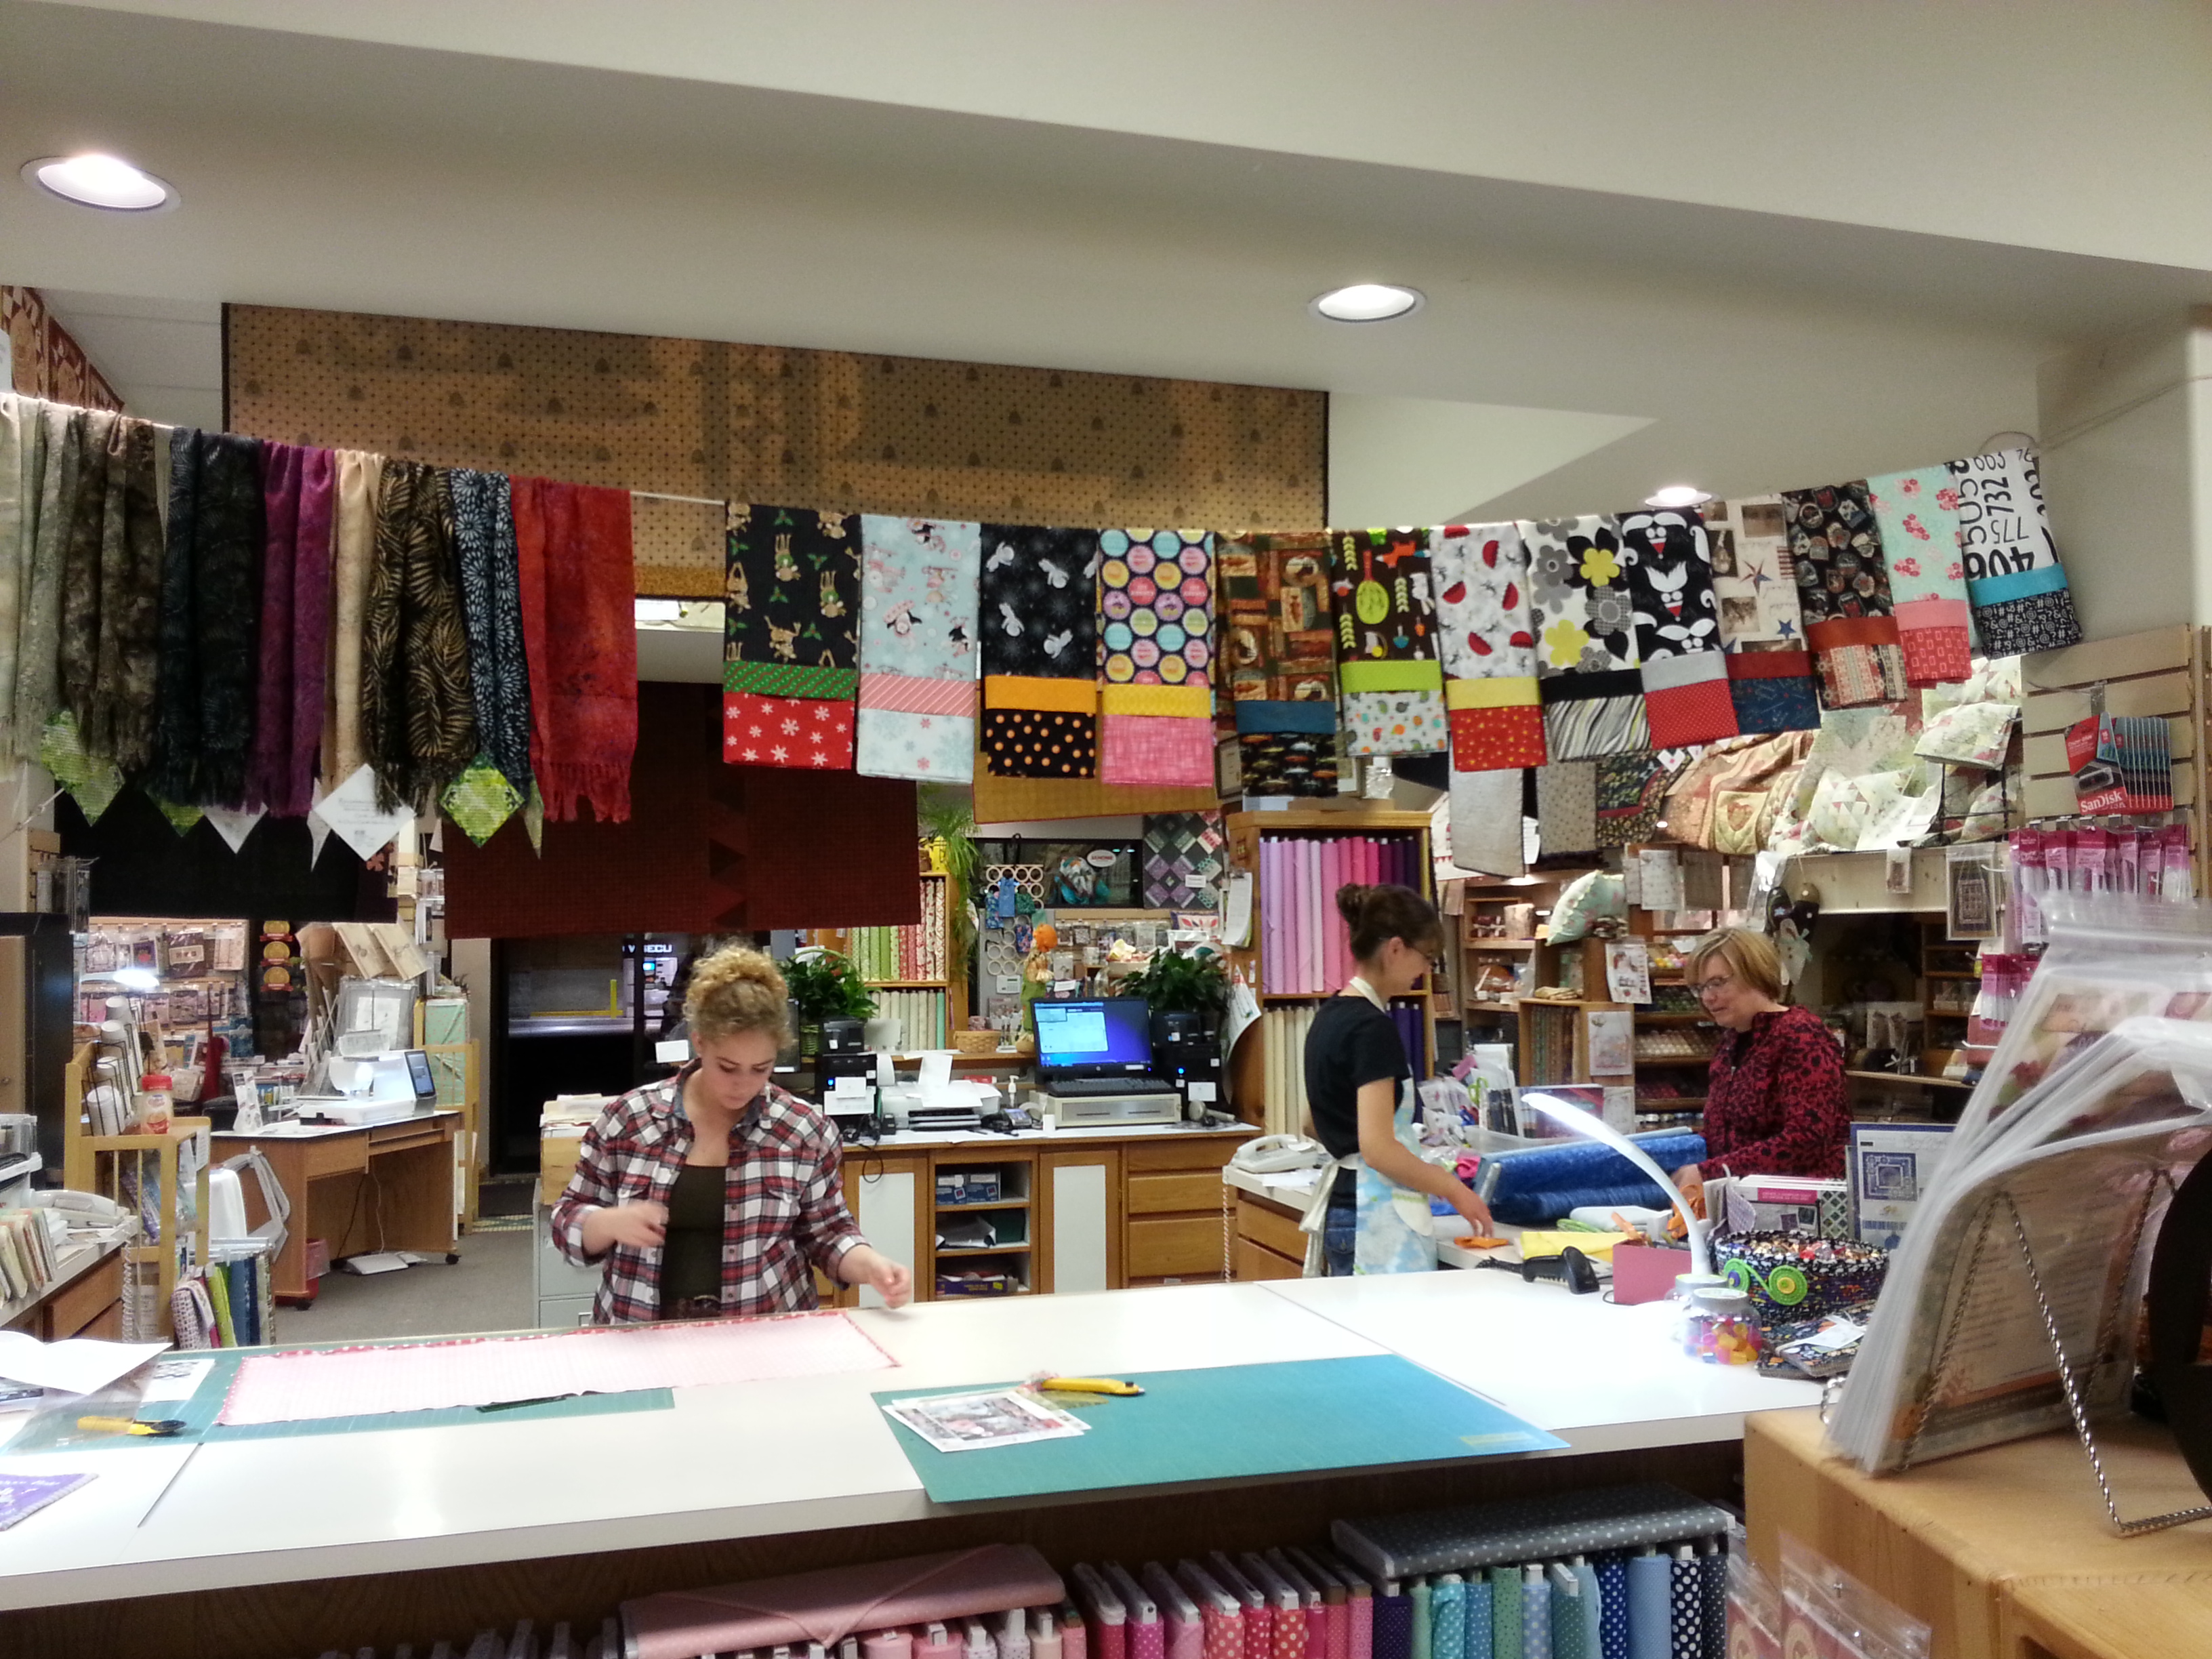
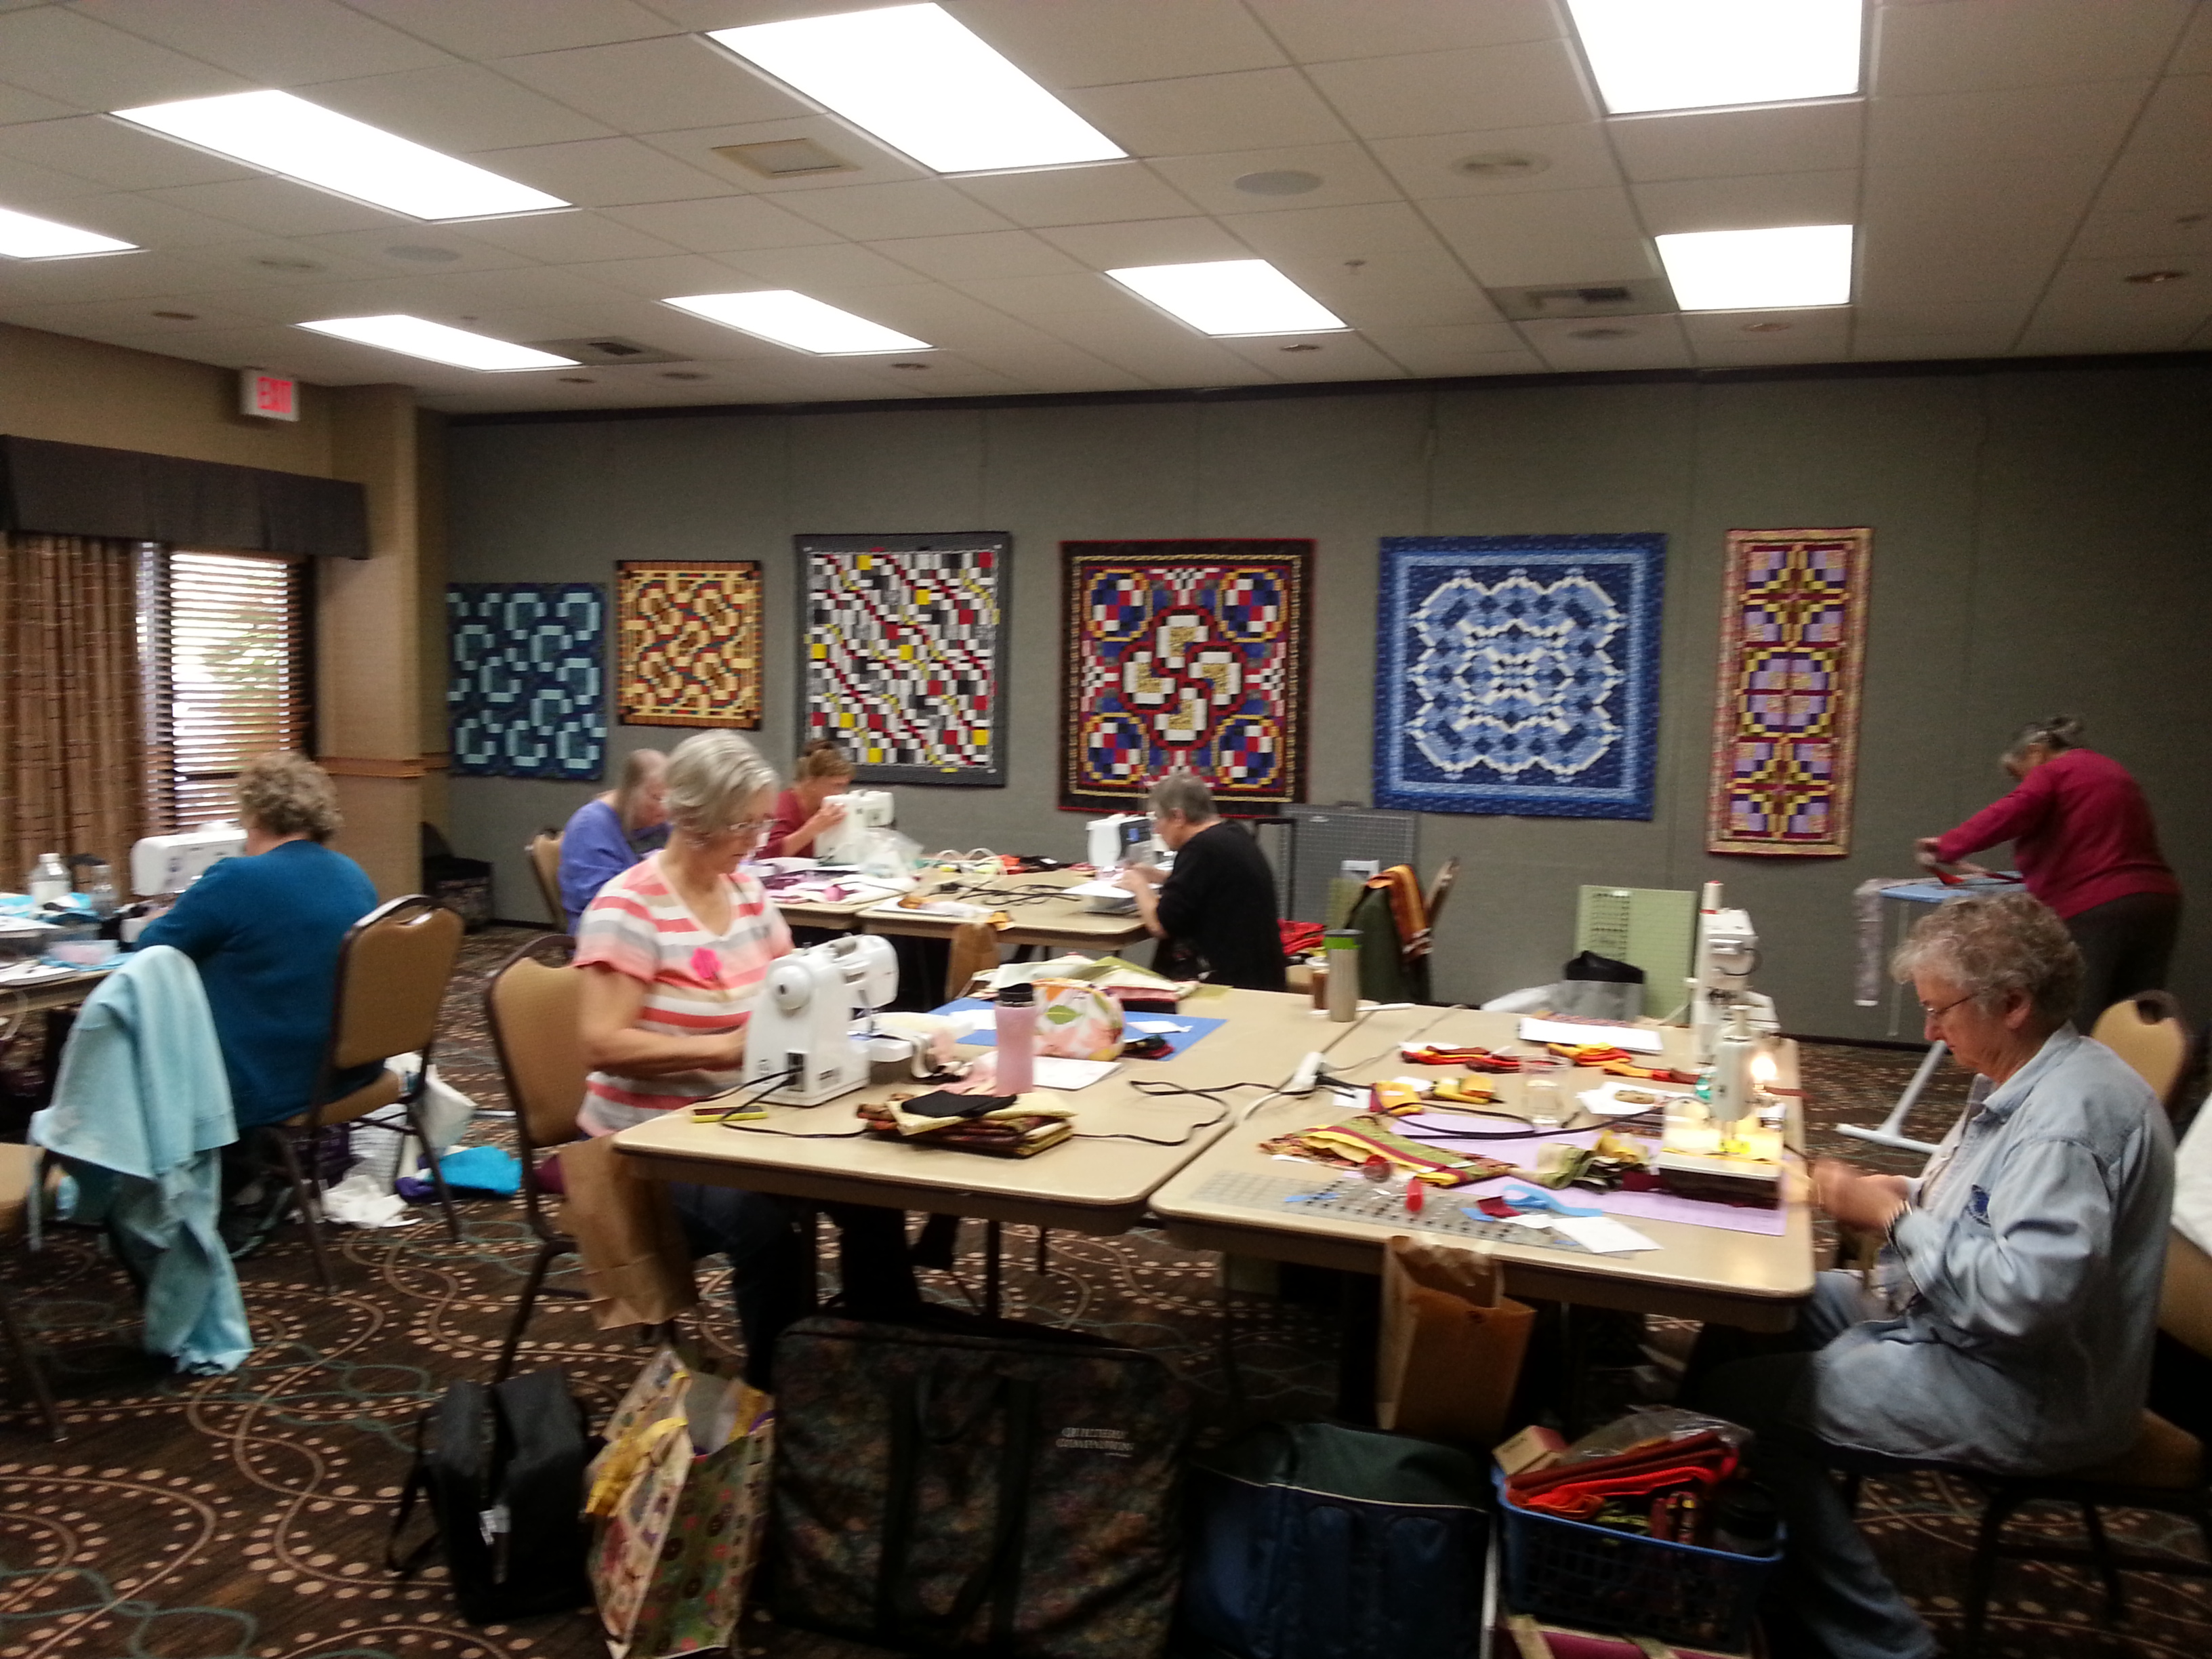
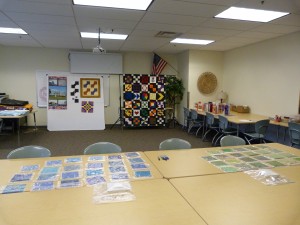
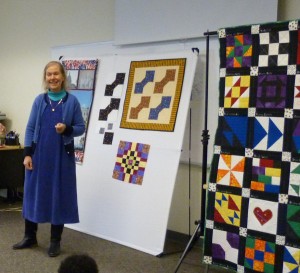
I spent last week quilting with 5th Graders at Chestnut Hill Academy in Bellevue, WA. It’s been six or seven years since I worked with kids and I was excited to be enlisted. My daughter teaches 5th grade math and science at the school and secured a grant from the PTO to fund this project. We wanted to involve the kids with as much of the quilt making process as possible which required careful planning and thorough preparation of the materials. It was an intense week, but great fun and the kids enthusiastically embraced designing their quilts and using the sewing machine. There were two classes, 26 kids in all and we made two quilts. The quilts will be auctioned at a school fundraiser in the spring. I was assigned a large light room for the week and the kids came for presentations and sewing. Privacy regulations do not allow me to share pictures of the kids, but here’s the classroom and me doing a presentation.

P1210169 P1210174 (2)

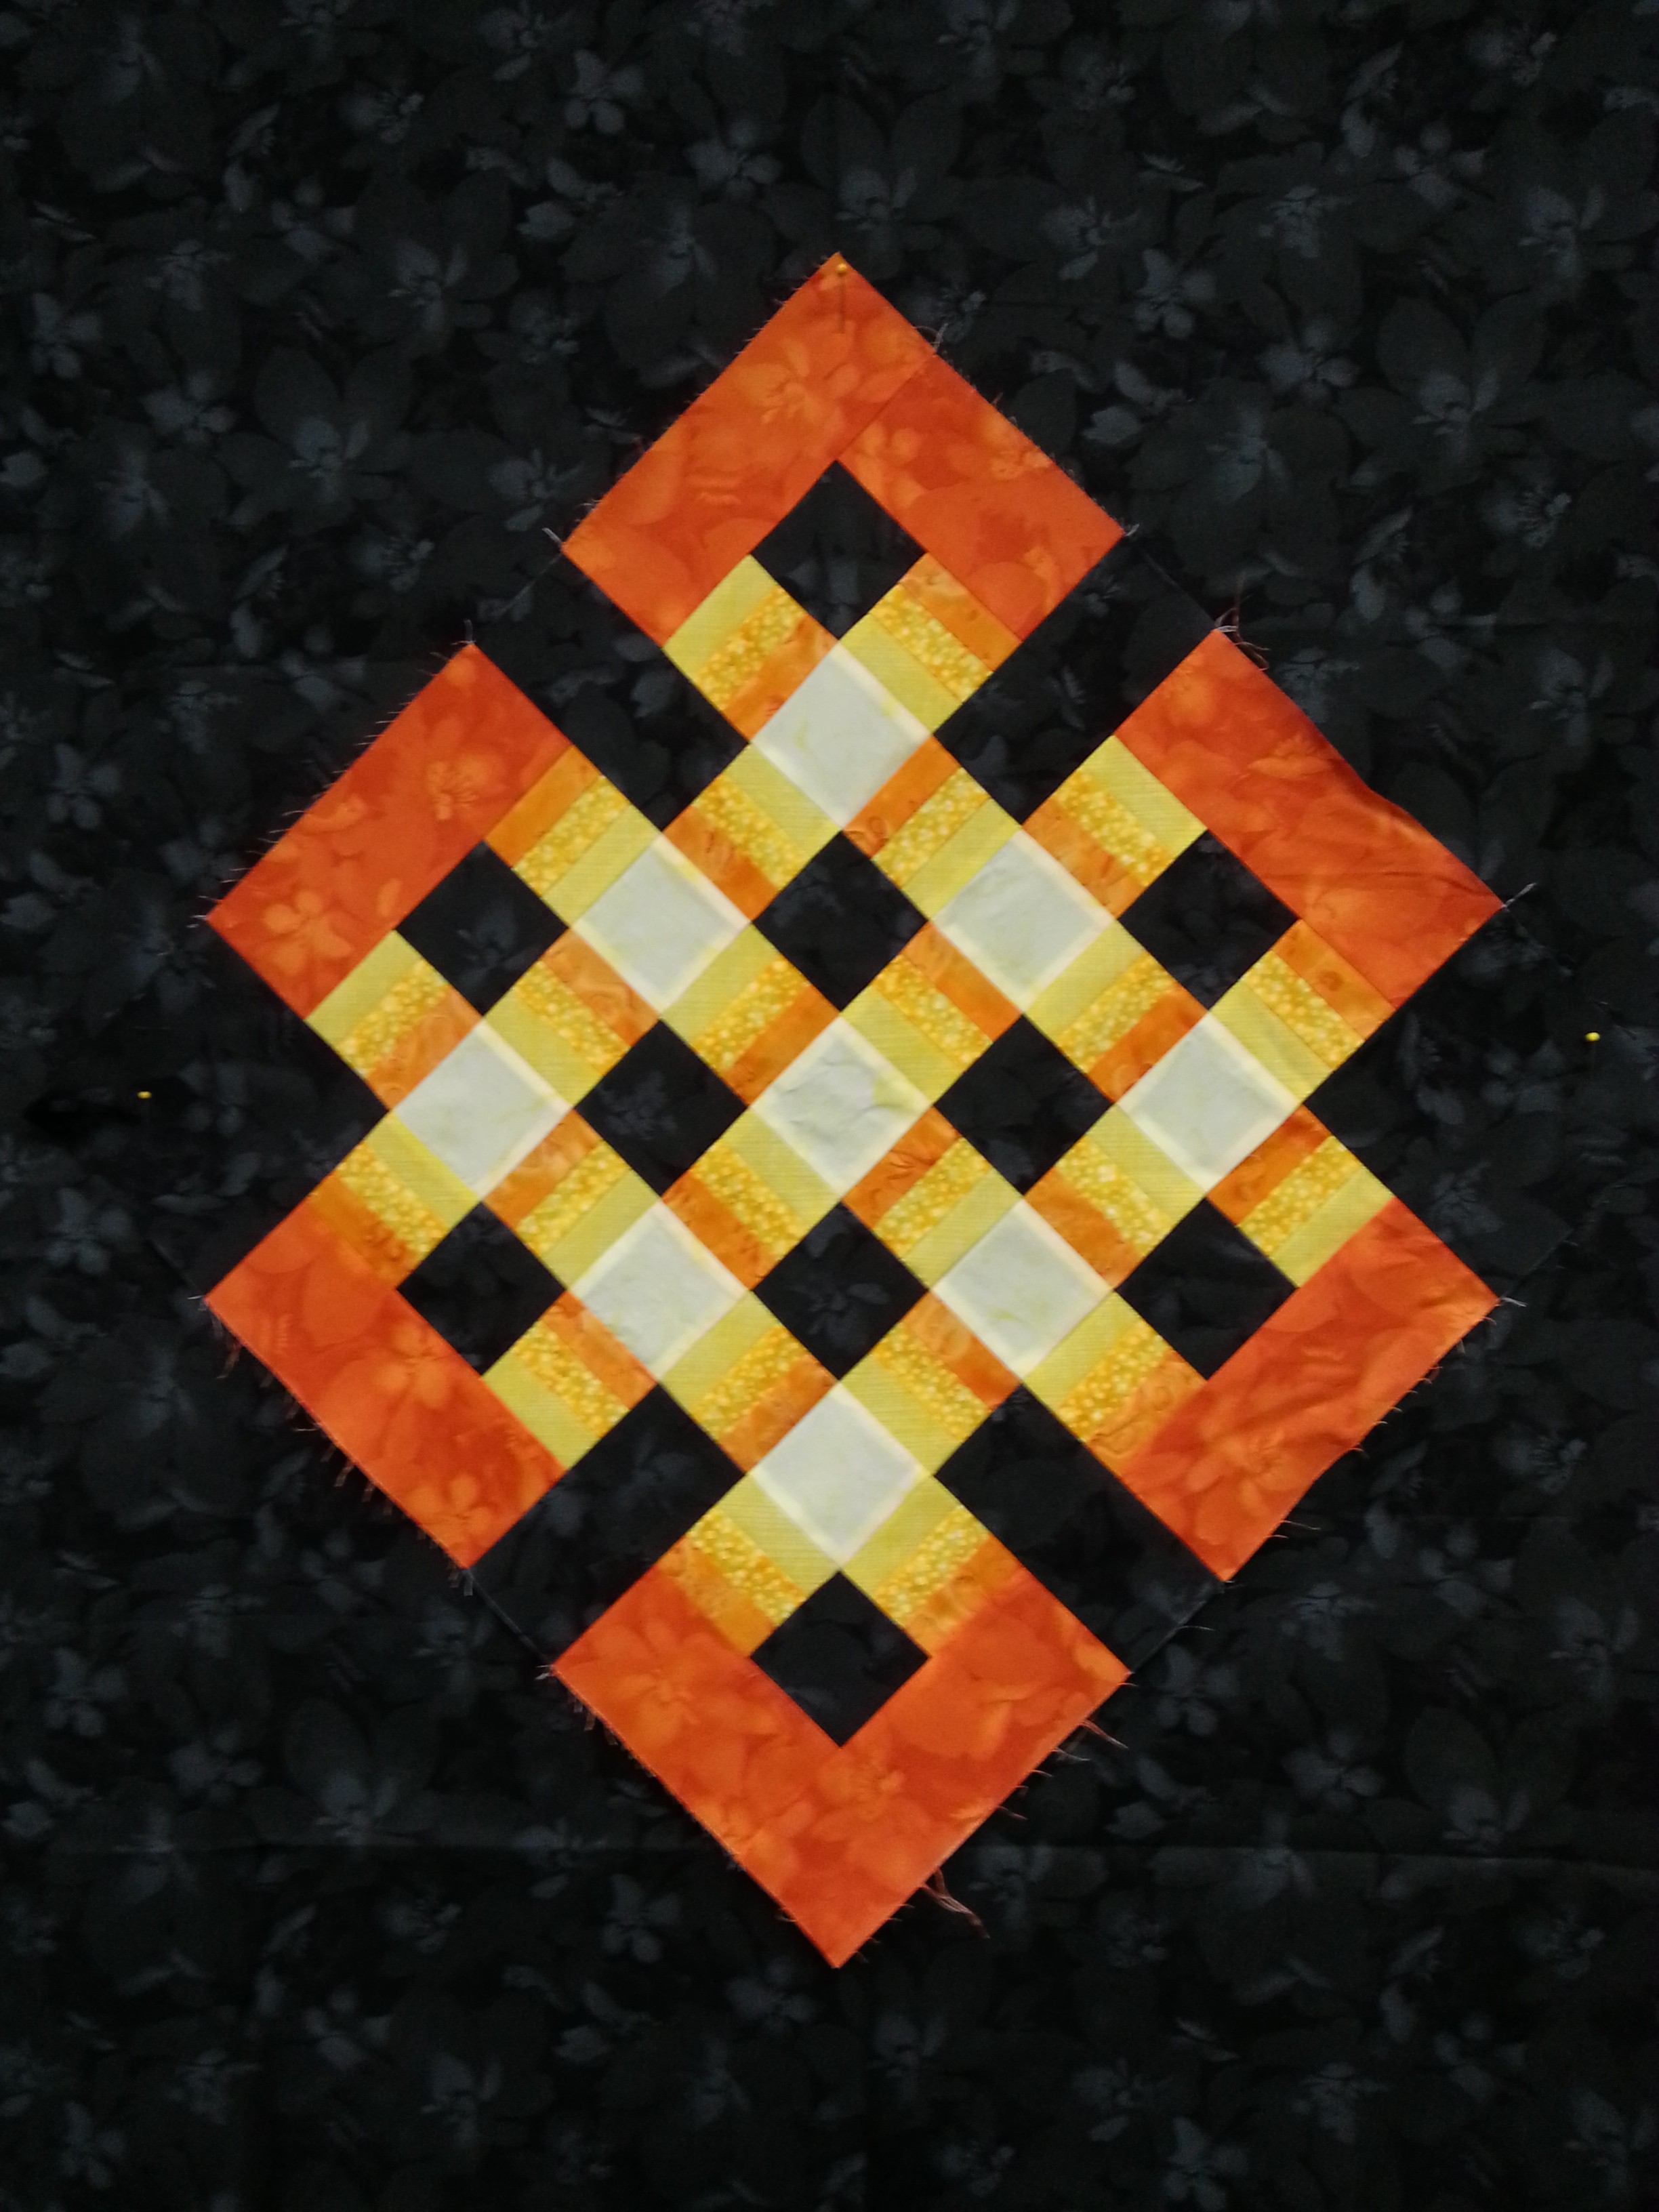
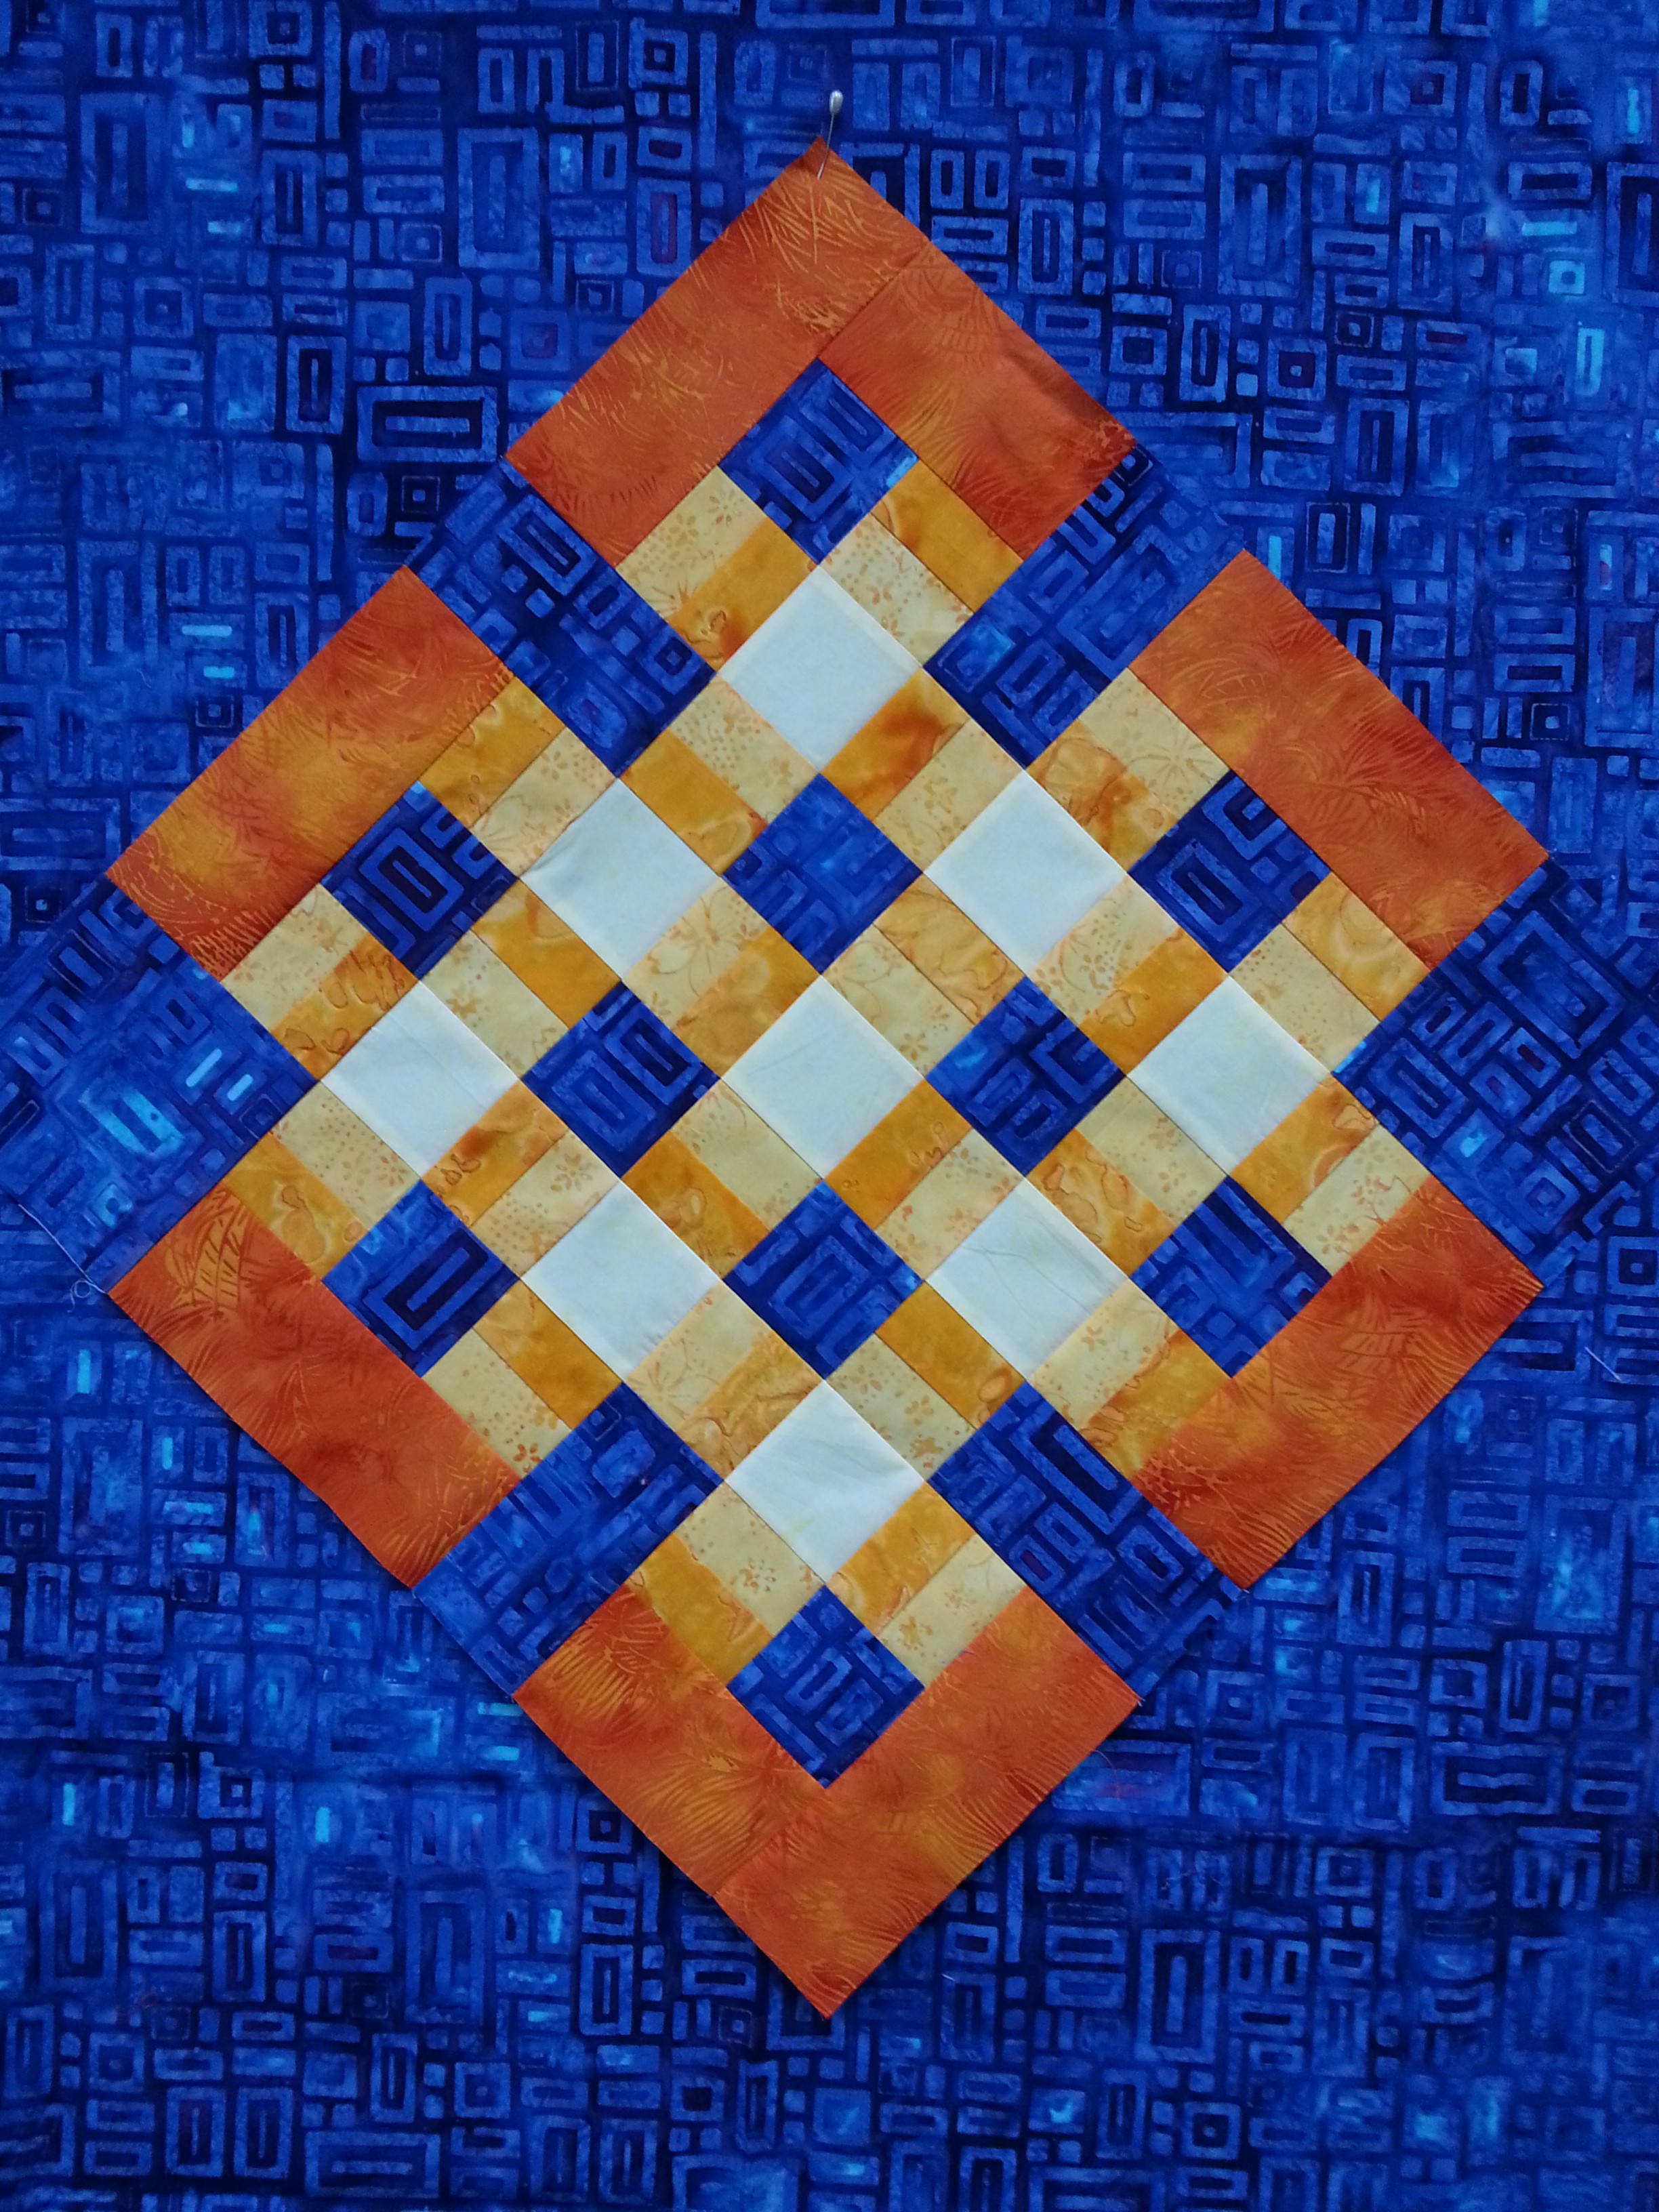
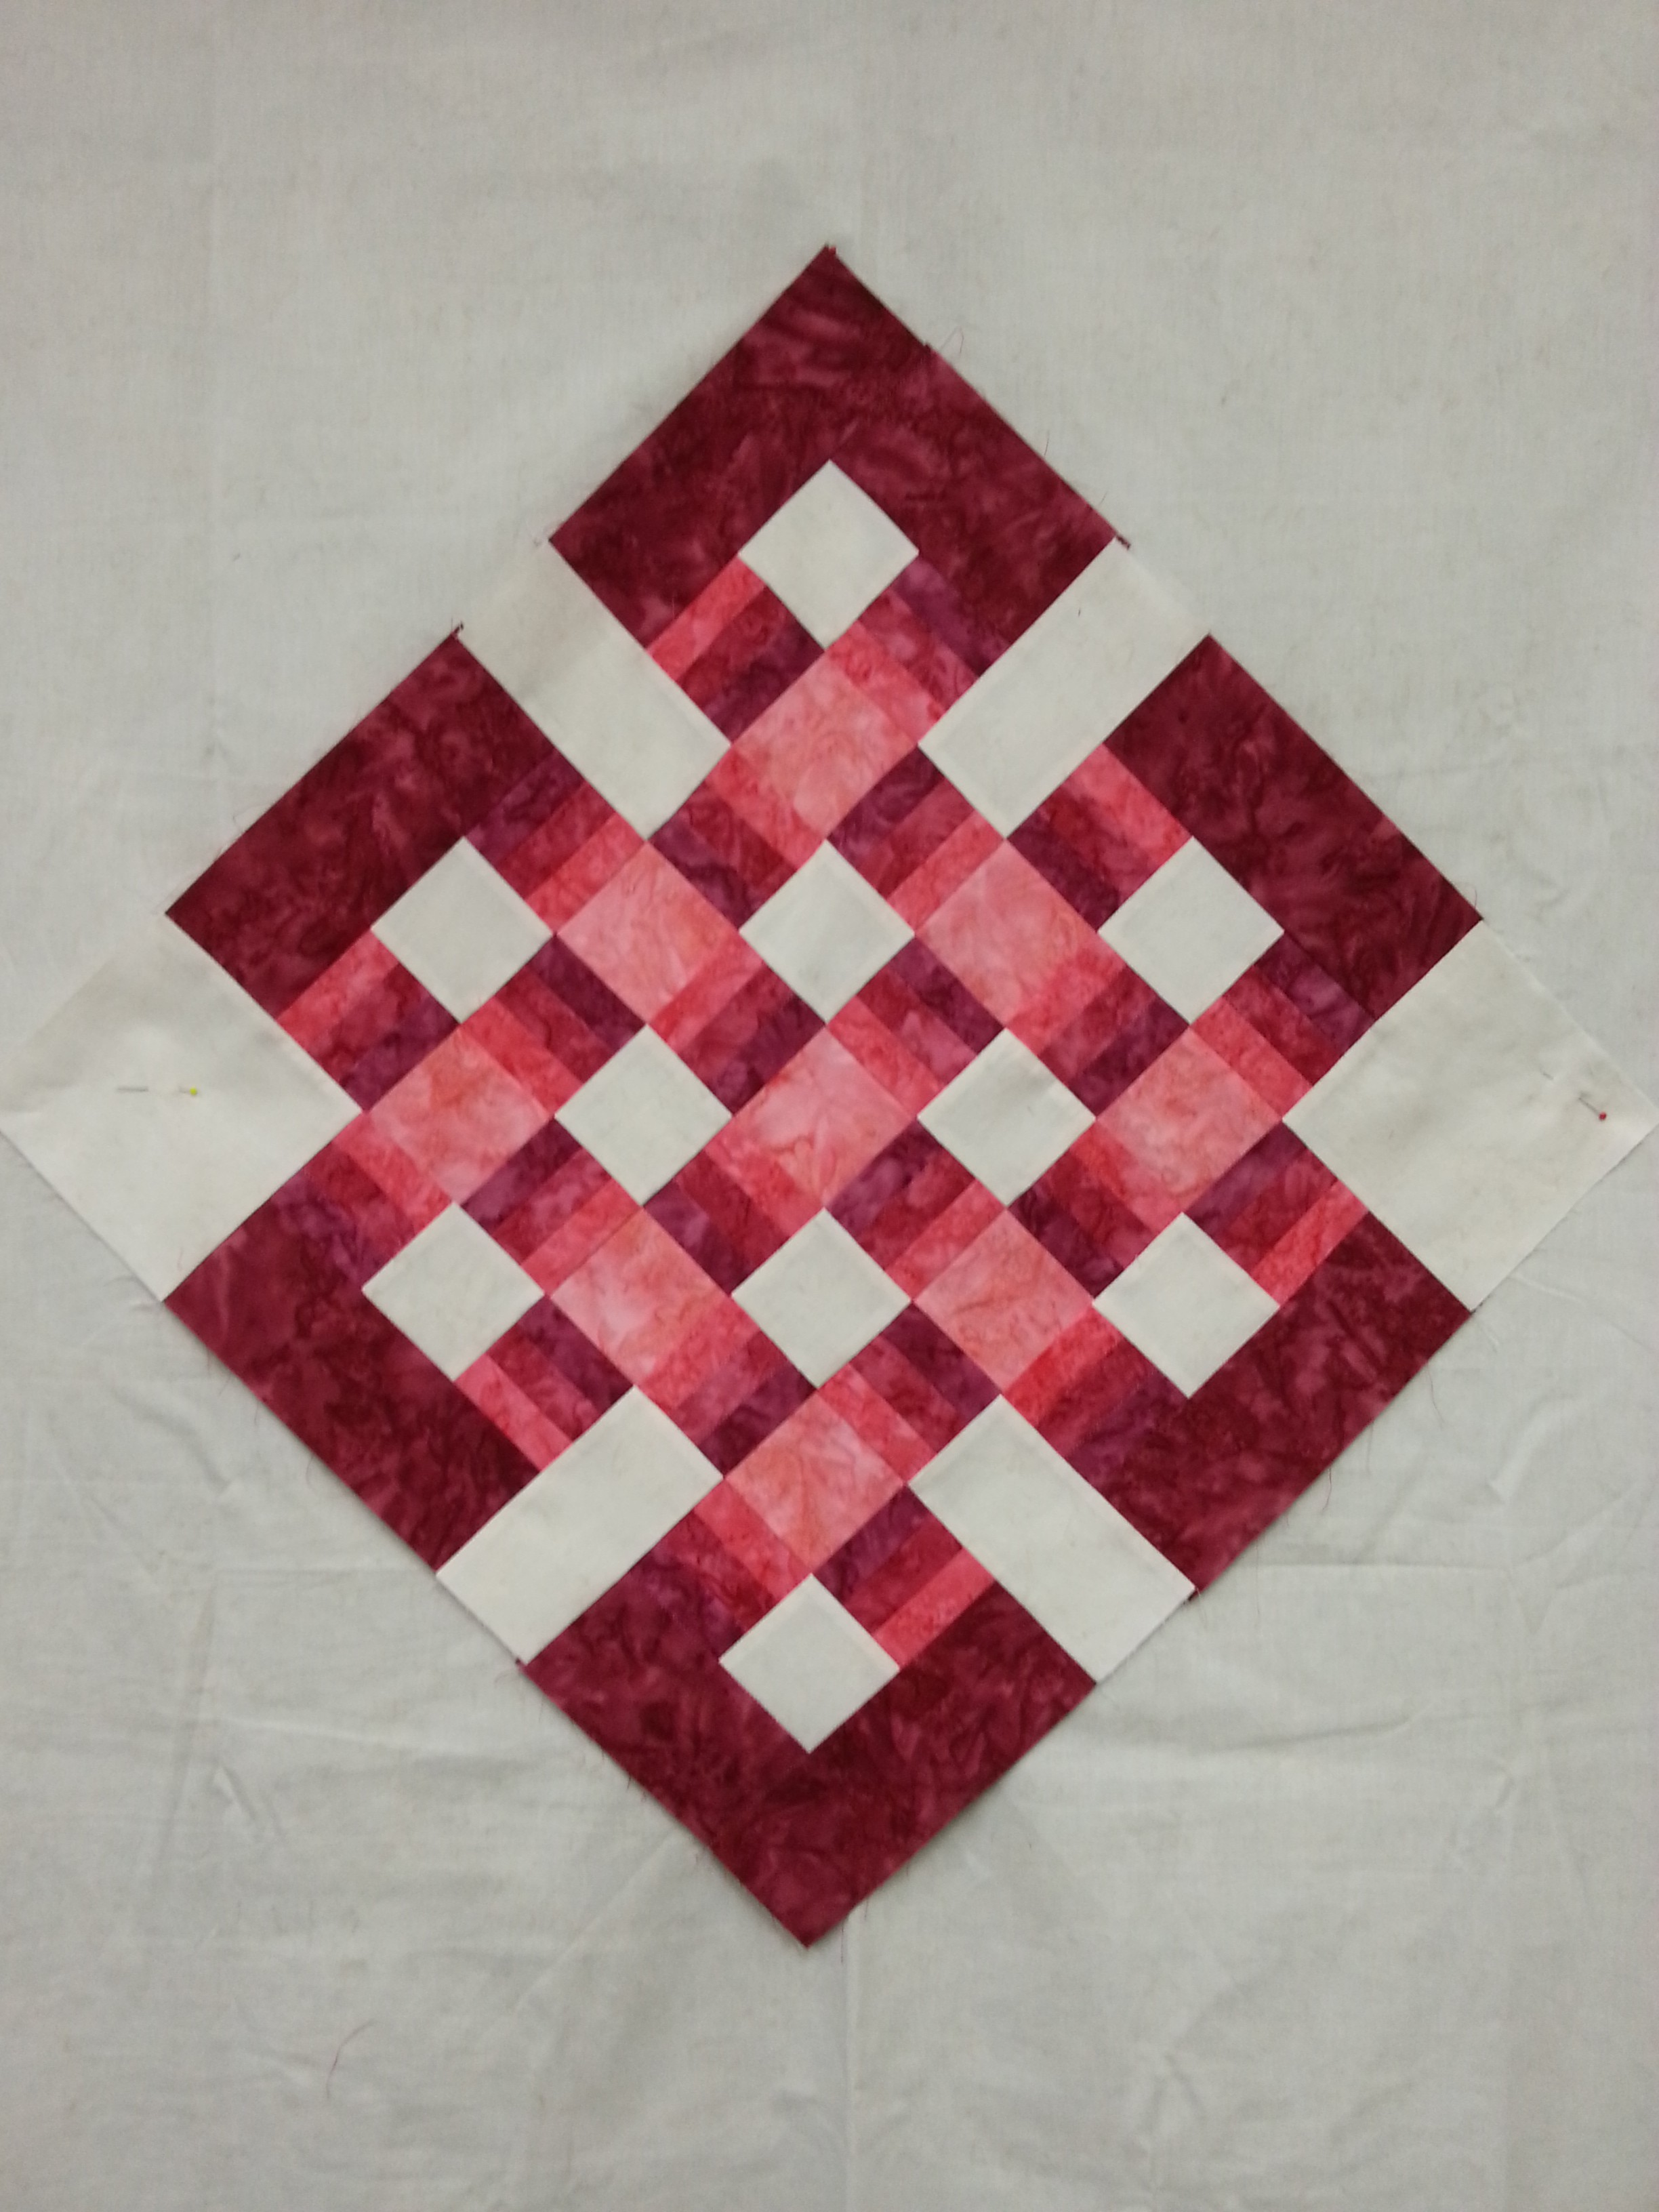
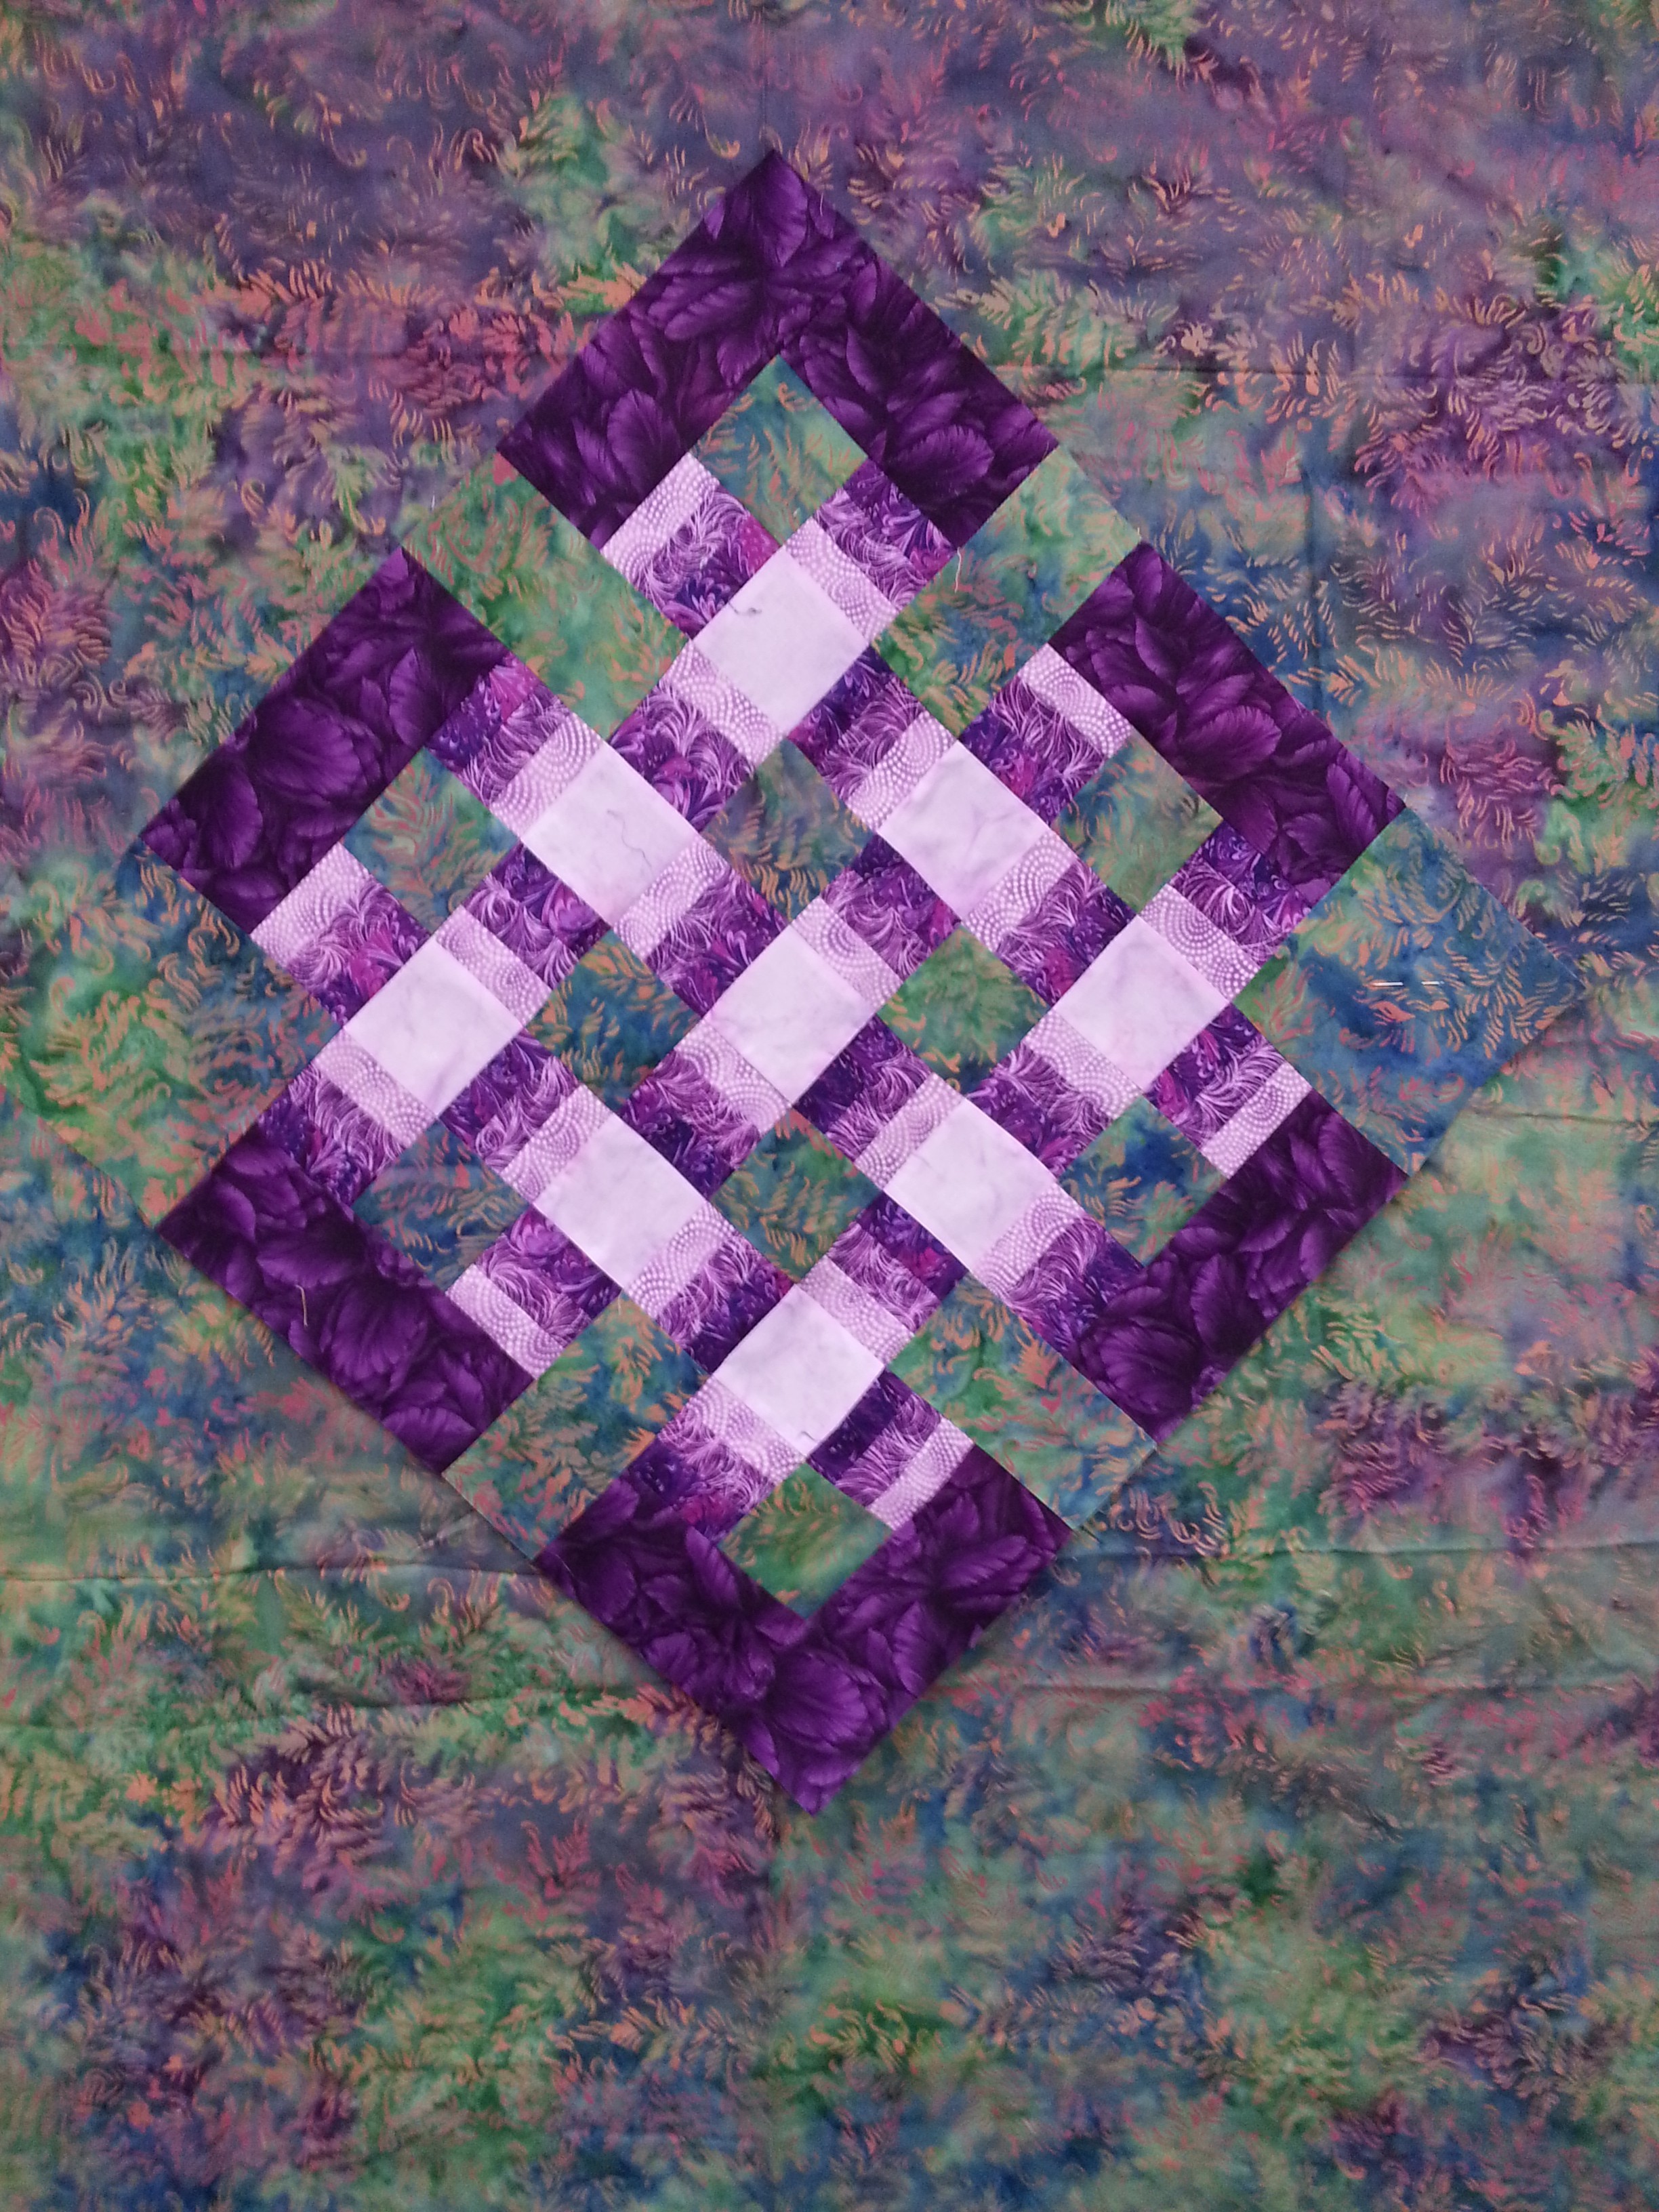
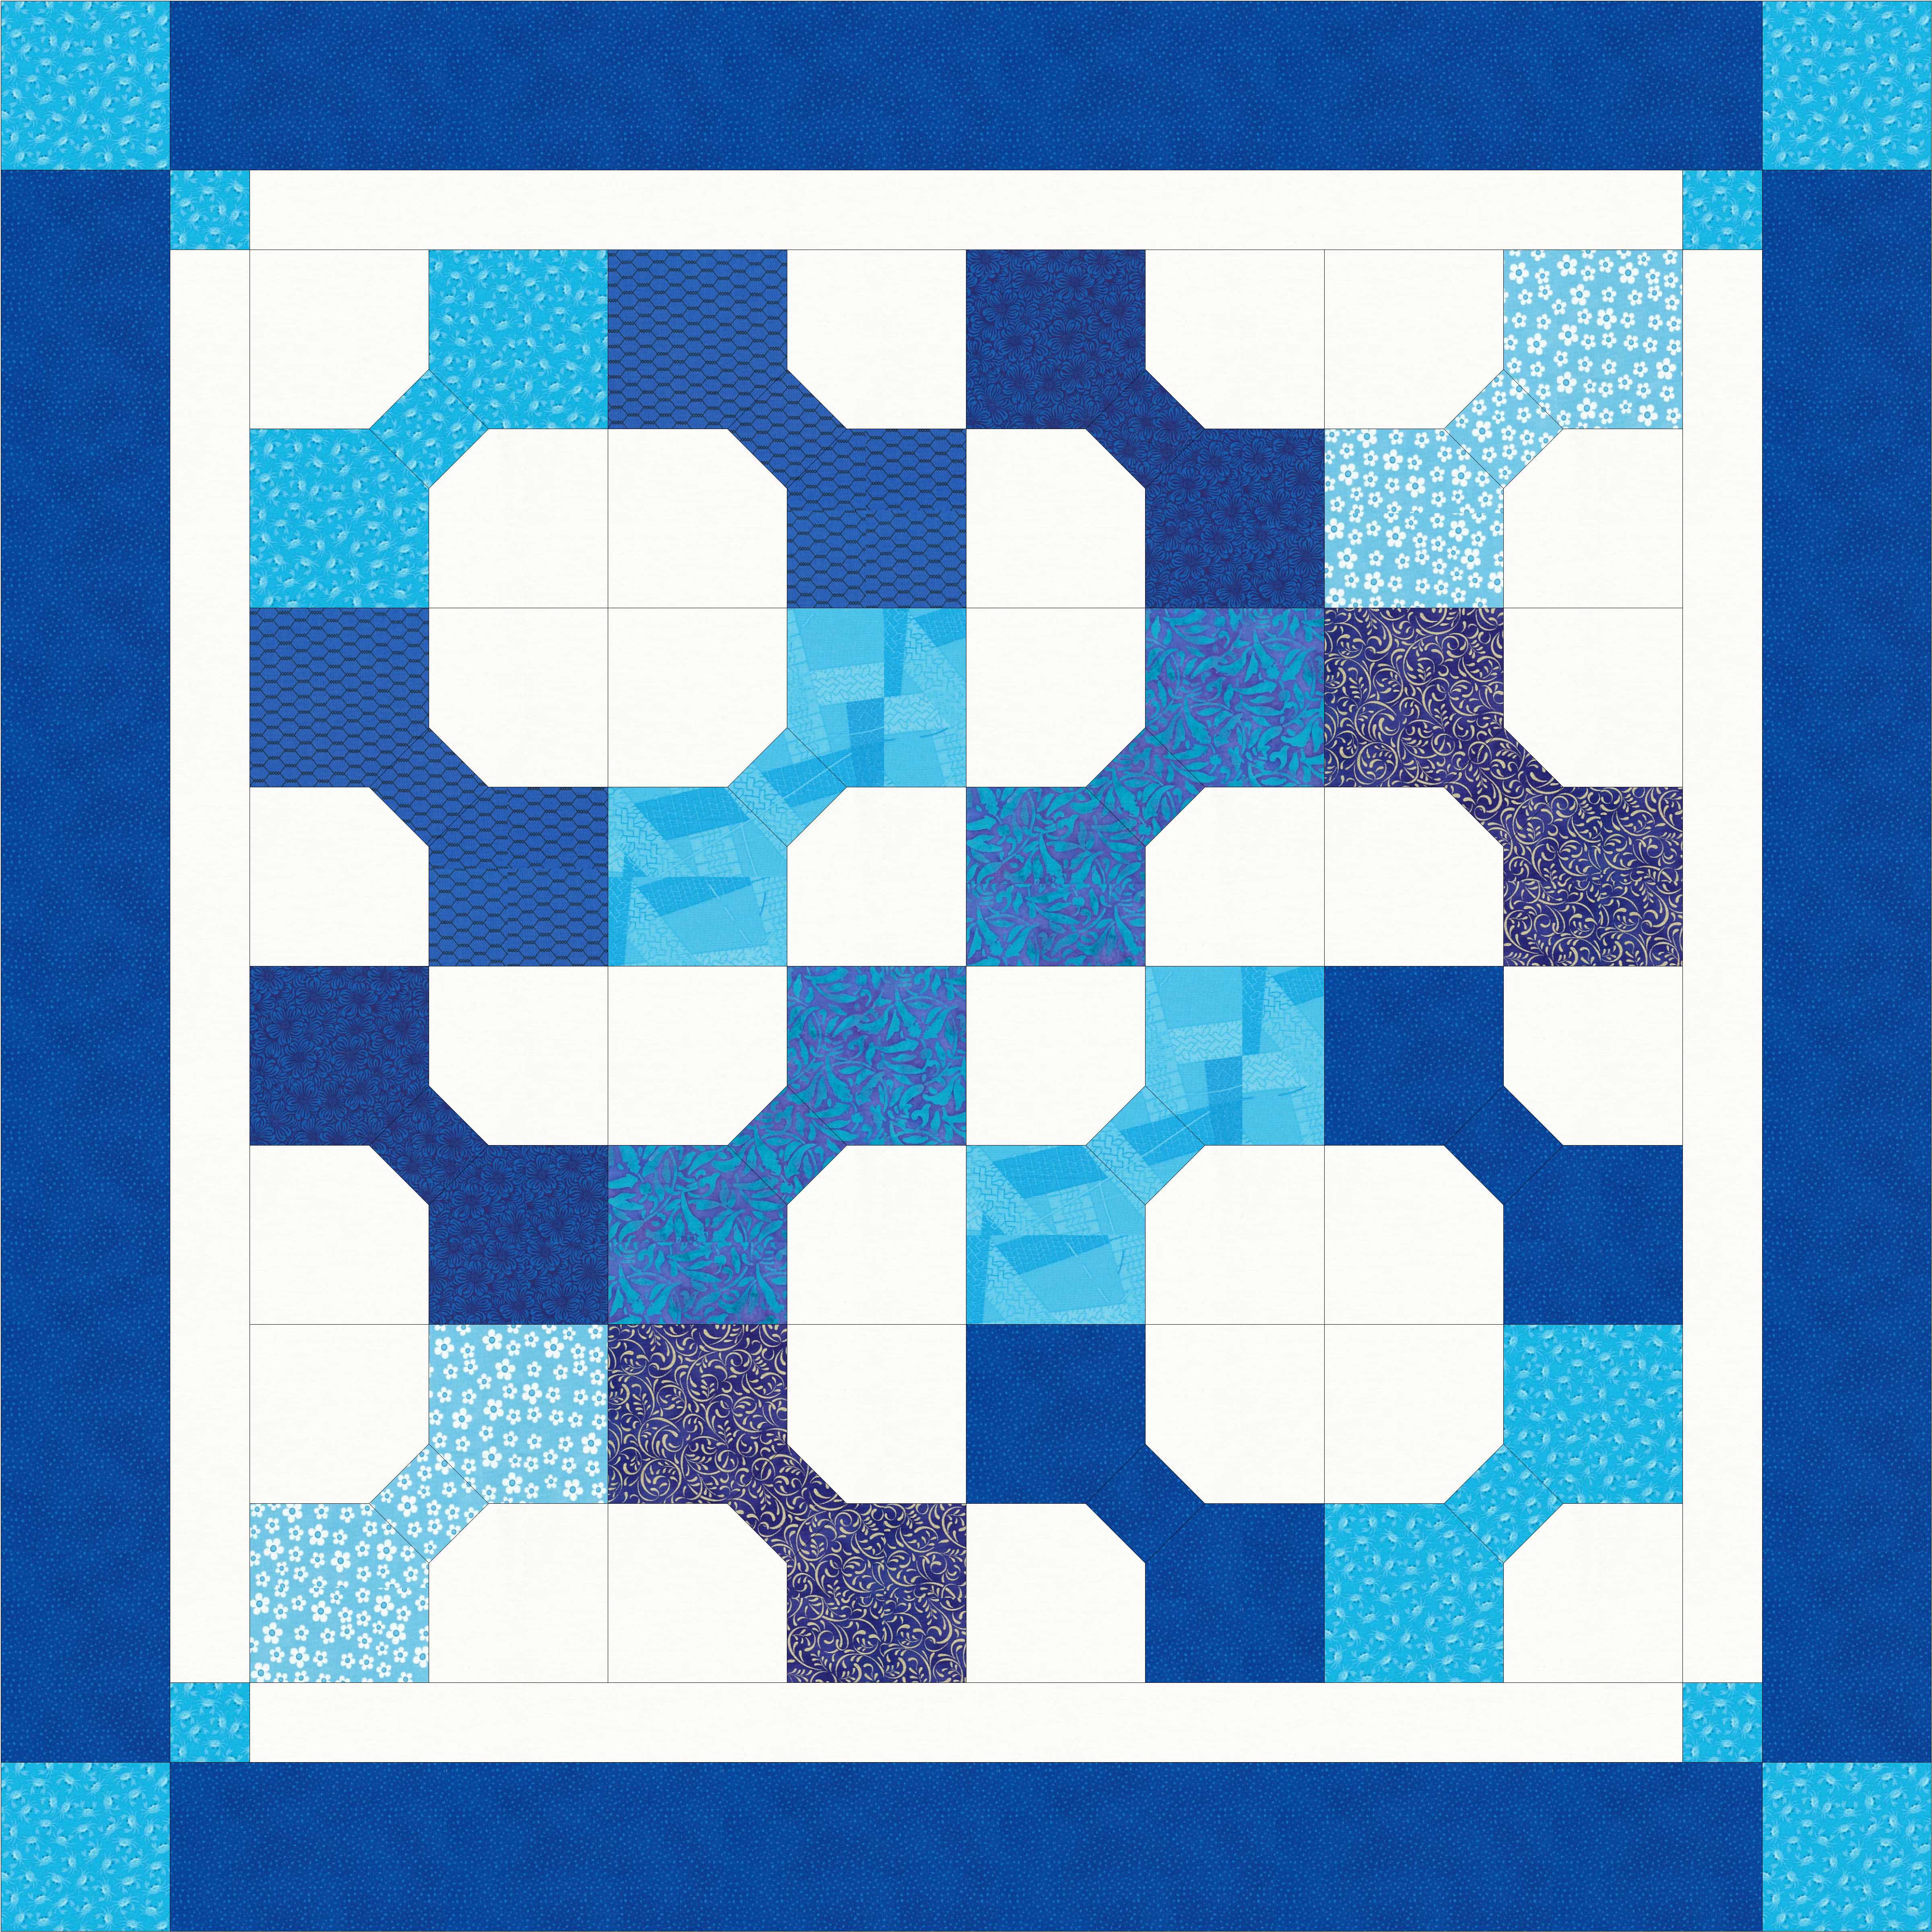
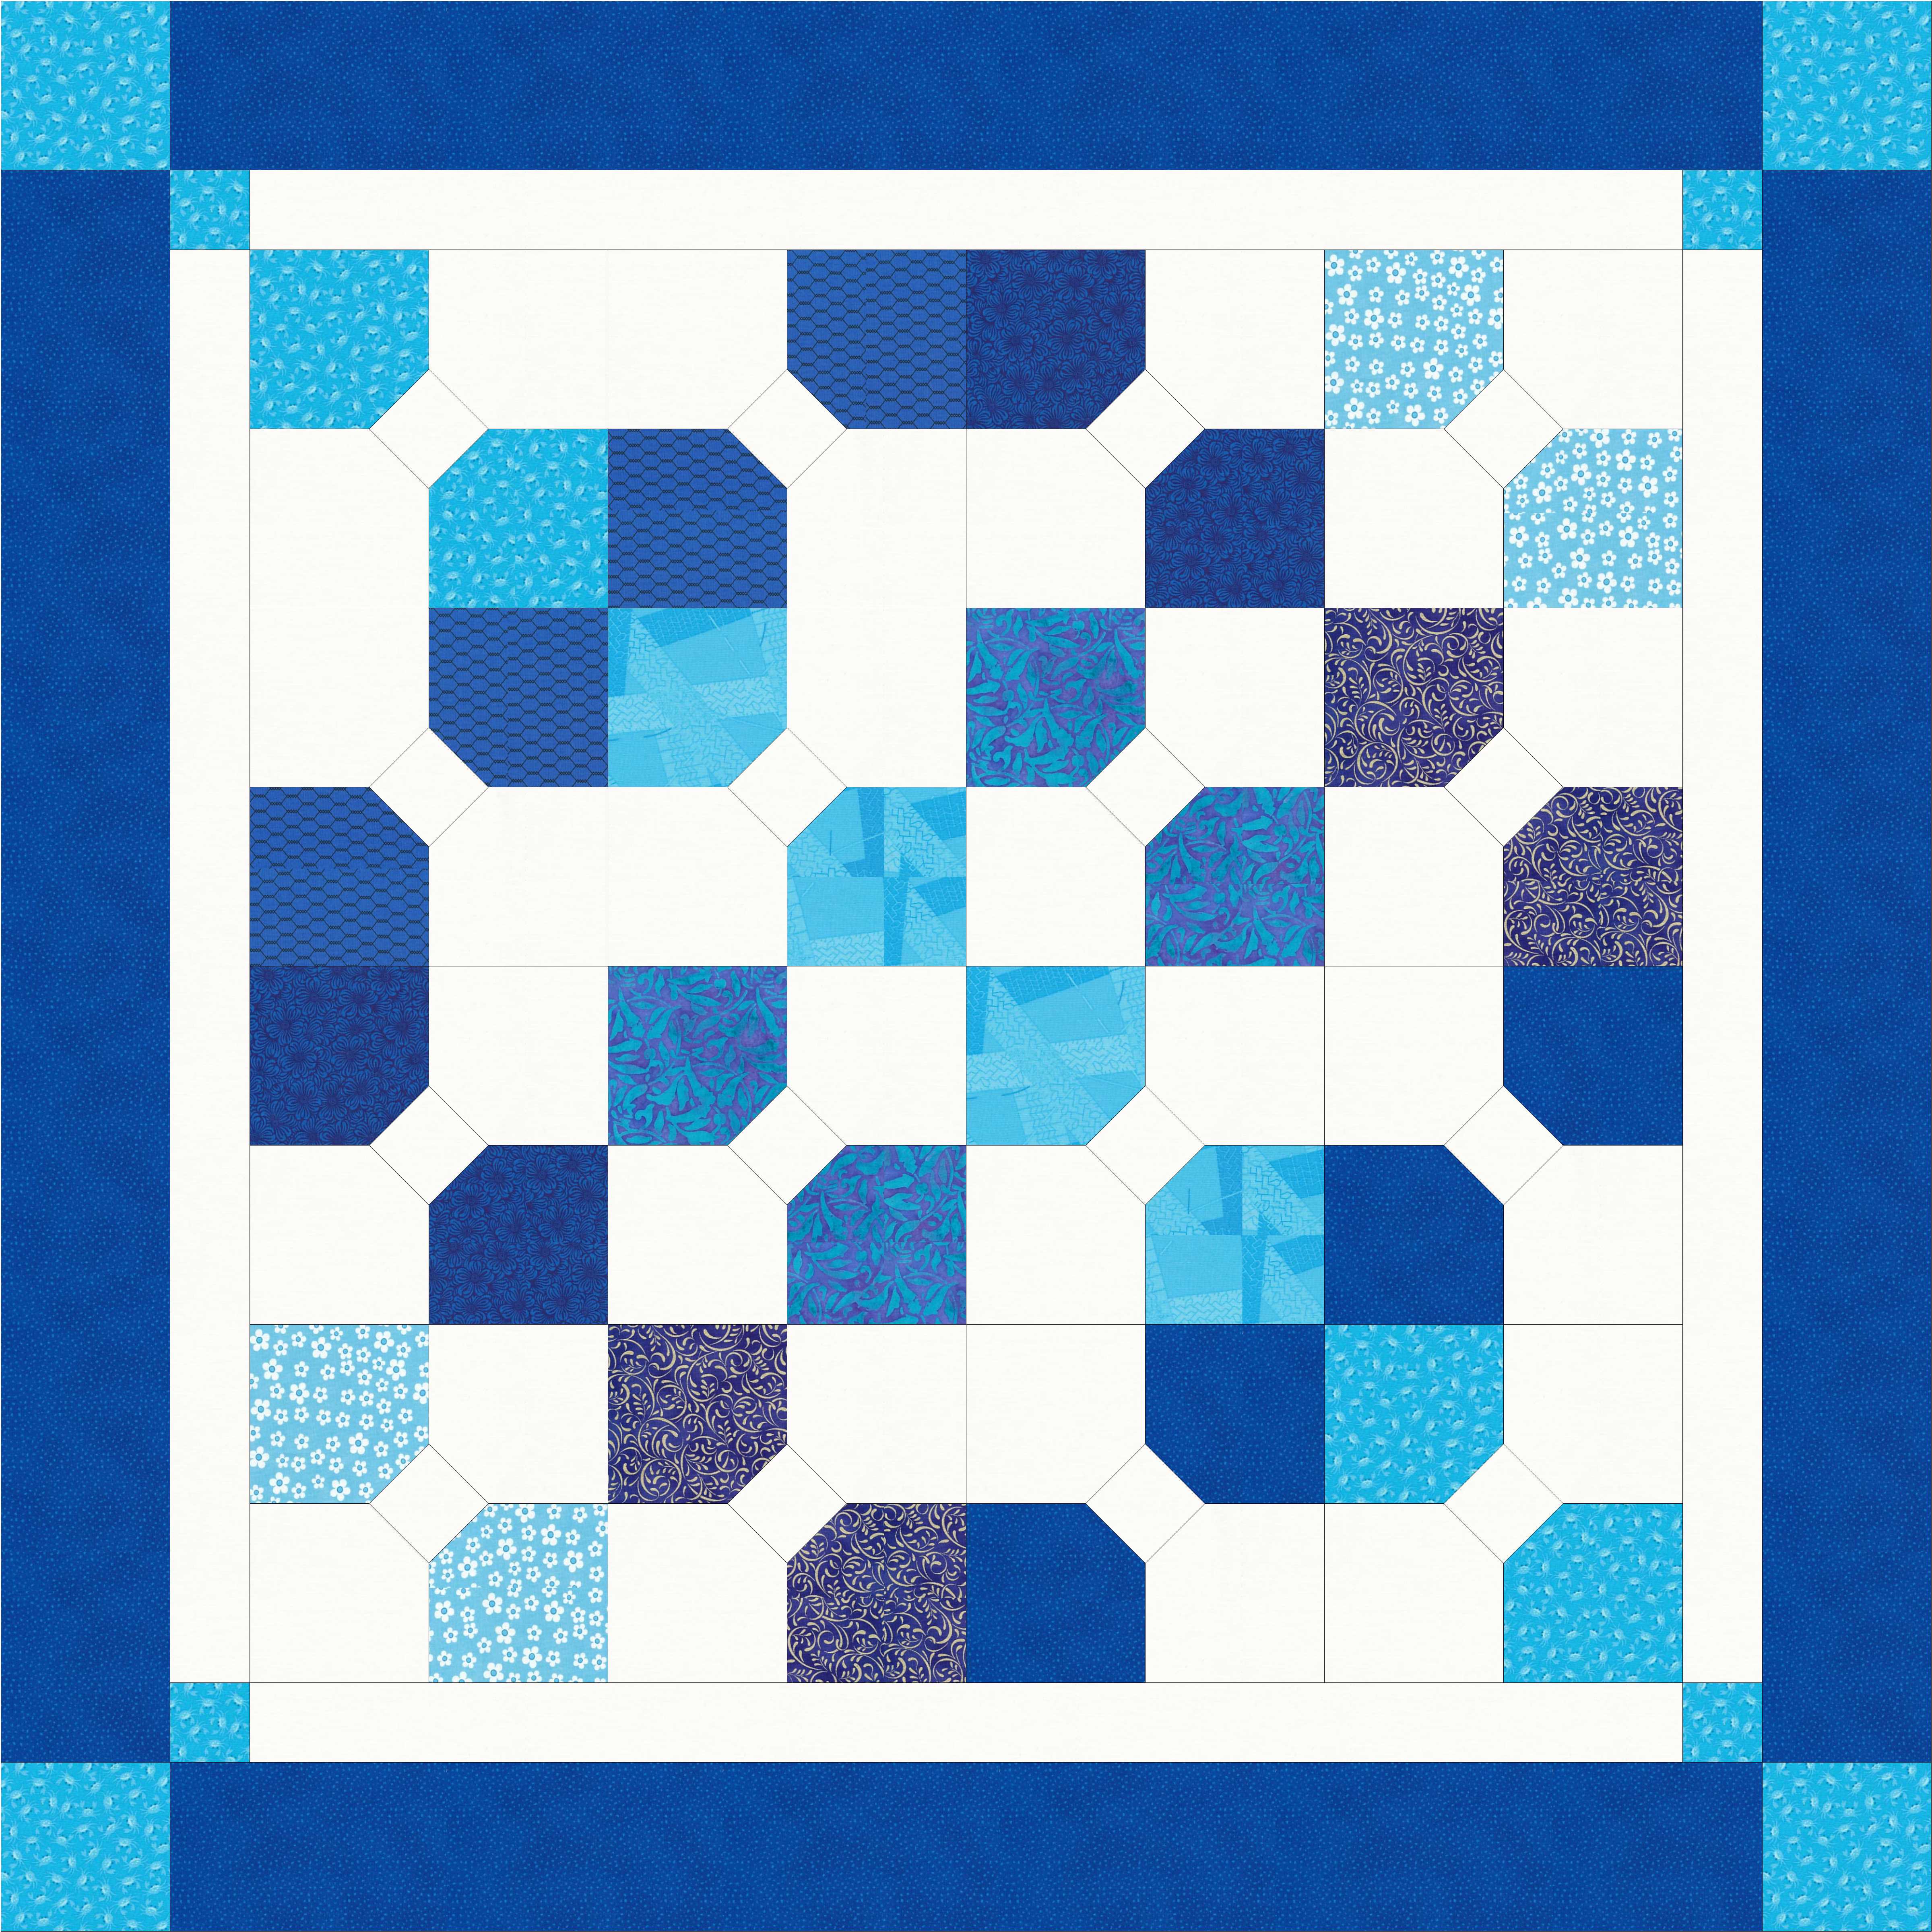
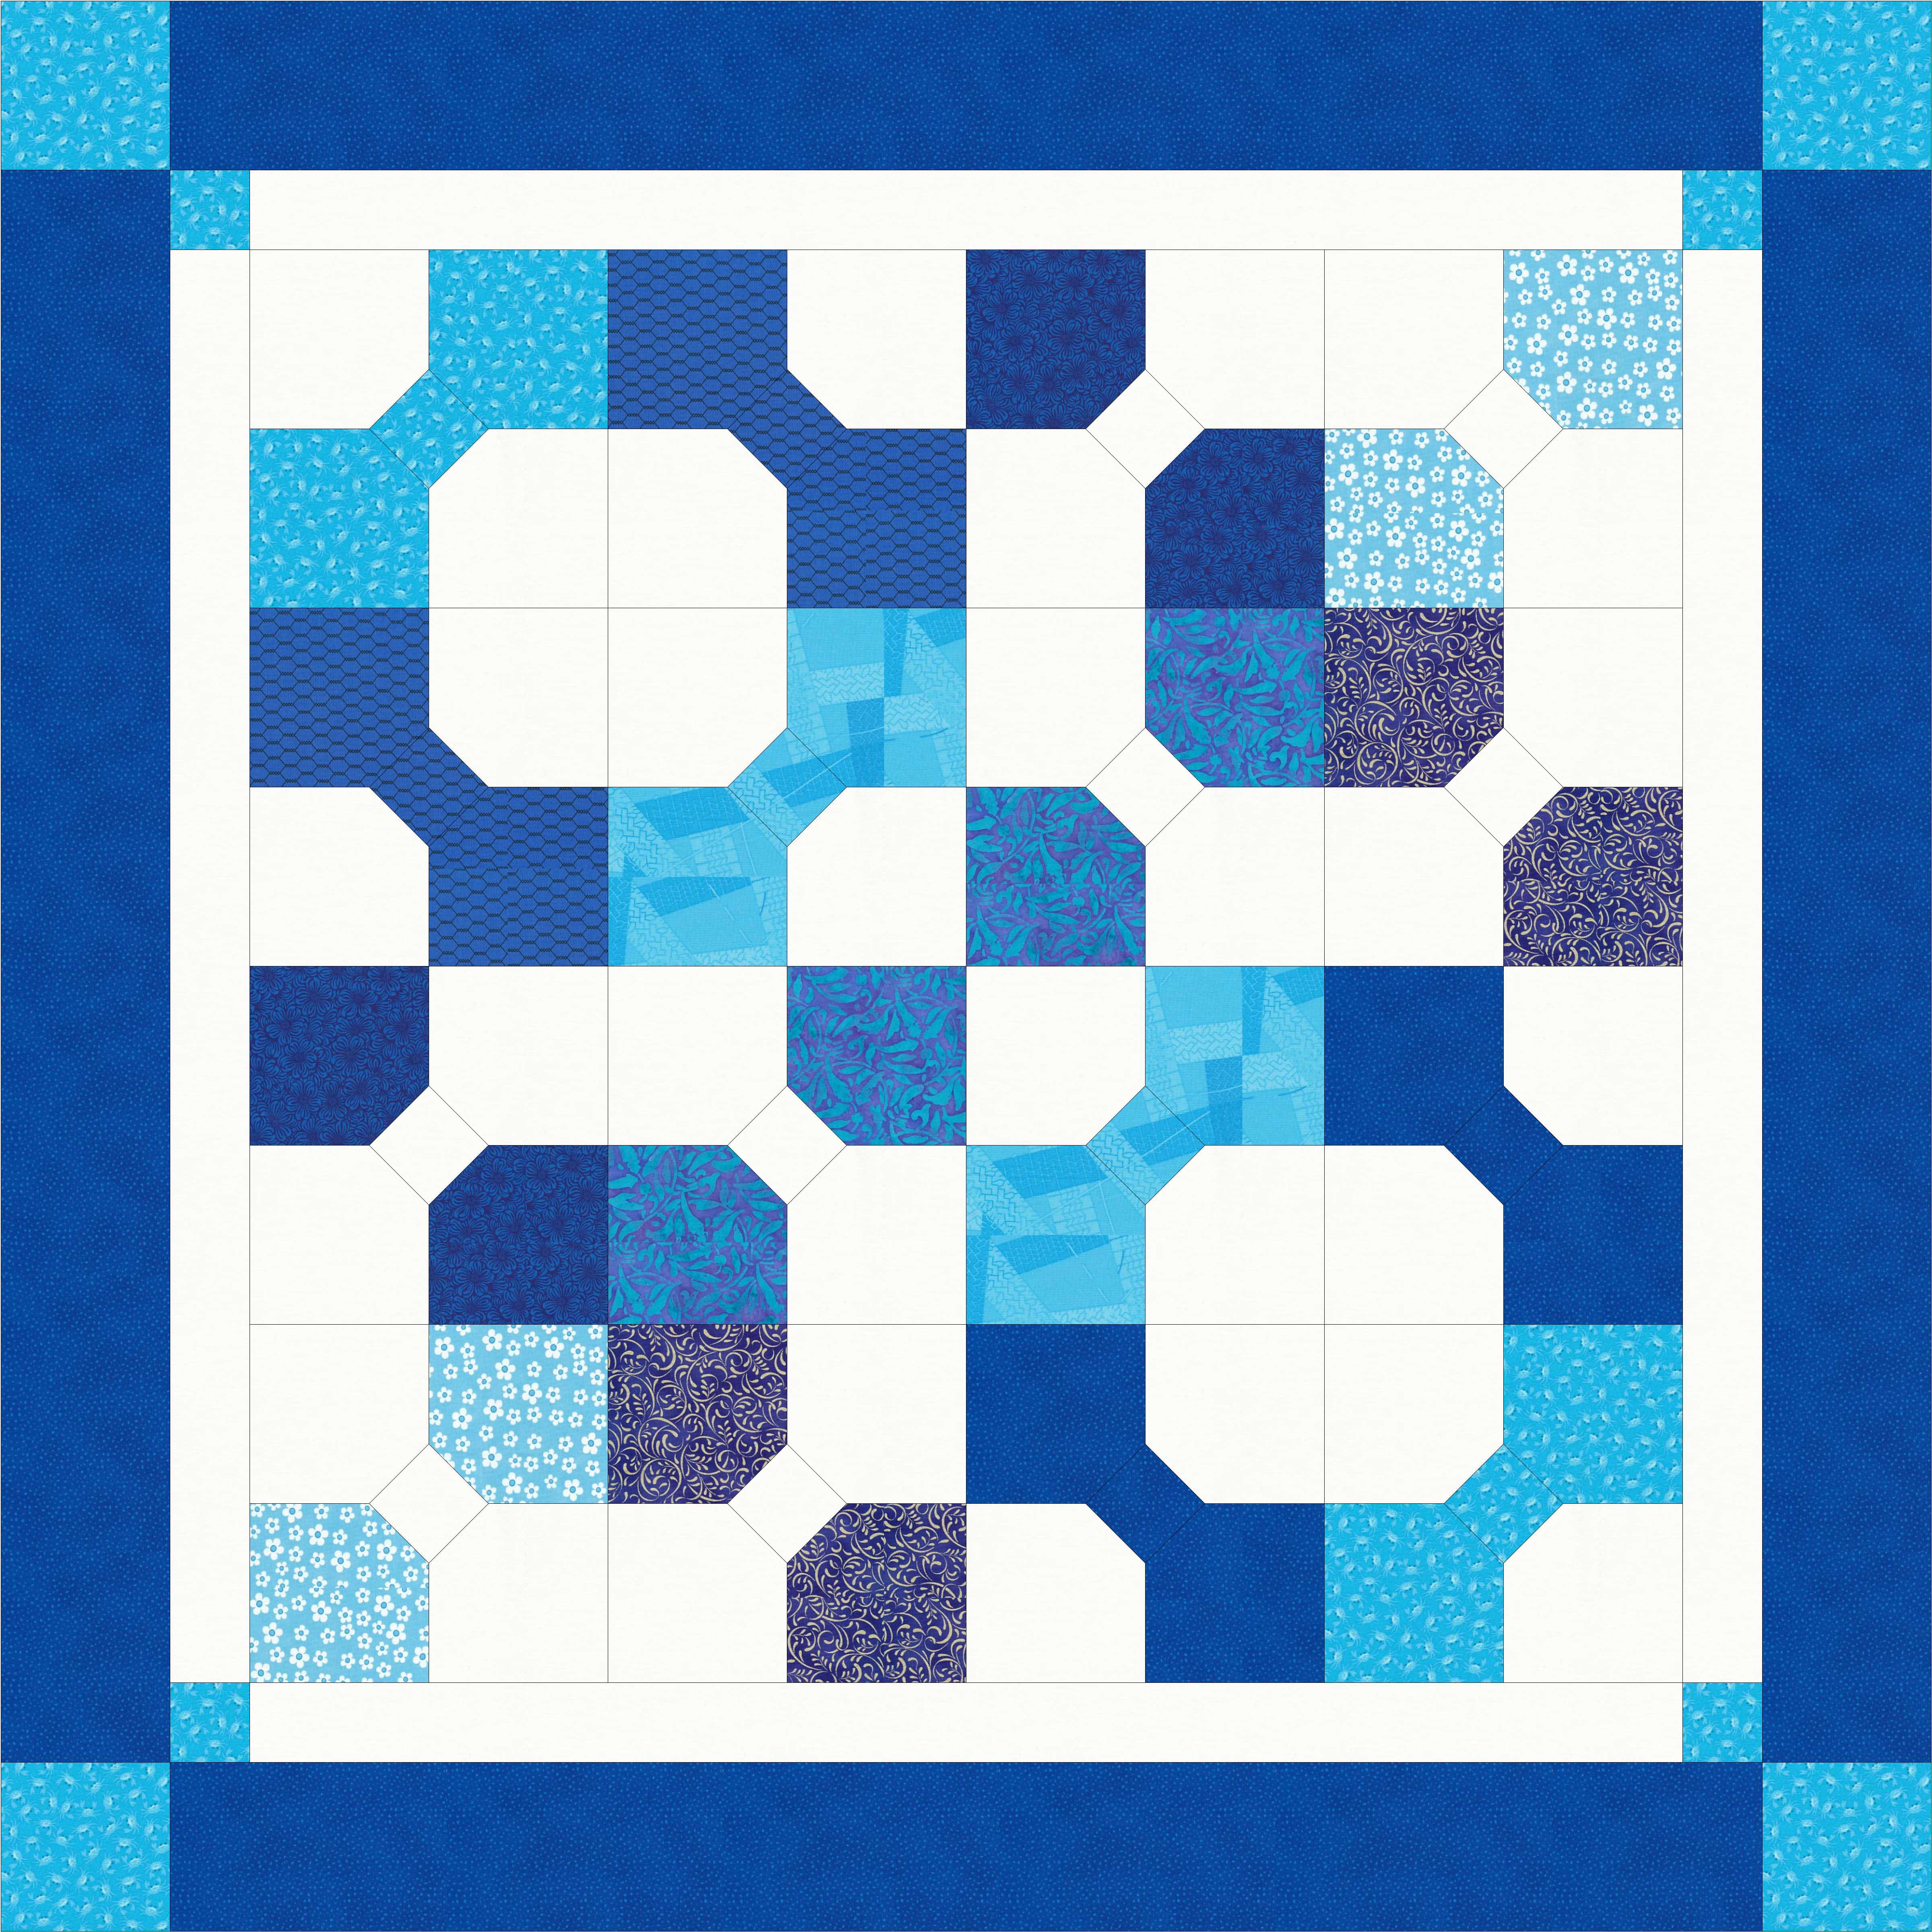
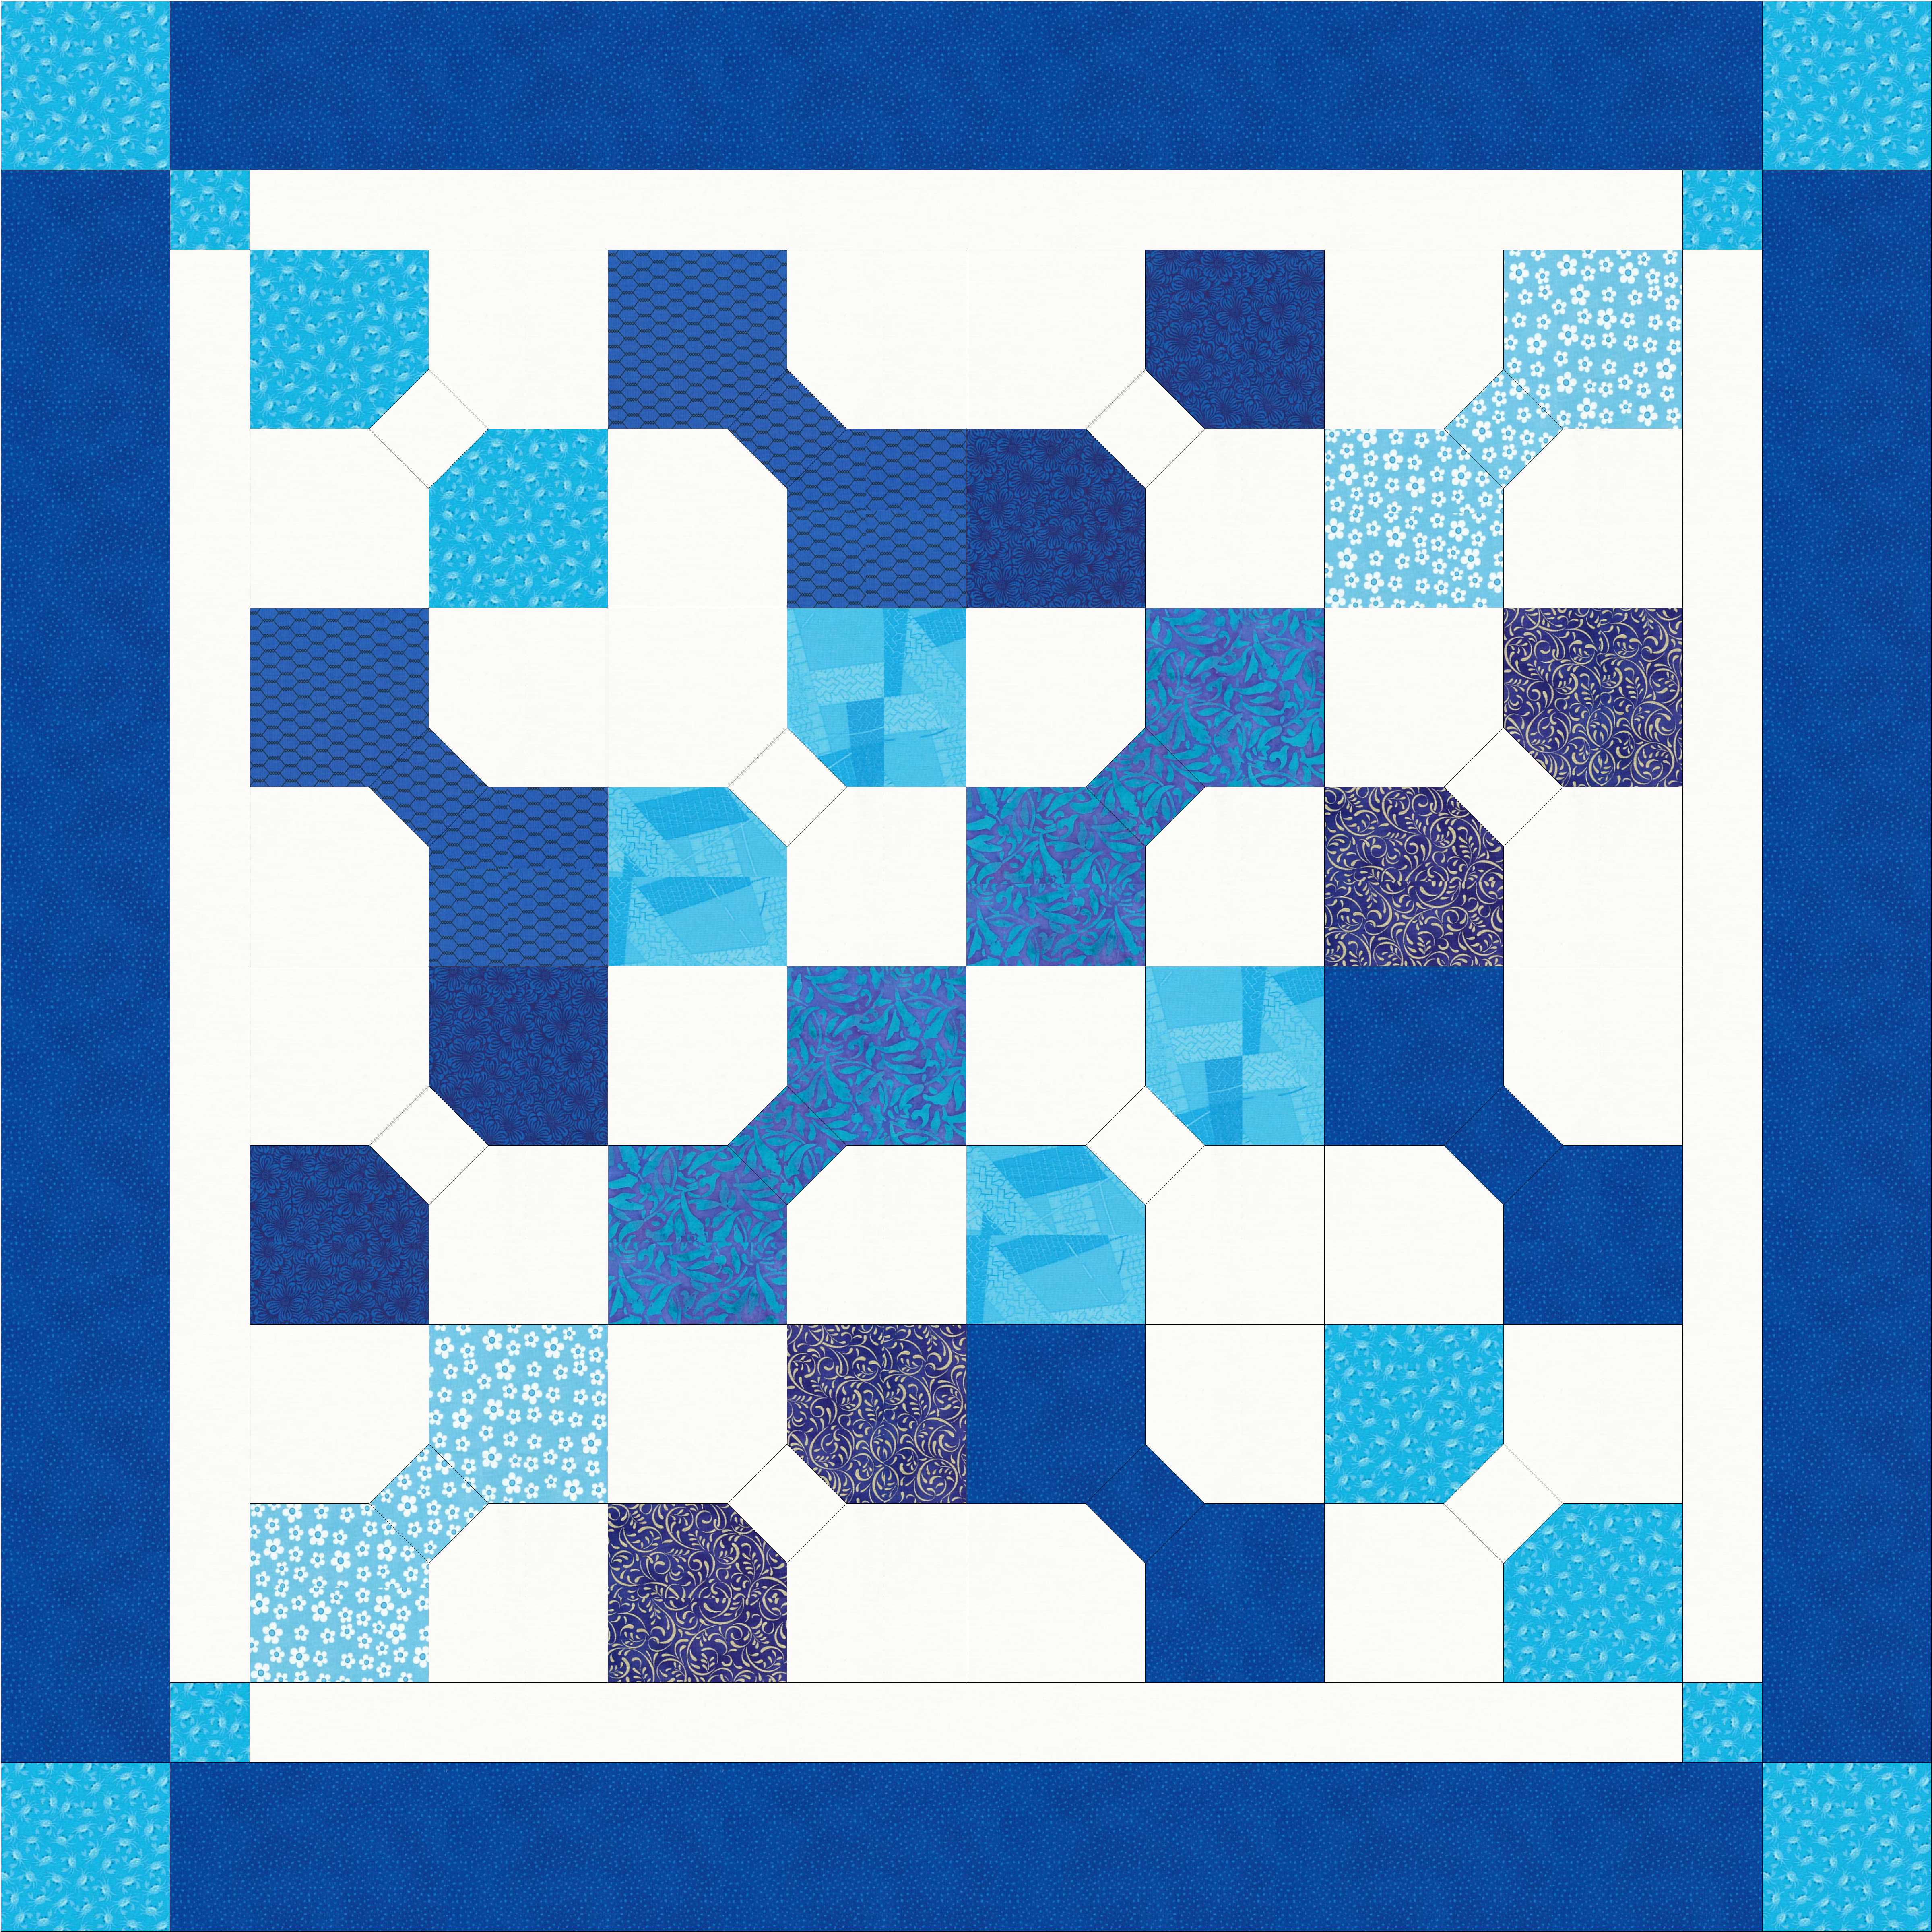
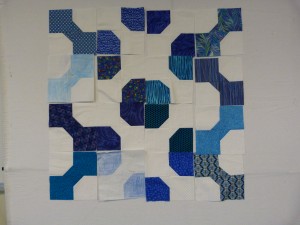
We began with a talk to all the kids about quilting in general with a little bit of history to tie in with their studies of the colonial era. Then each class came in turn for details on their project. I had chosen the Bowtie block for them to sew and each quilt was to have 16 blocks. I showed them a PowerPoint presentation of EQ generated patterns depicting a variety of ways to arrange 16 Bowtie blocks. There were choices to be made – should all the Bowties be colored on a light background, should all the Bowties be light on a colored background, or should we make half in half? Here are some examples.

Bowtie6 Bowtie20

Bowtie22 Bowtie10

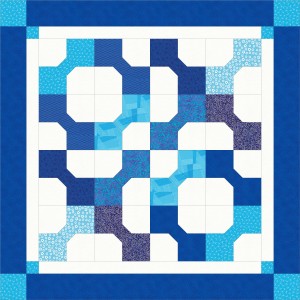
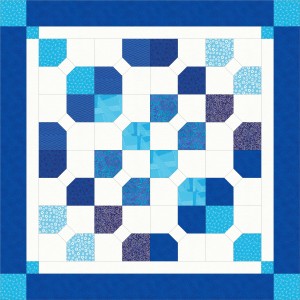
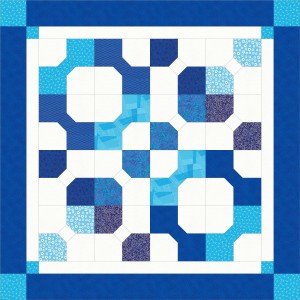
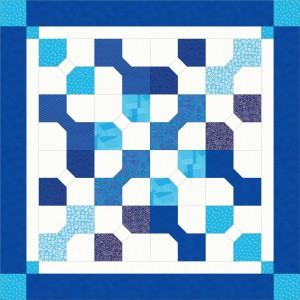
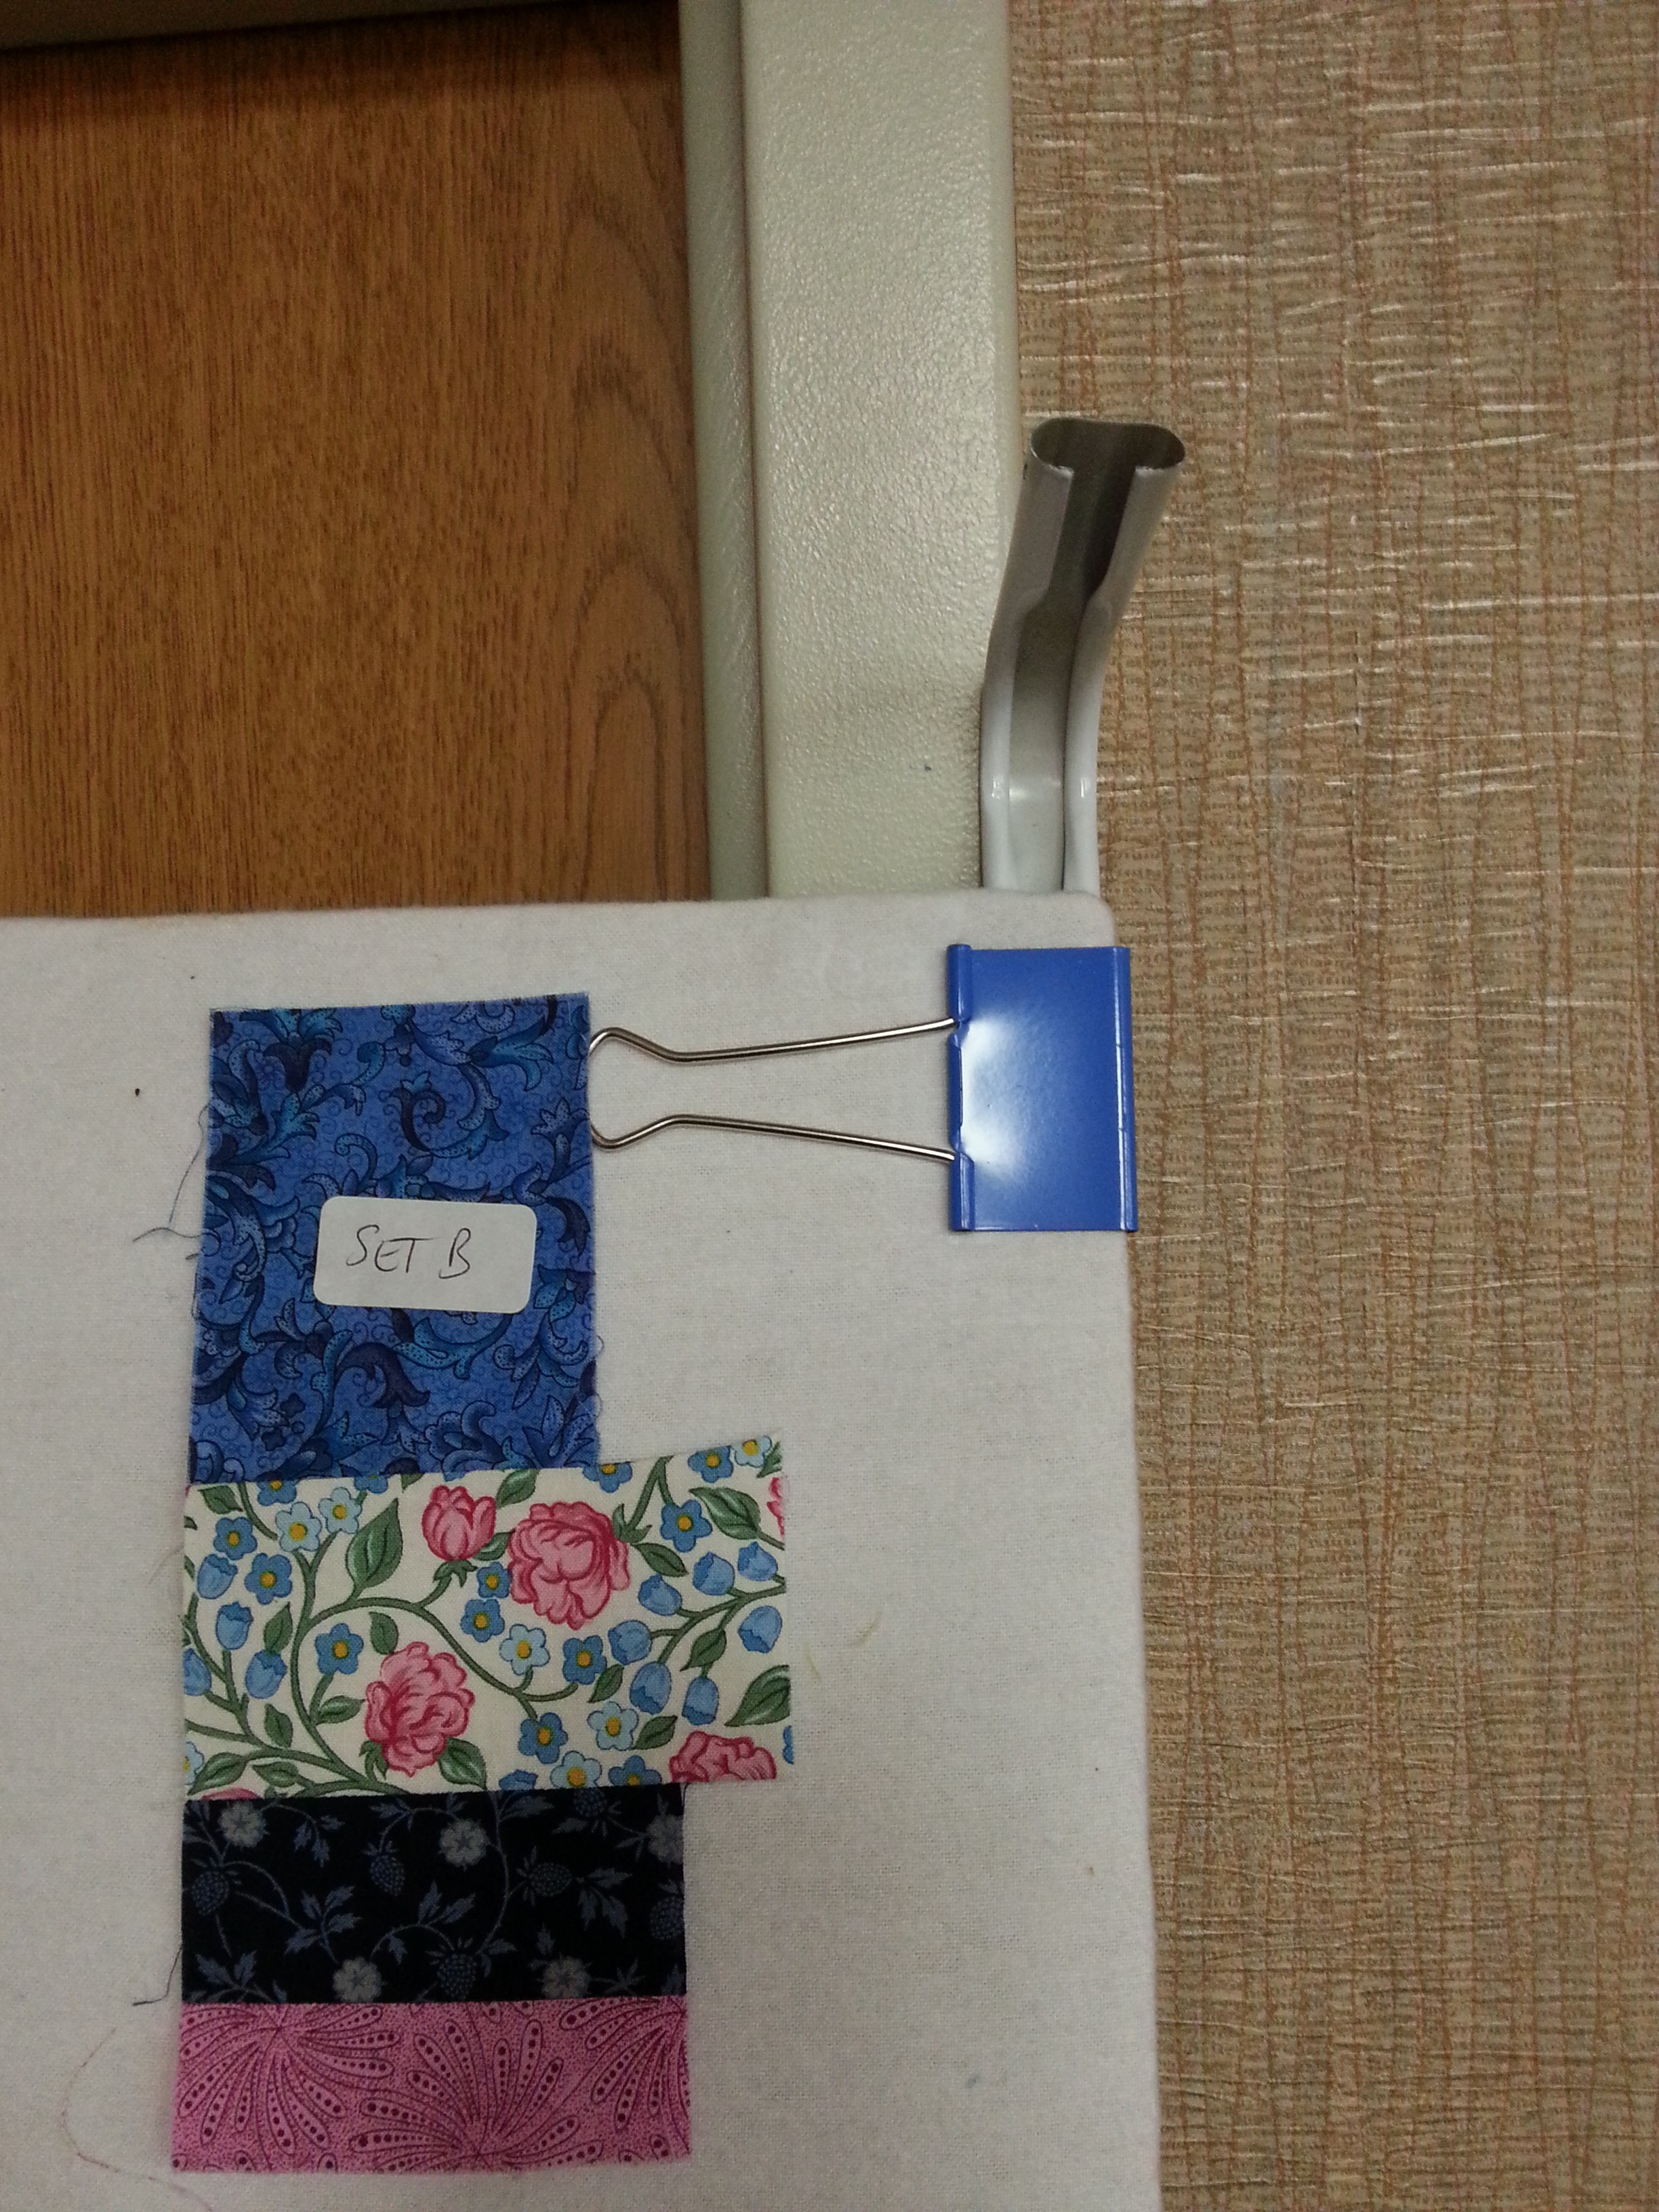
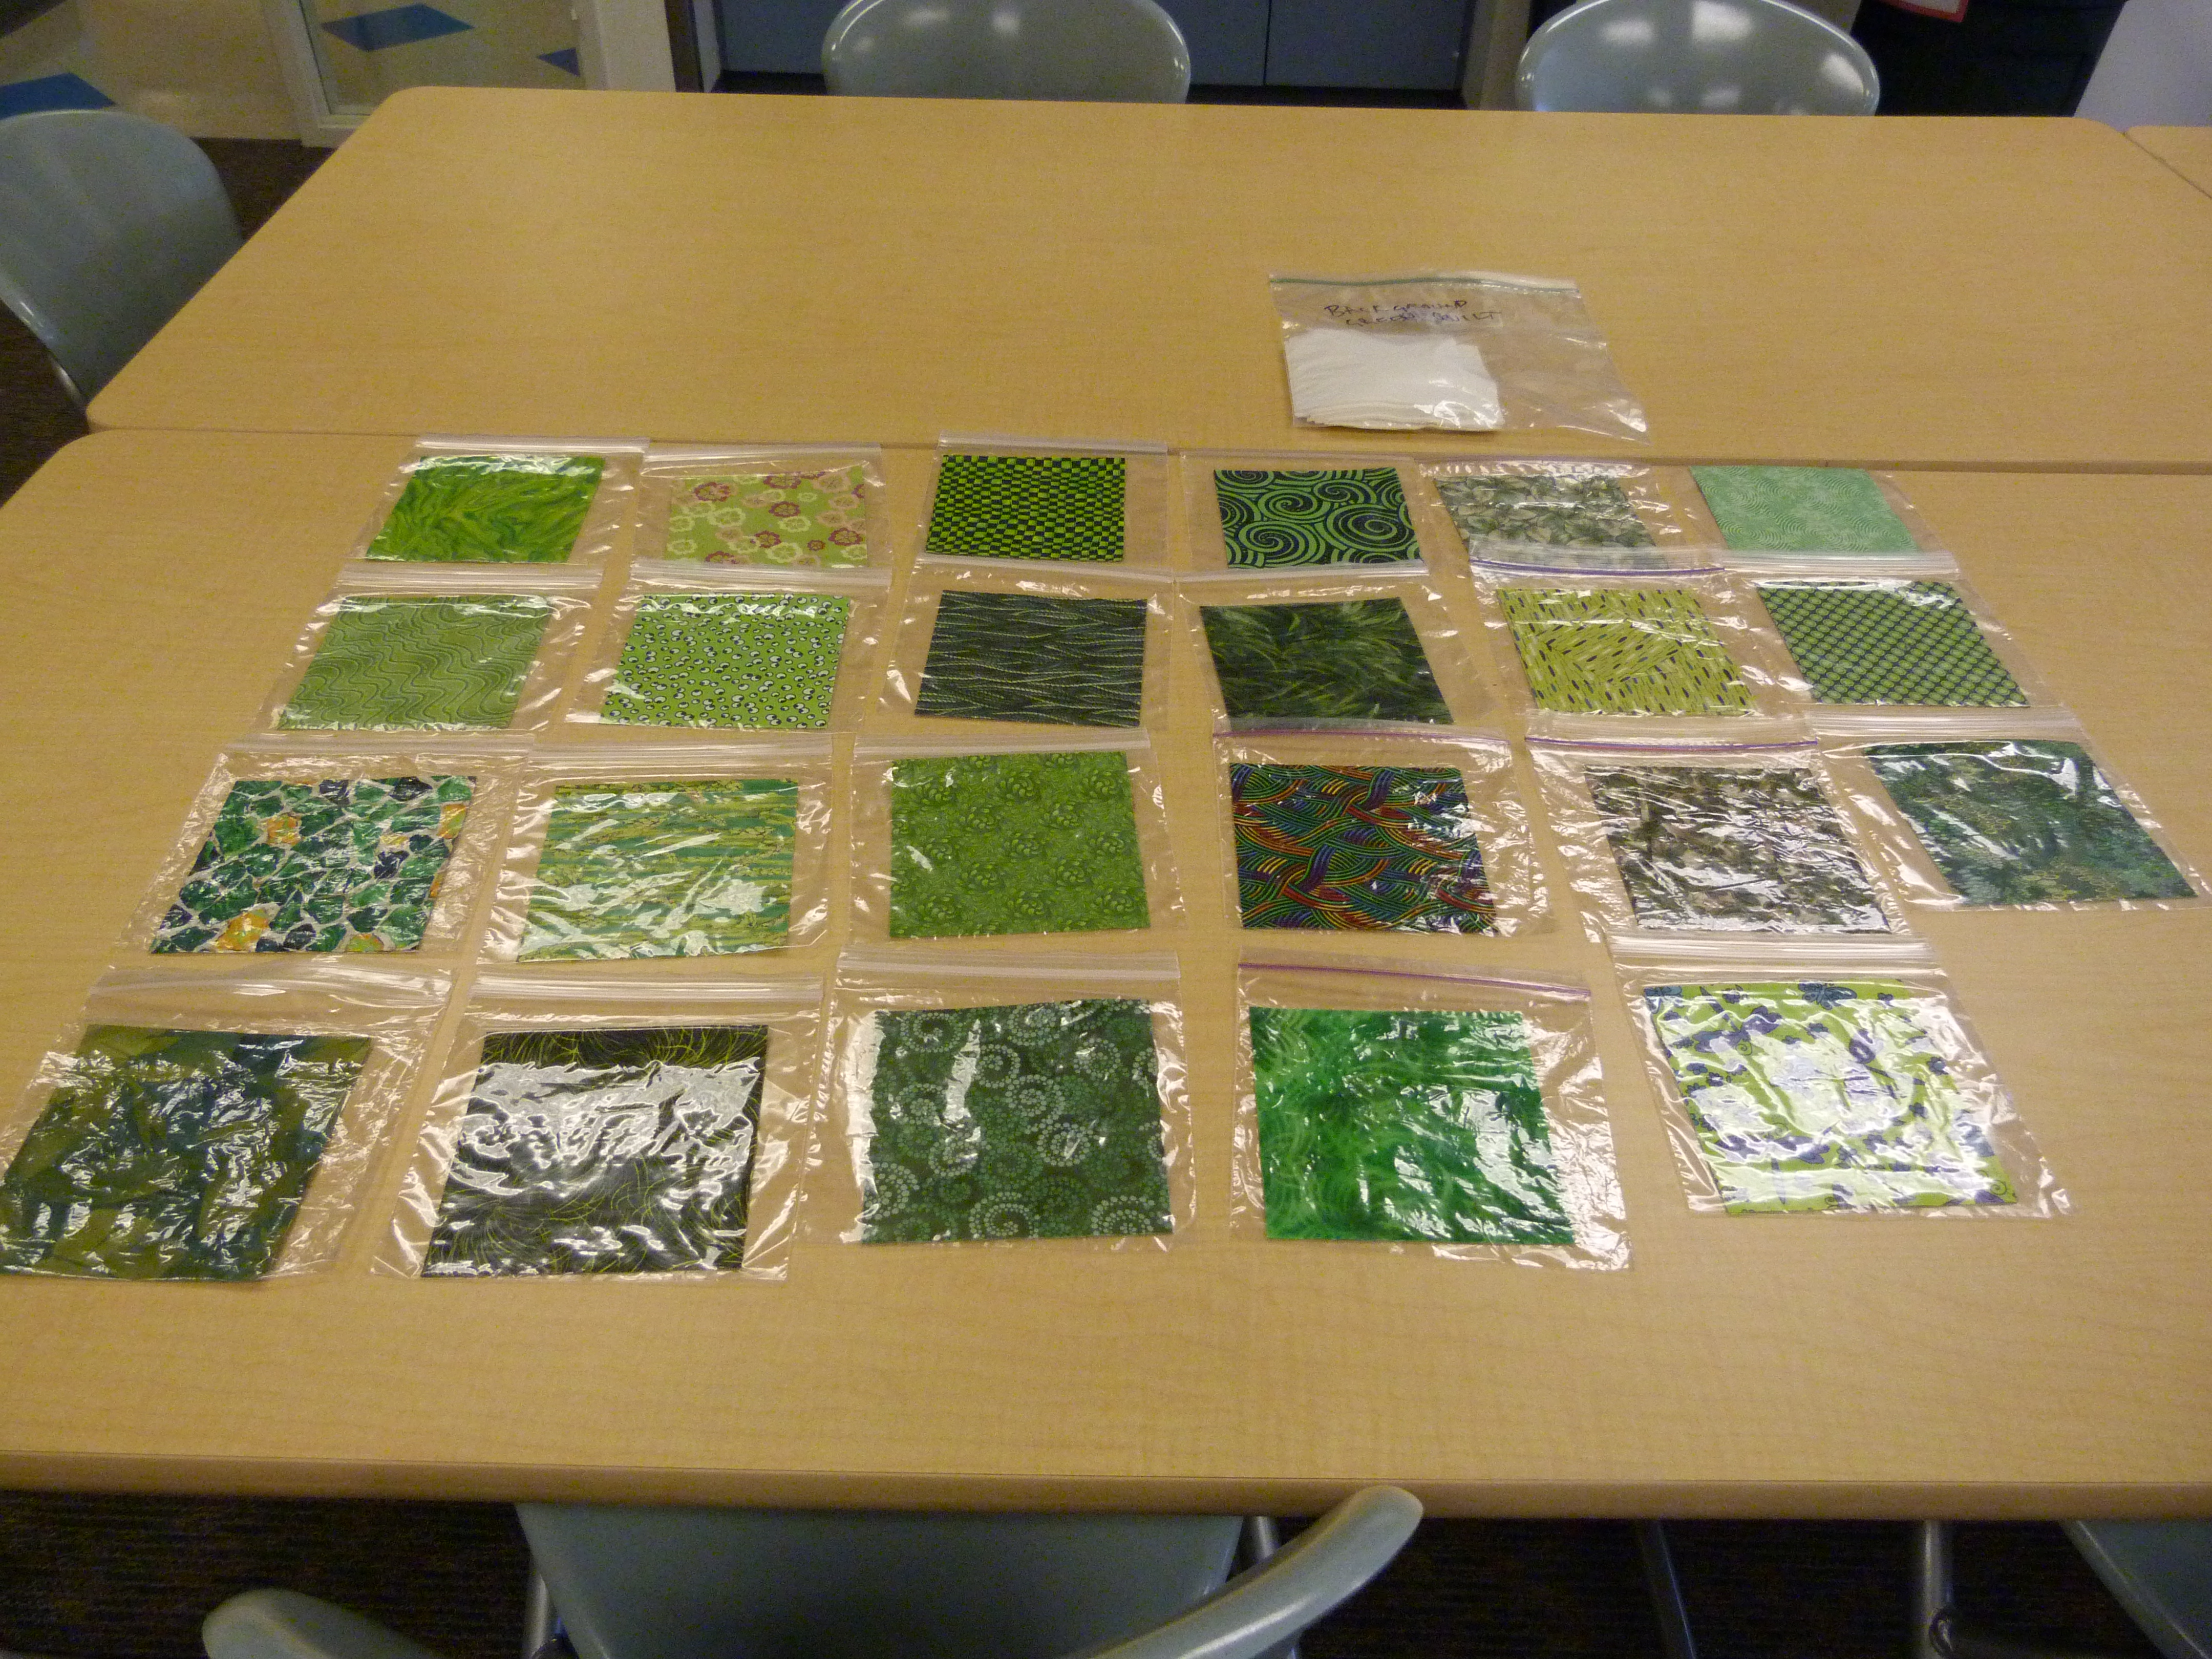
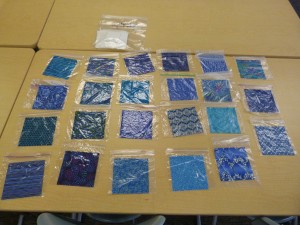
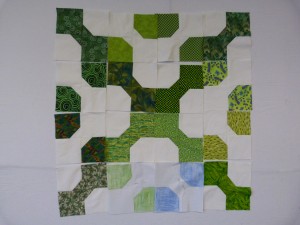
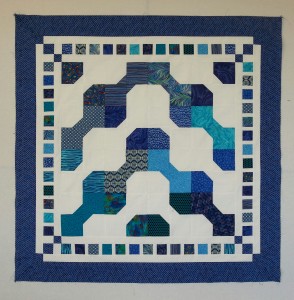
The top two show all blue Bowties and all white Bowties and the lower two show half blue and half white. There are many more options for rotating the blocks and designing different patterns. The kids were intrigued by this. Both classes chose independently to make half colored and half light Bowties for their quilts. After making this decision they chose their fabrics. One class did a green quilt and the other did a blue one. I had prepared packages of pre-cut pieces for the blocks. There were at least 20 of each color, so that the last child to pick still had several from which to choose.

P1210173 P1210172

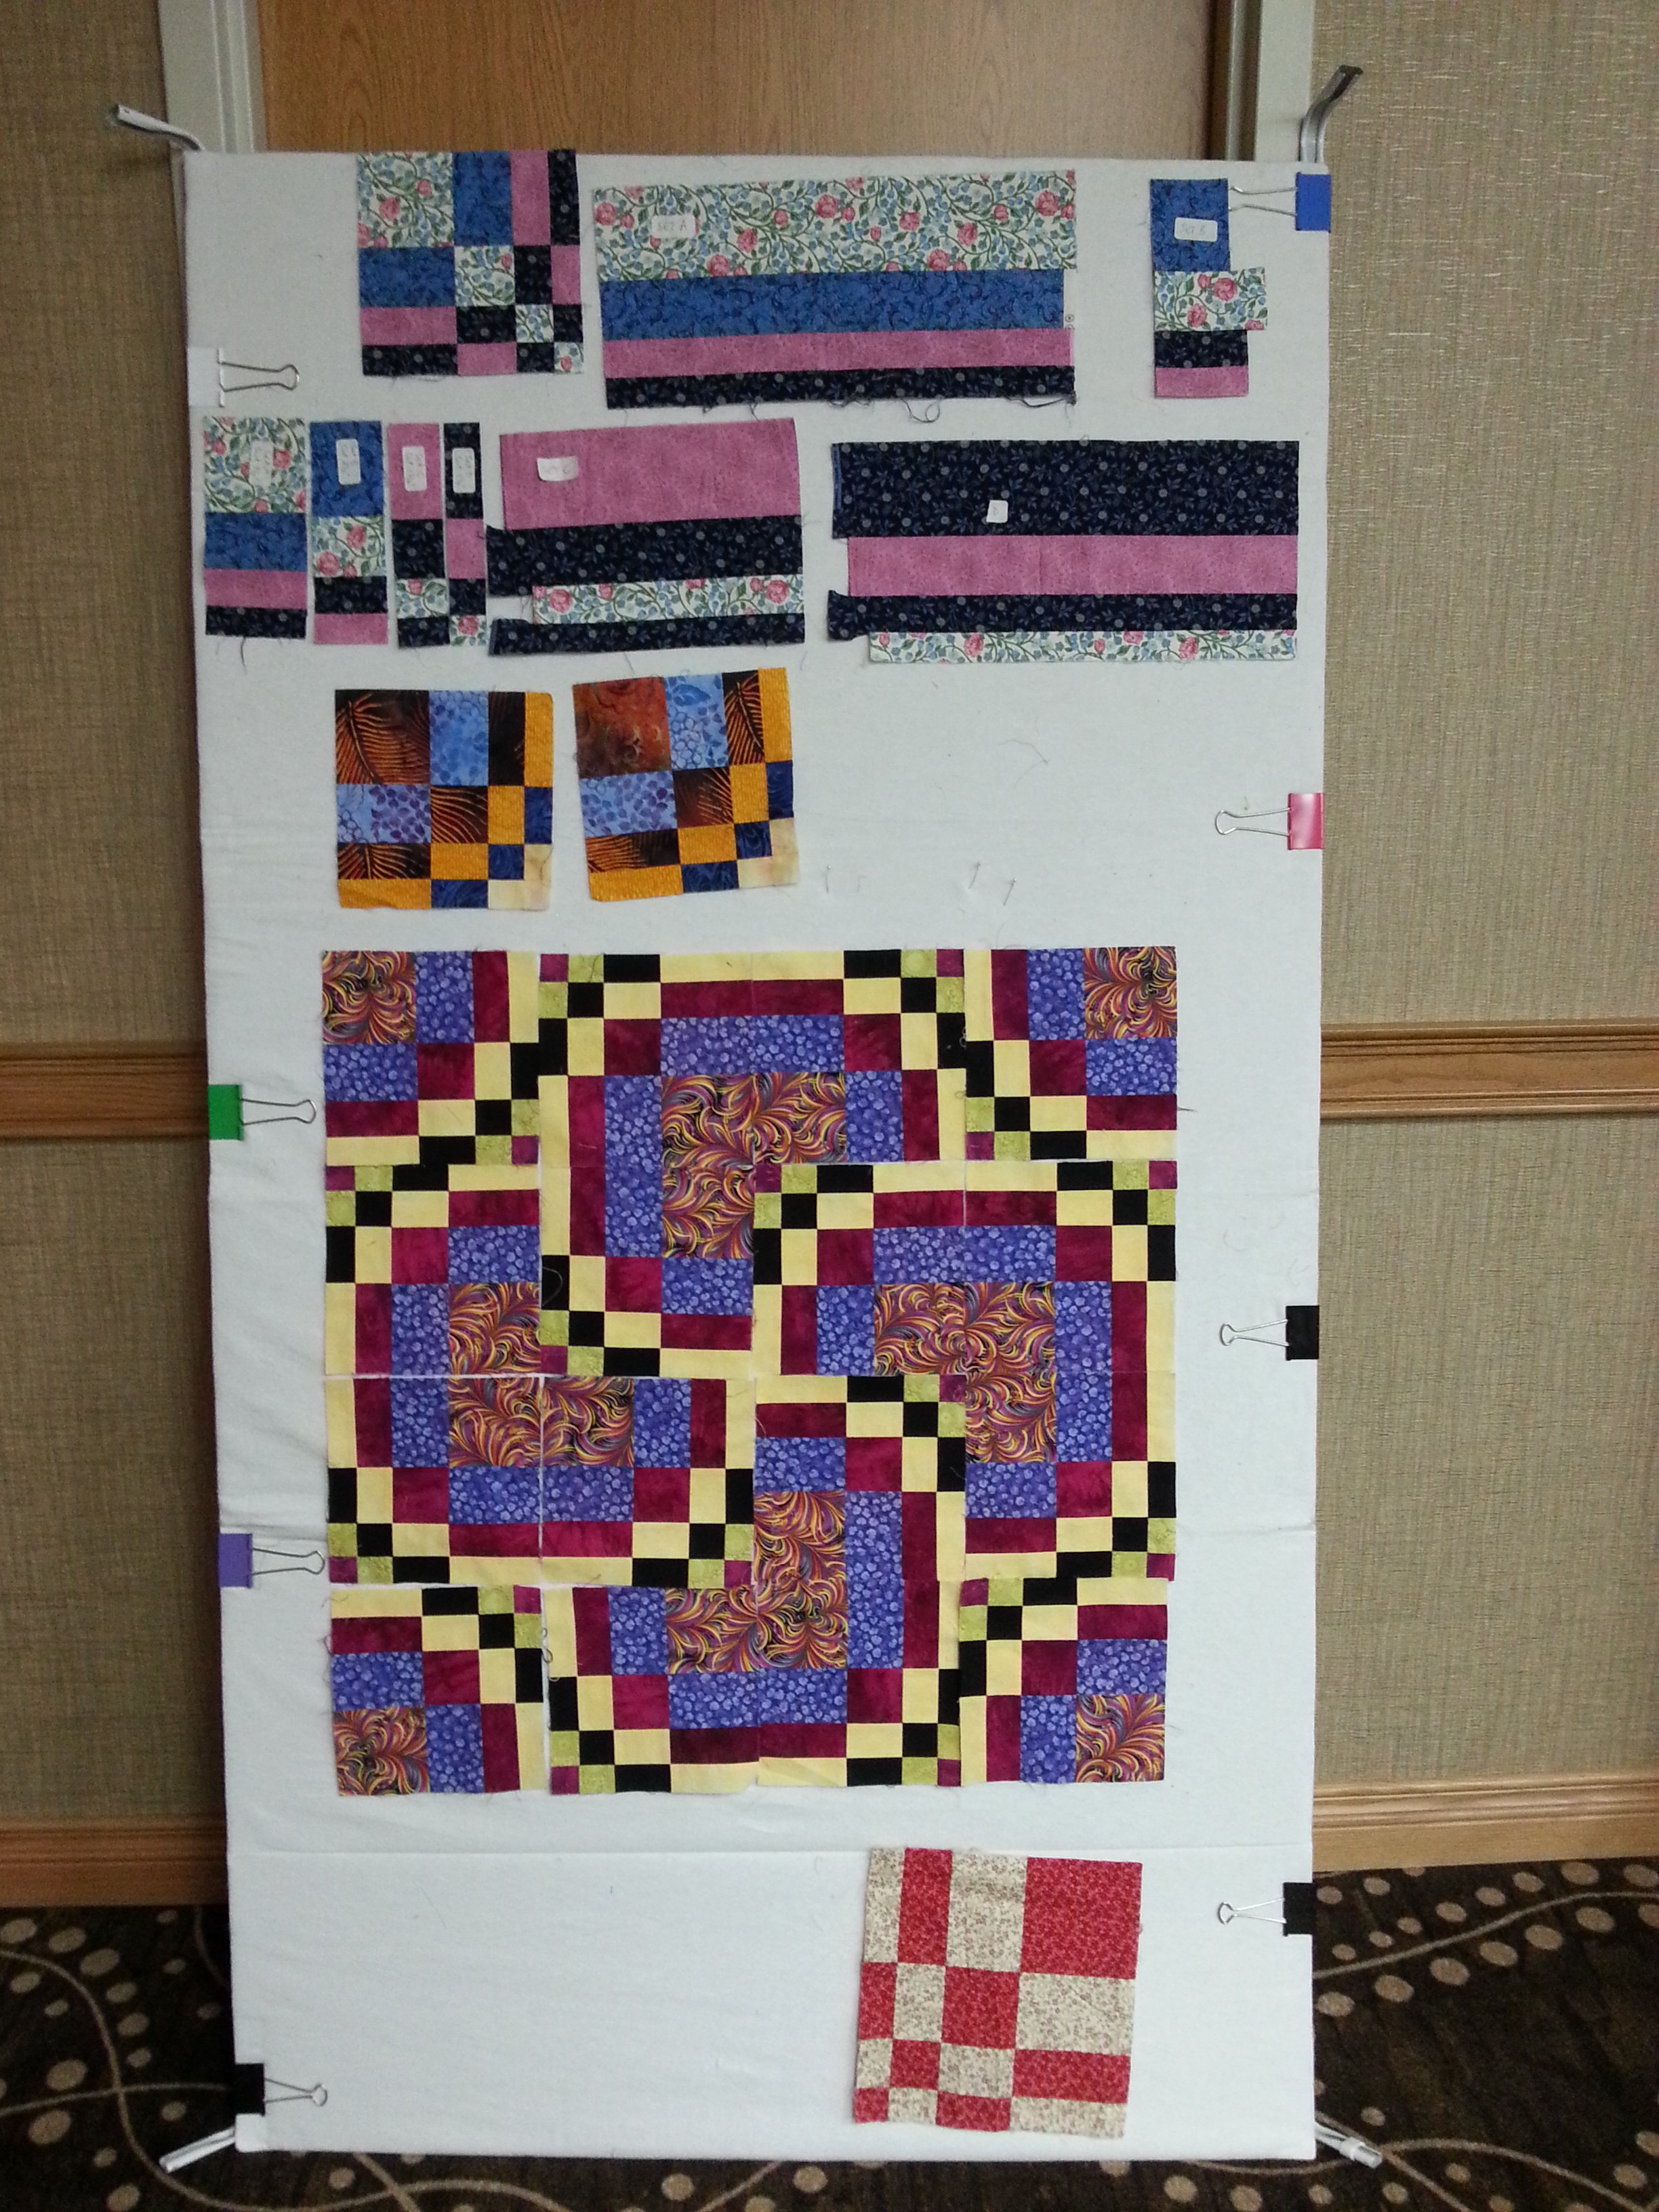
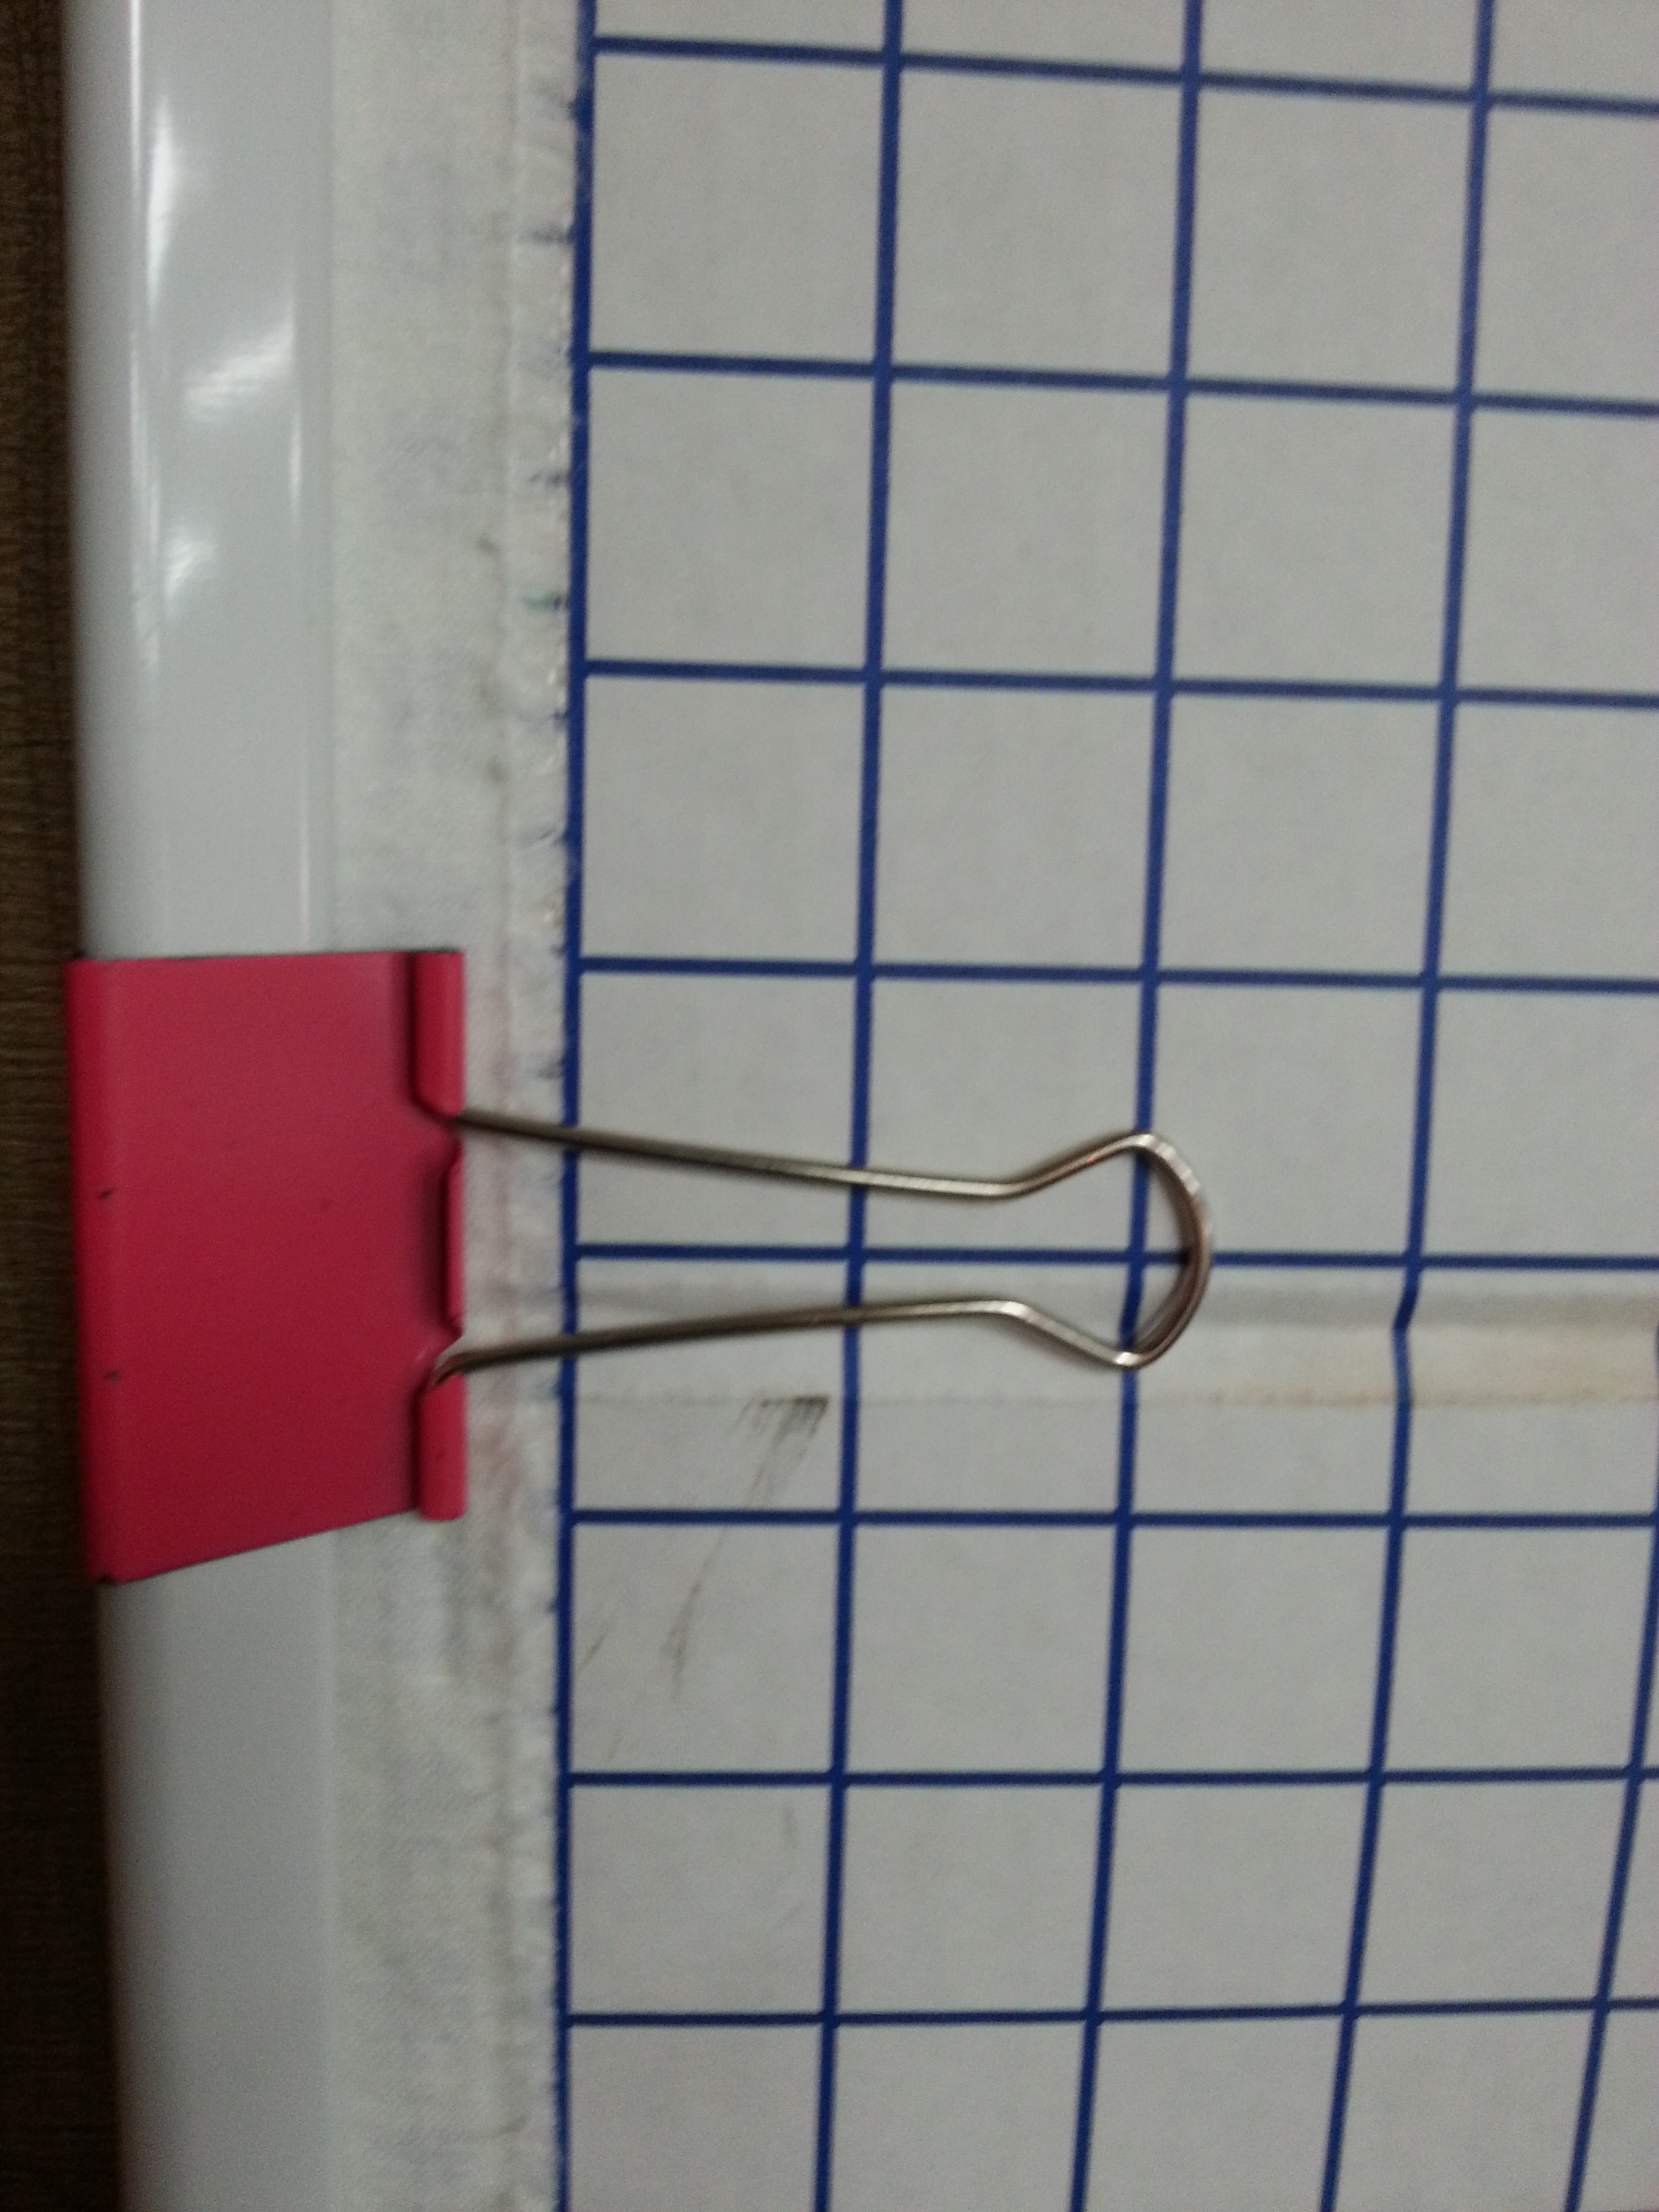
The next task was to sew the blocks. The children came to me in groups of three or four and it took about 45 minutes to complete the blocks. Over half of them had used a sewing machine before, but I had all of them practice sewing on a piece of graph paper to sew along a line and get the feel of how hard to press the pedal to determine the speed. I had two sewing machines and one iron. We always all went to the iron together so that I could supervise. If I do this again, I would probably work with just two at a time and I think we could do the blocks in 20 minutes. I had a free-standing work wall with 16 of my Bargello blocks so that kids who were waiting for their turn to sew could arrange the blocks into different patterns and they loved this. By Tuesday afternoon (day two), all but four blocks were finished. I colored in paper blocks, so that the two groups could design their quilt layouts.

P1210178 P1210179

P1210191 P1210188

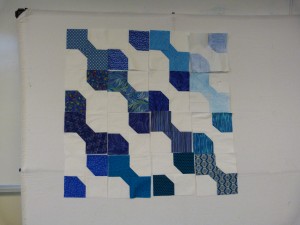
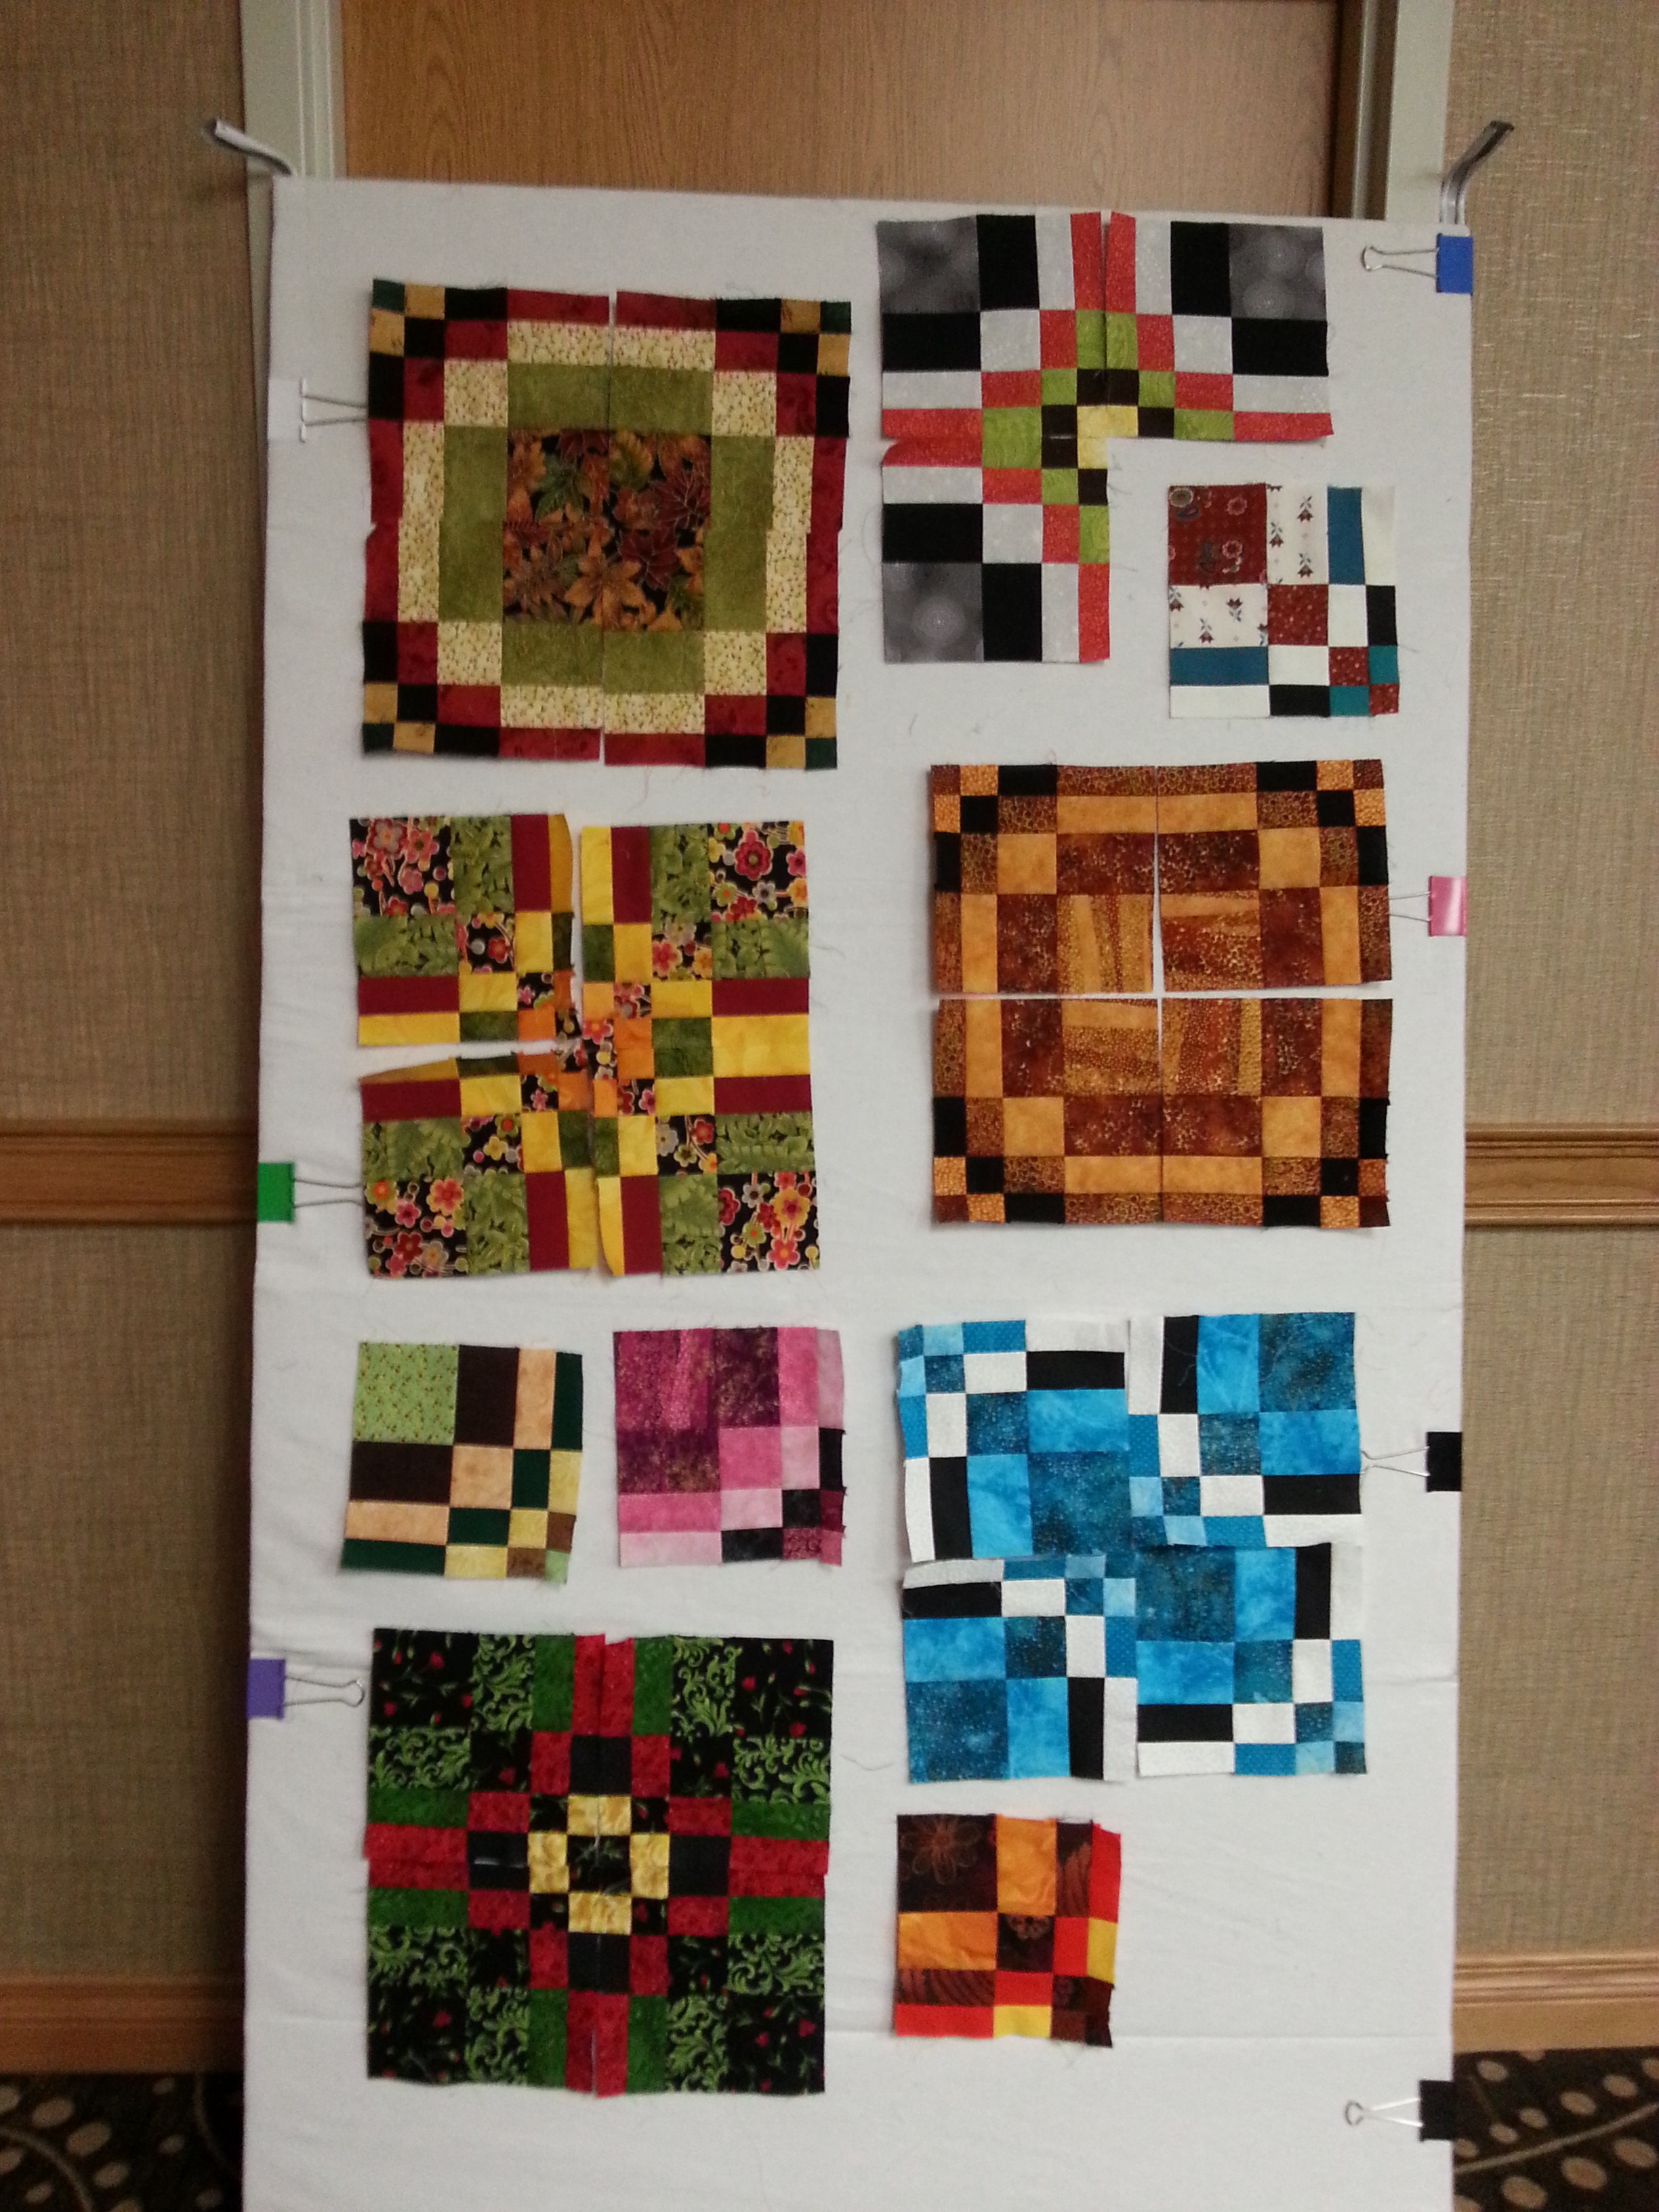
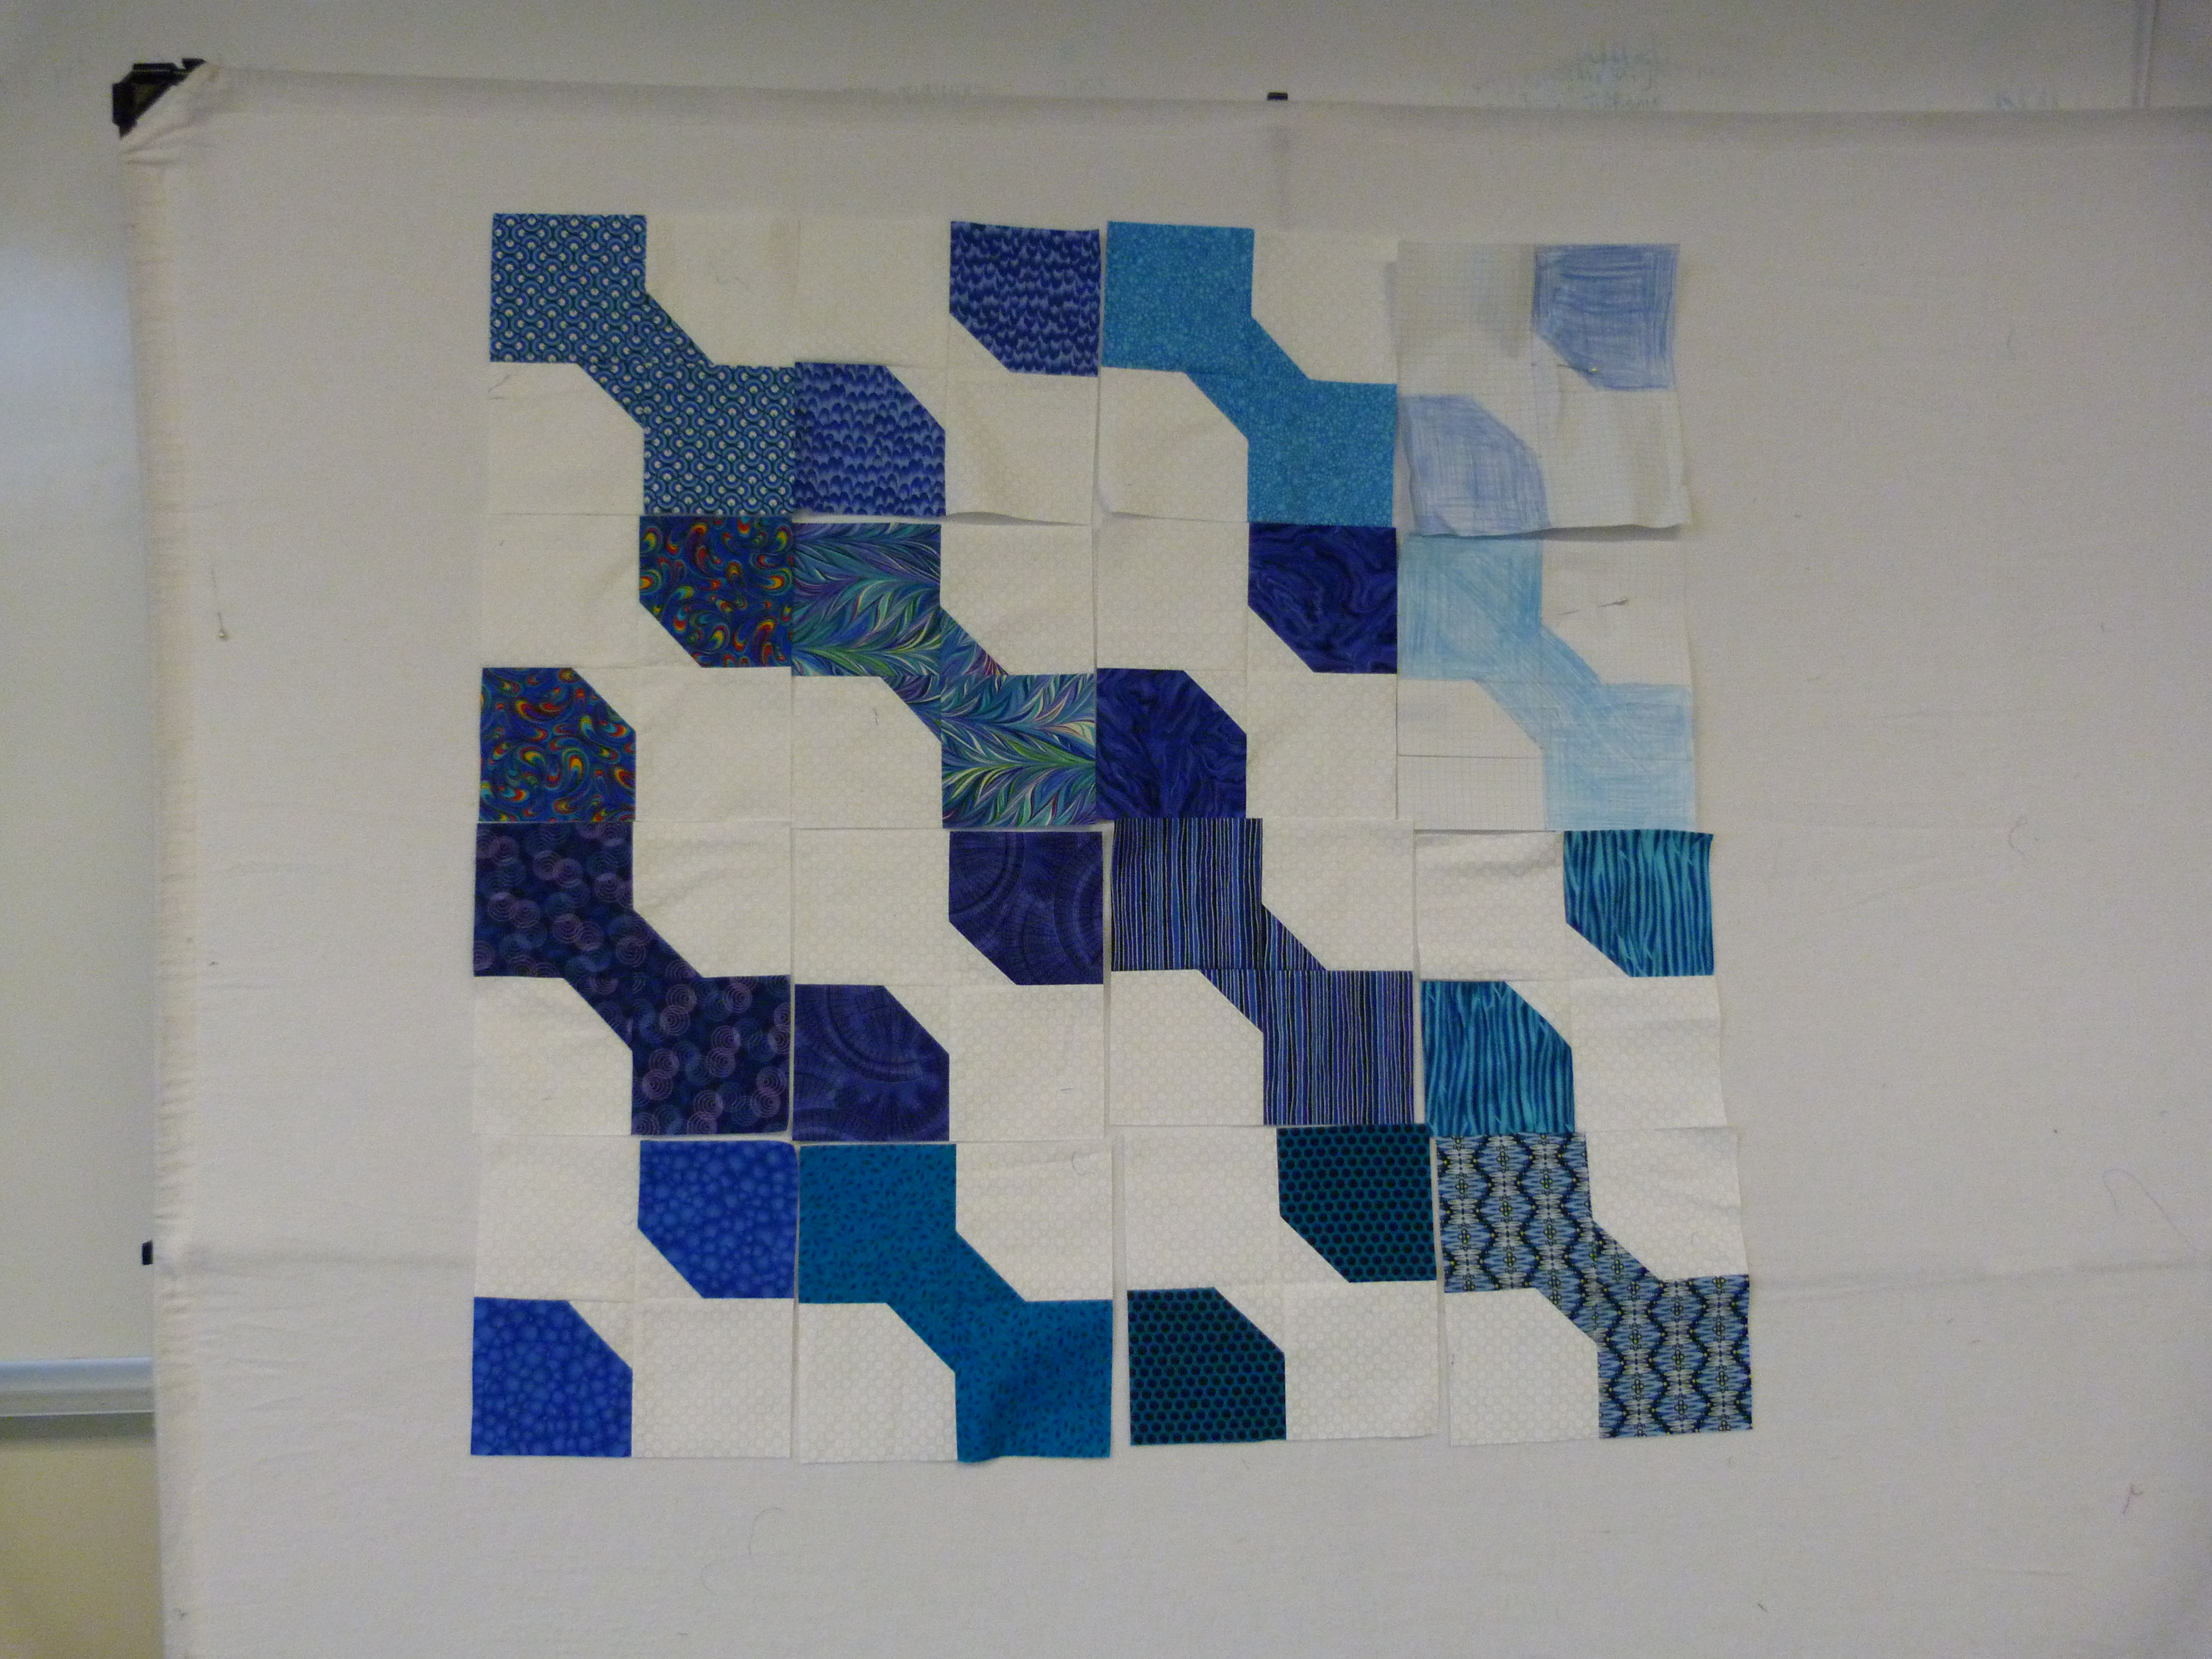
Here are some of the variations they made. I took digital photos of each variation and then the kids voted (eyes closed so there was no peer pressure). This process took an hour for each class which was longer than anticipated but the kids were mesmerized by the design possibilities and really enjoyed arranging the blocks. Once the pattern was determined we made some minor changes in the positioning of certain fabrics. I trimmed all the blocks to 9″ to remove irregularities around the edges and for ease of assembling. The children were fascinated when I demonstrated the use of the rotary cutter (which was put away during their sewing sessions). On day three we completed the remaining blocks, and the kids came in pairs to do 10 minutes of sewing of the pieced borders – piano keys for one quilt and stepping stones for the other. Everyone had a turn.

20151119_094434-1 20151119_144102-1

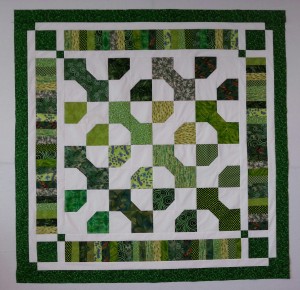
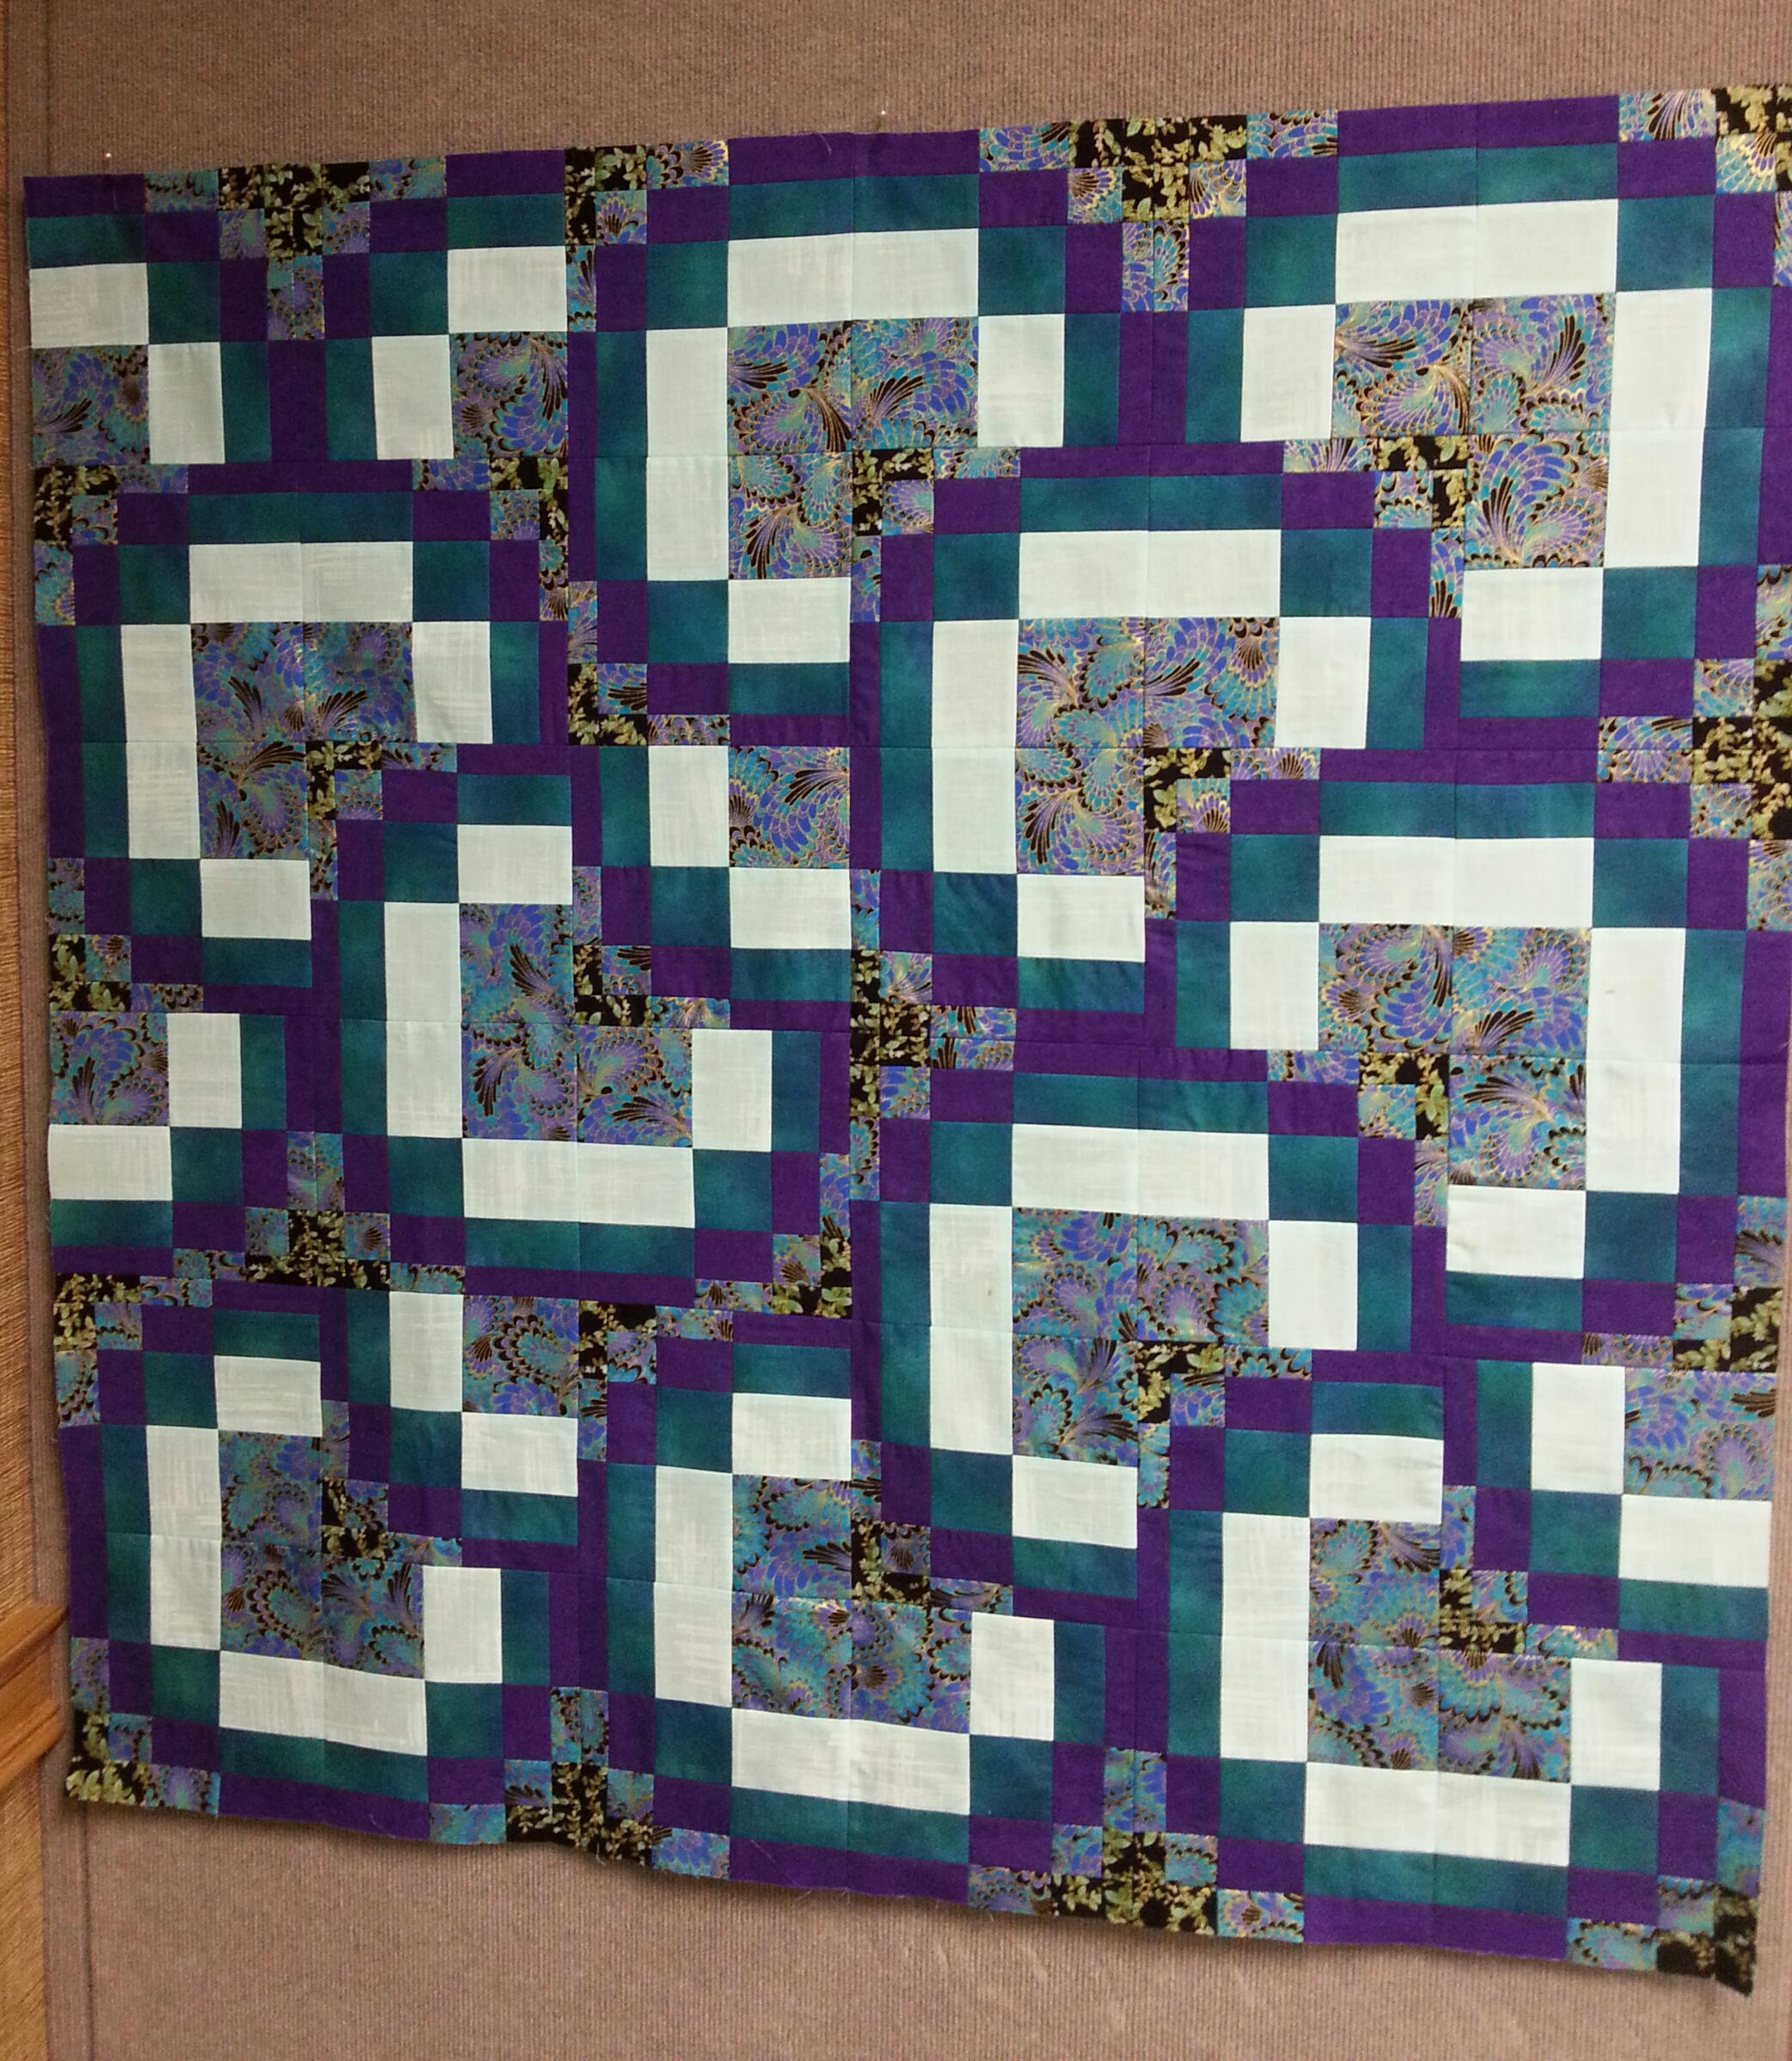
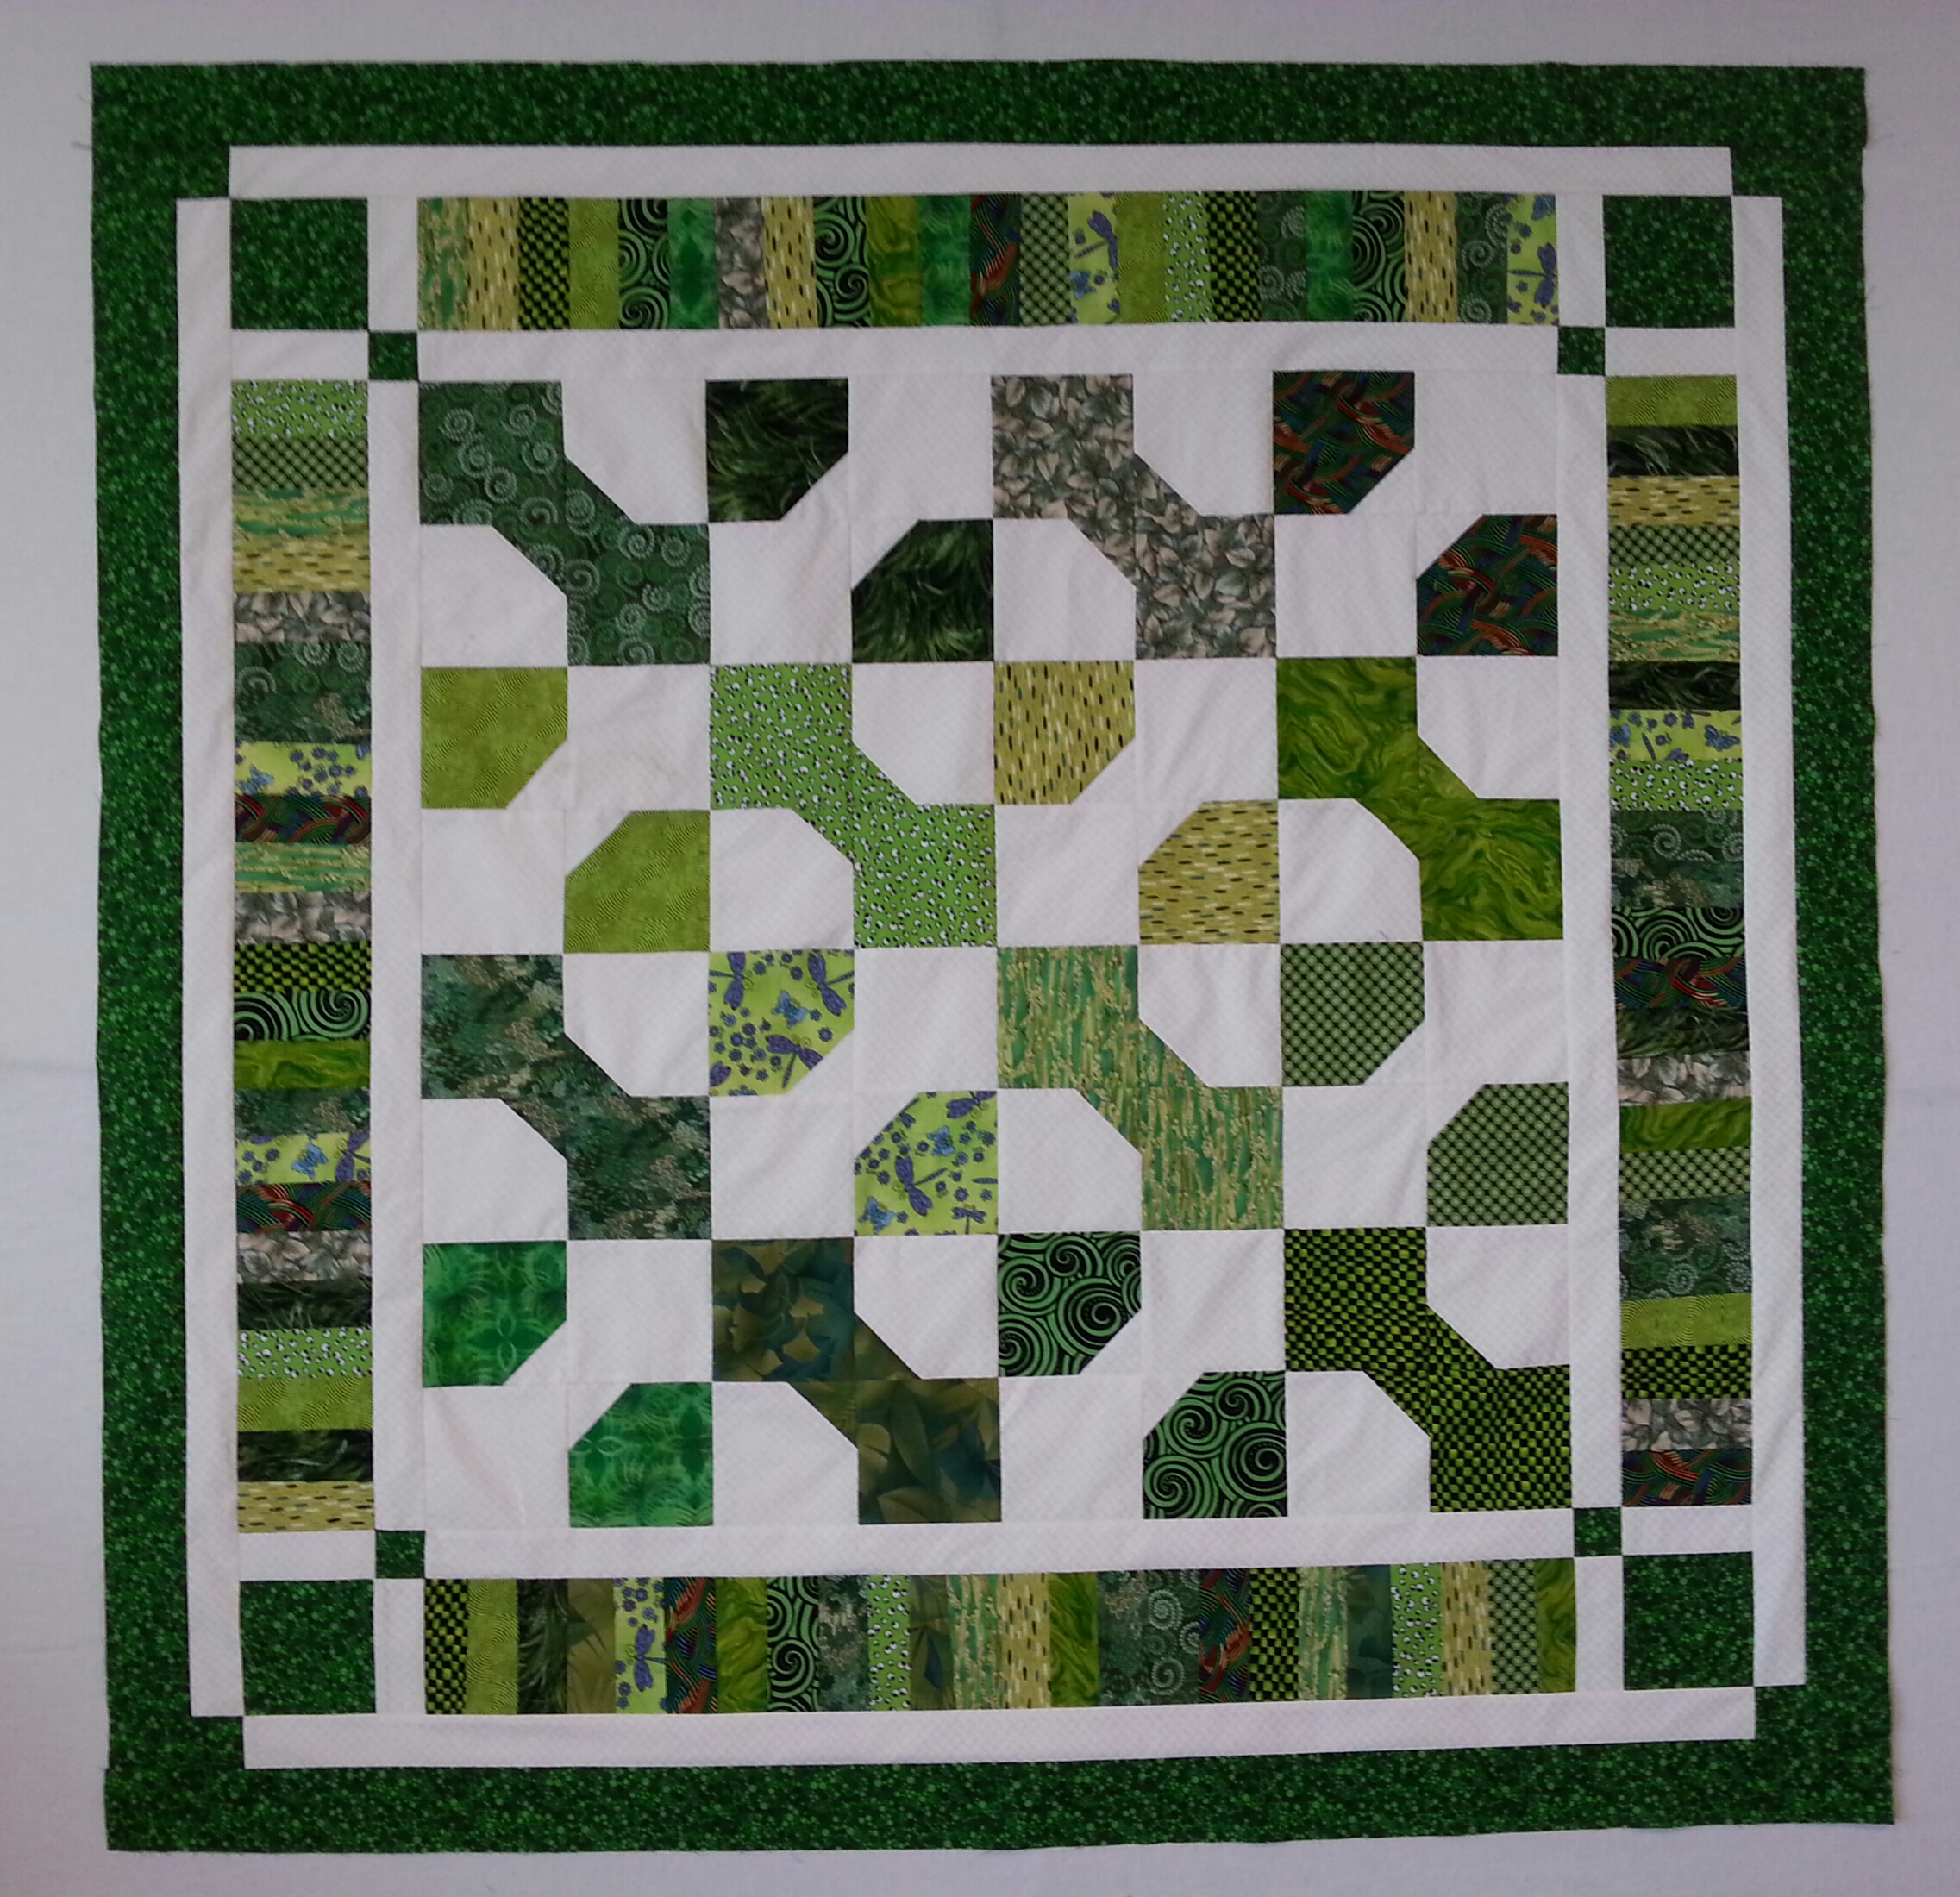
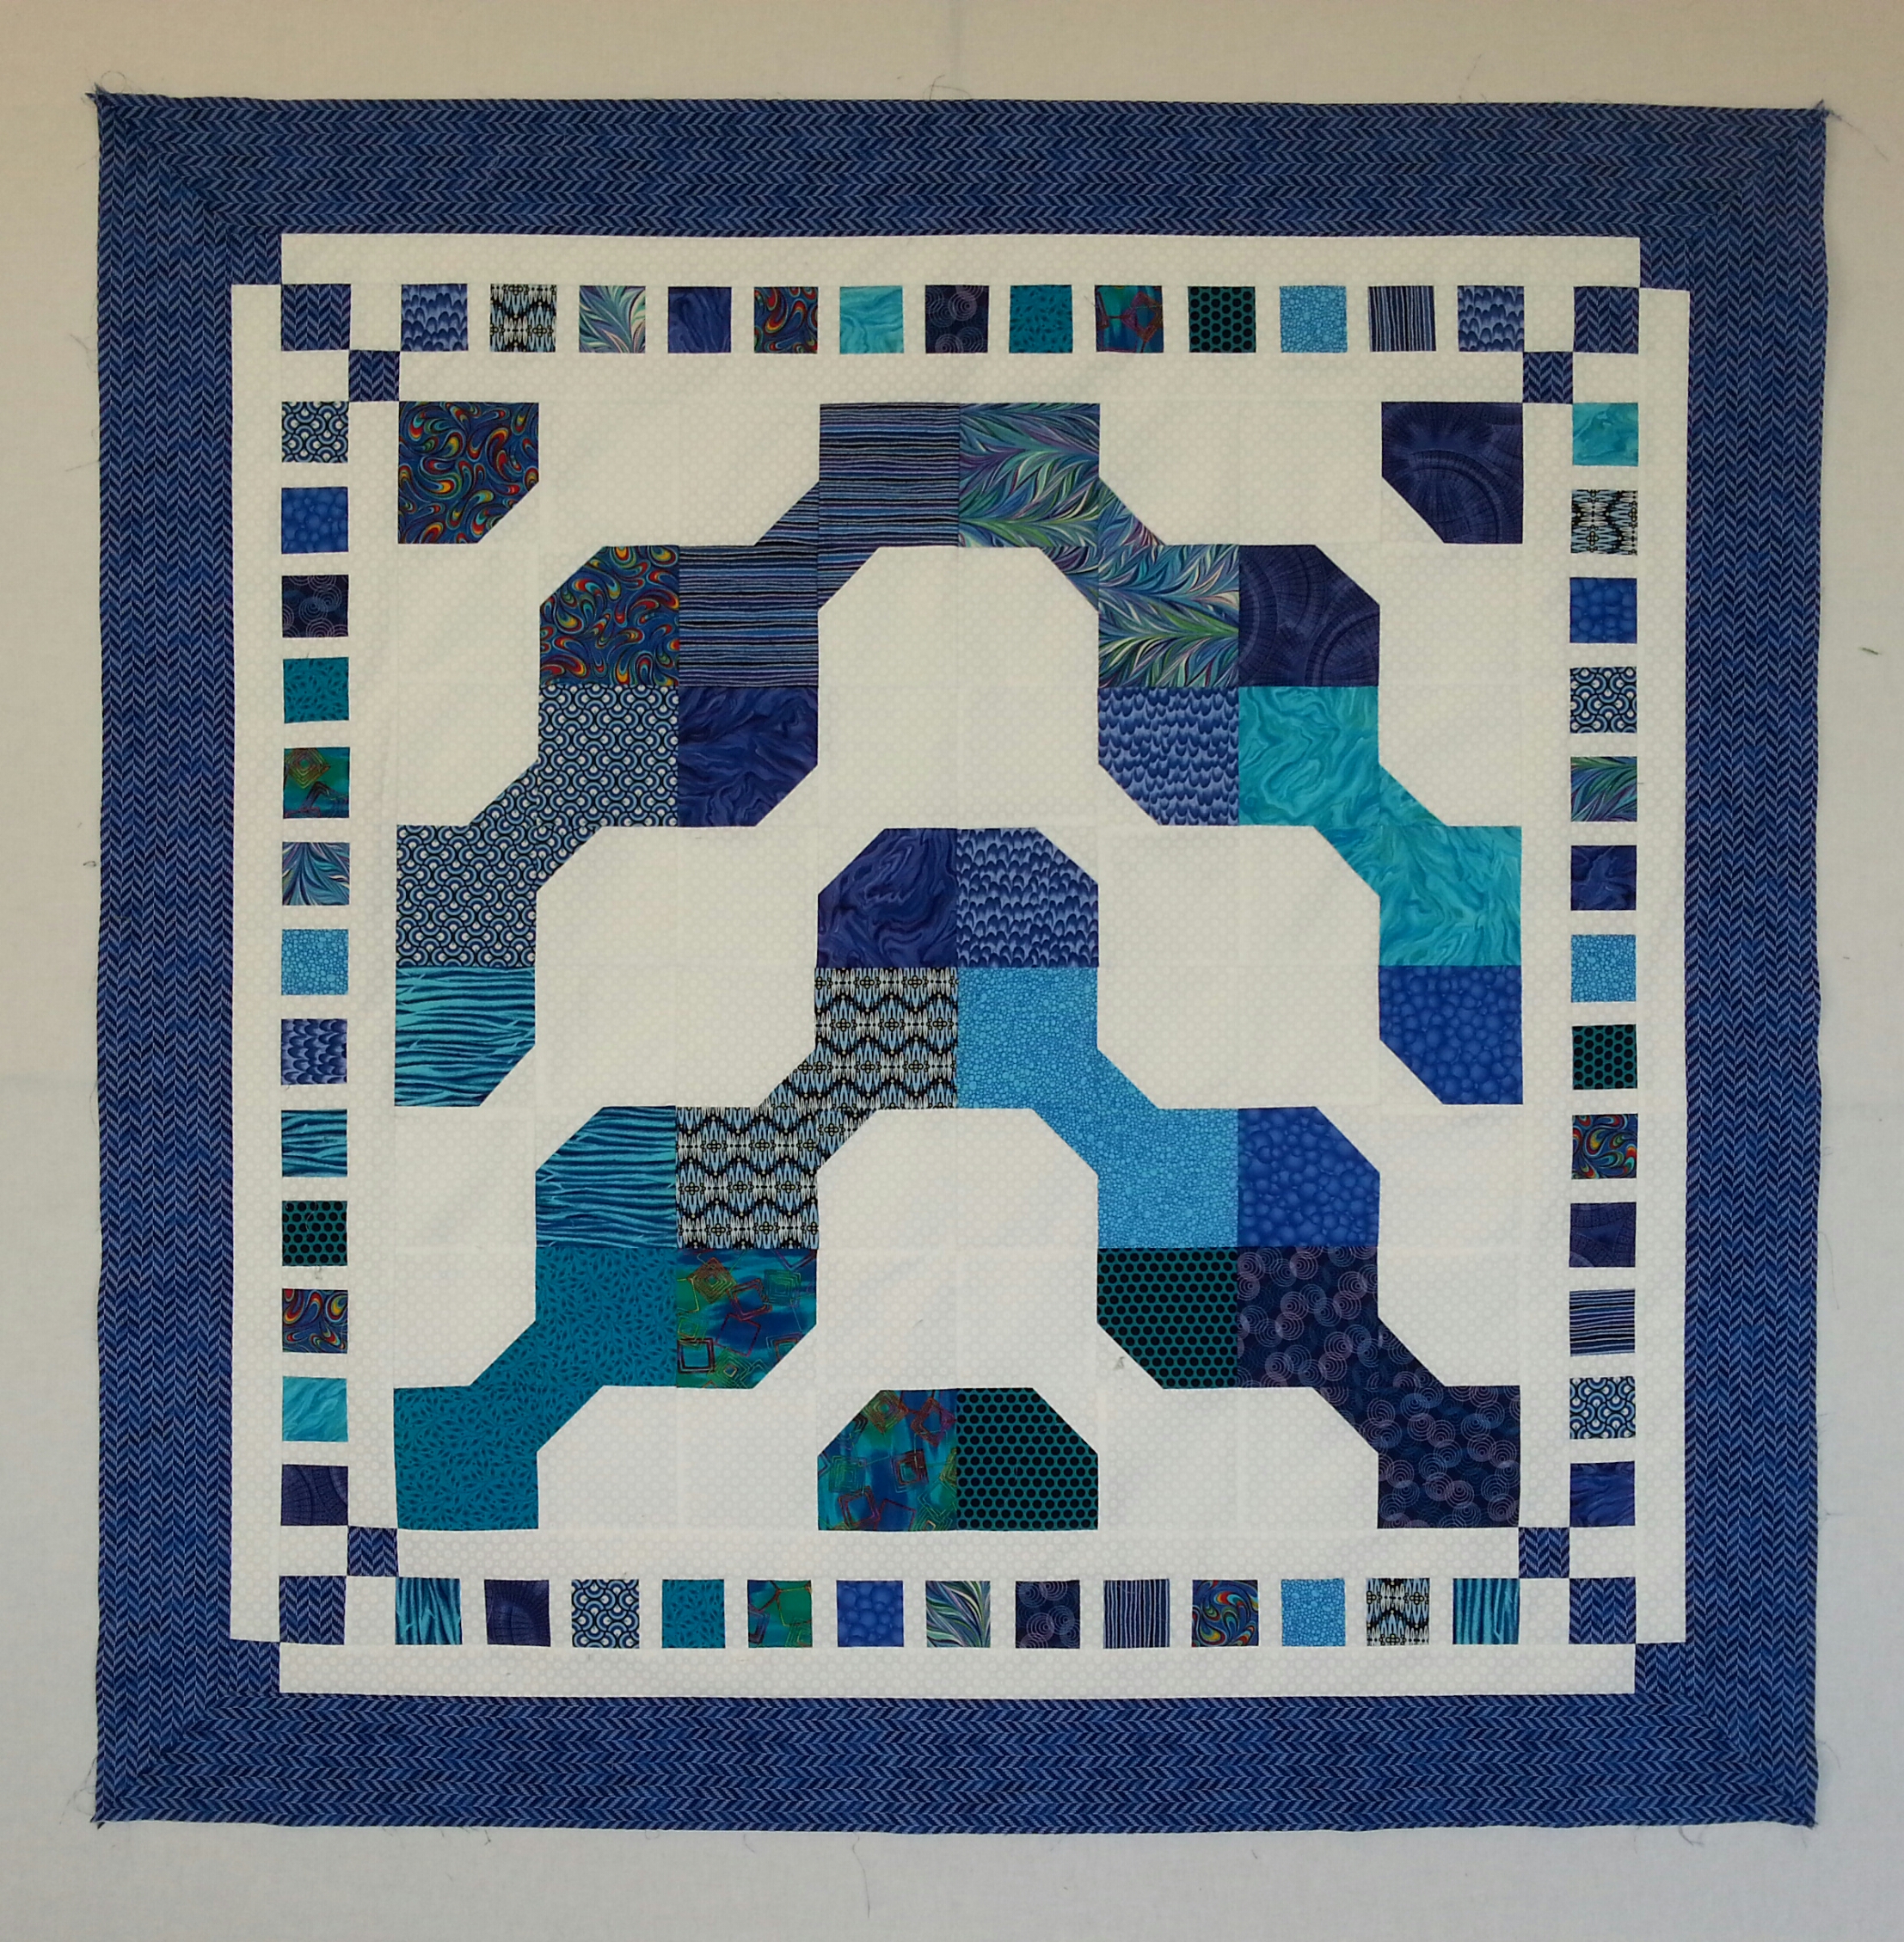
Here are the two quilt tops. They turned out beautifully and I’m so proud of the kids. I sewed in the evening of the third day and all day on the fourth day to complete them. On the evening of the fourth day, we basted both quilts ready for the kids to tie on the final day. The backs are flannel and quilts are both around 52″ x 52″. It was a marathon, but we did it! Perhaps if I do this again, we would arrange three days at school, then a weekend to complete the tops and baste, and then another day or two at school instead of five days in a row at school. The Bowtie was an excellent choice with just enough sewing and such a variety of options for patterns.

P1210208 (2)

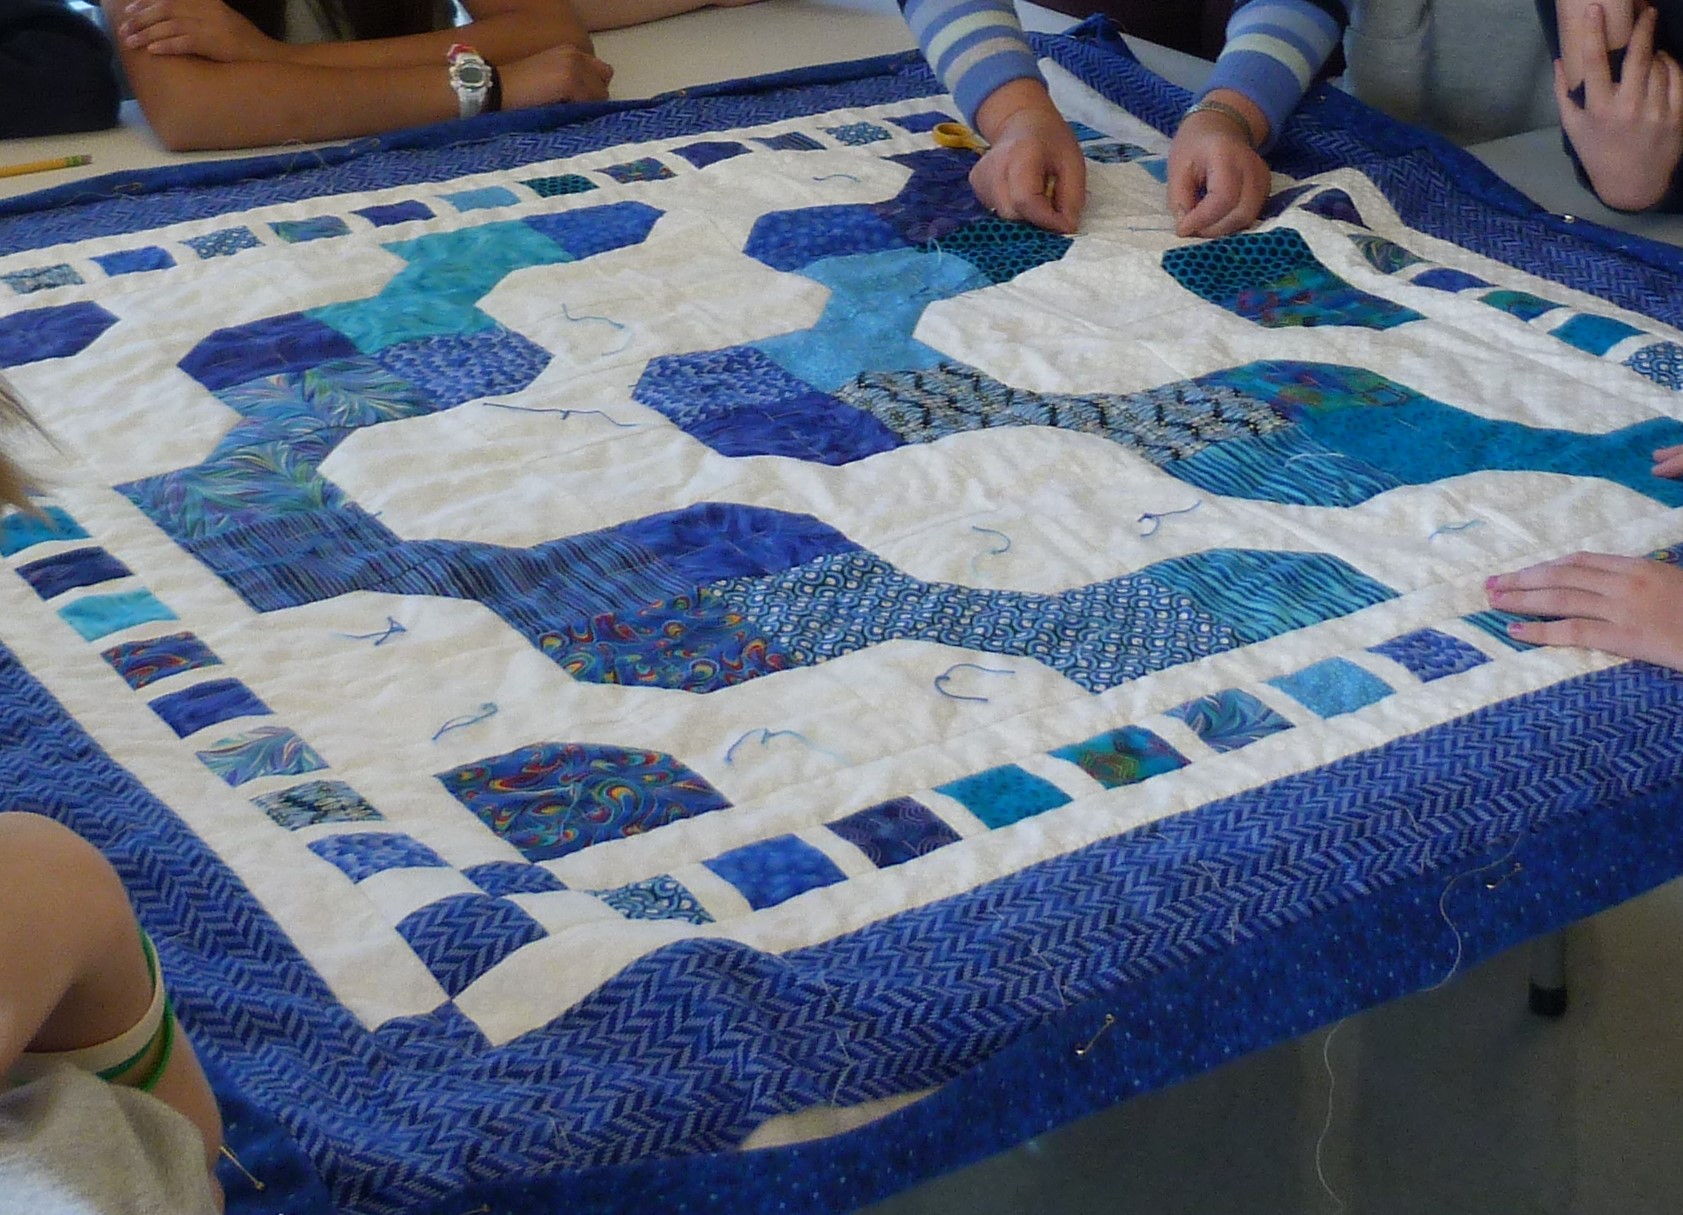
The children came in their class groups to see me demo machine quilting and tying. I machine quilted in the ditch between each block on the green quilt. On the blue one, I outlined the blue shapes. The kids came in pairs for 10 minute sessions to tie four ties in their blocks. We used variegated pearl cotton. I was concerned that they would have trouble stitching through all the layers to make the ties, but they did really well and all but one did all four ties in the 10 minutes. We had to limit the time, so that everyone got a turn and it worked out fine. This week I’ve added some more machine quilting to the borders and machine stitched the binding. All that is needed to complete the quilts is to hand stitch the bindings to the back and make a label with all the names, date etc. We will also include a picture panel of a scene from Washington DC. In April, the kids fly there for a four day field trip. It’s a highlight of being in 5th grade (the top grade in the school) and this will serve as a reminder of this special trip to those lucky enough to take a quilt home after the auction.